Pizza Oven
Pounds of Clay
Top Temperature
Seconds to Cook a Pizza
STEP 1
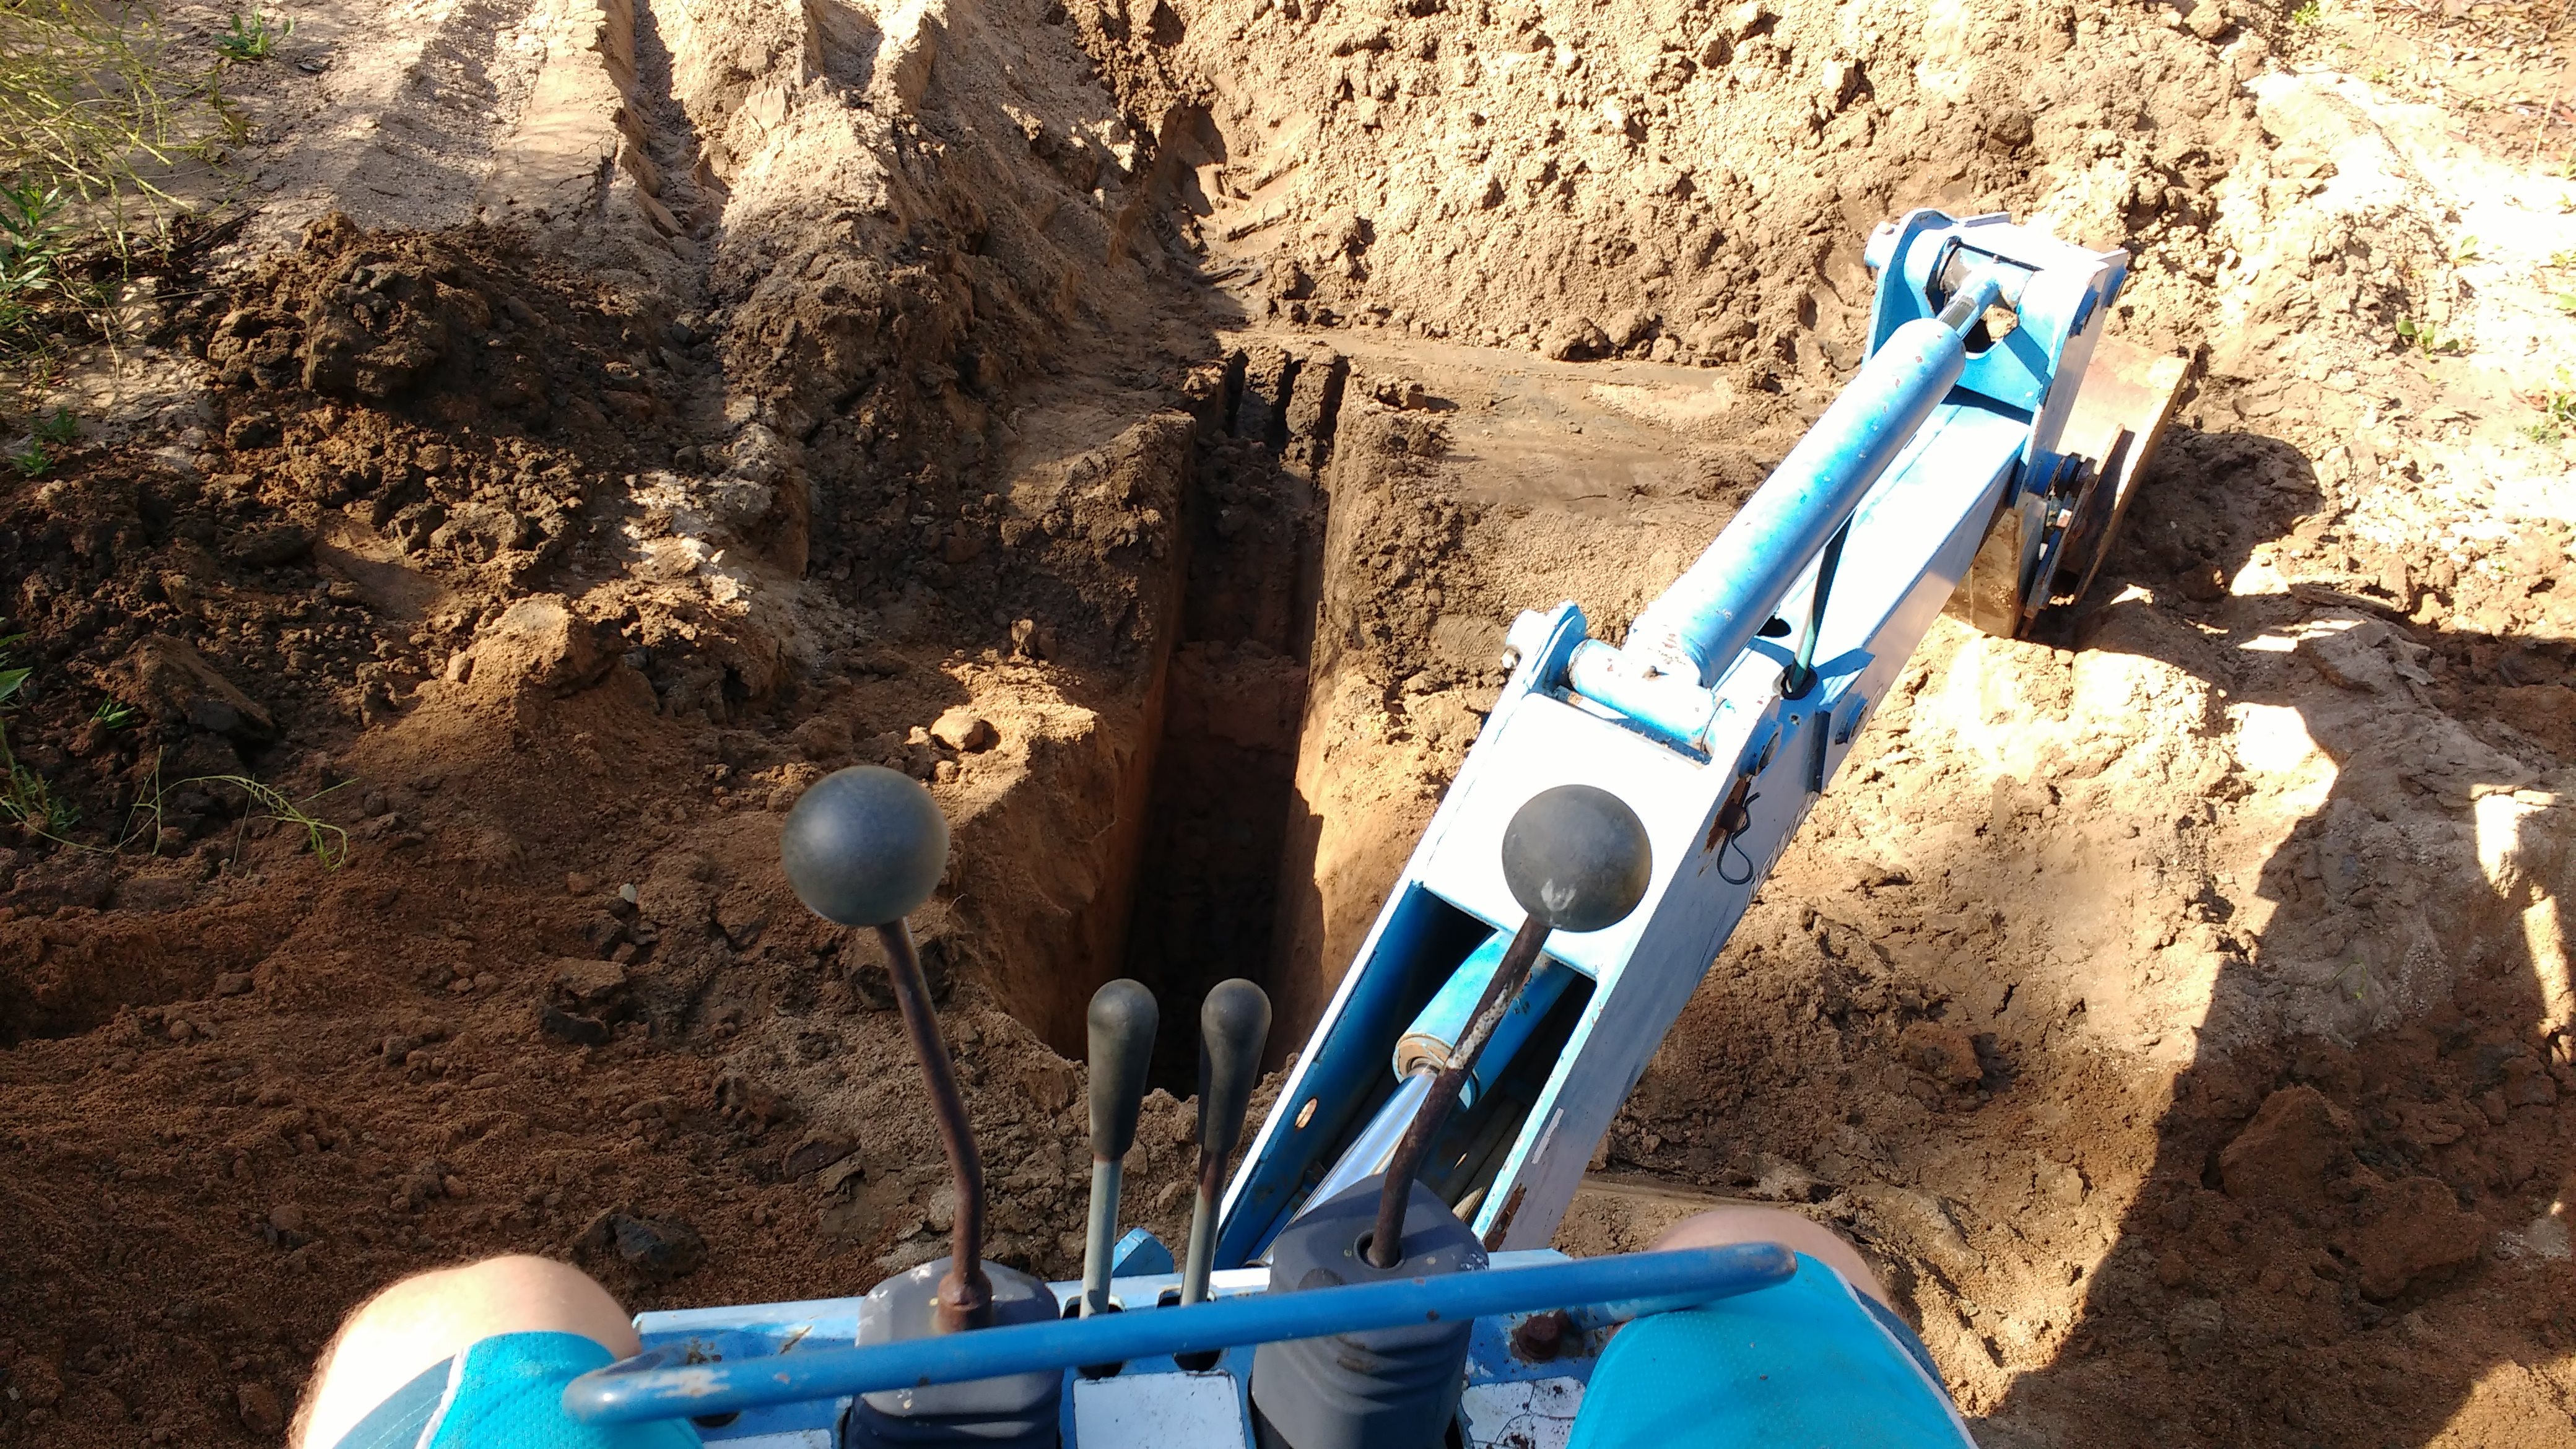
First step in the pizza building process was finding Clay. The book provided a few recommendations on what to look for, but at the end of the day you need to find some clay that will be strong enough to support the structure and at the same time absorb and radiate heat. I found plenty of clay two feet down in a seasonal riverbed. I had access to a backhoe, but you can dig it out with a pick and shovel just fine as well. I needed about 480lbs. for a 24 inch oven.
STEP 2
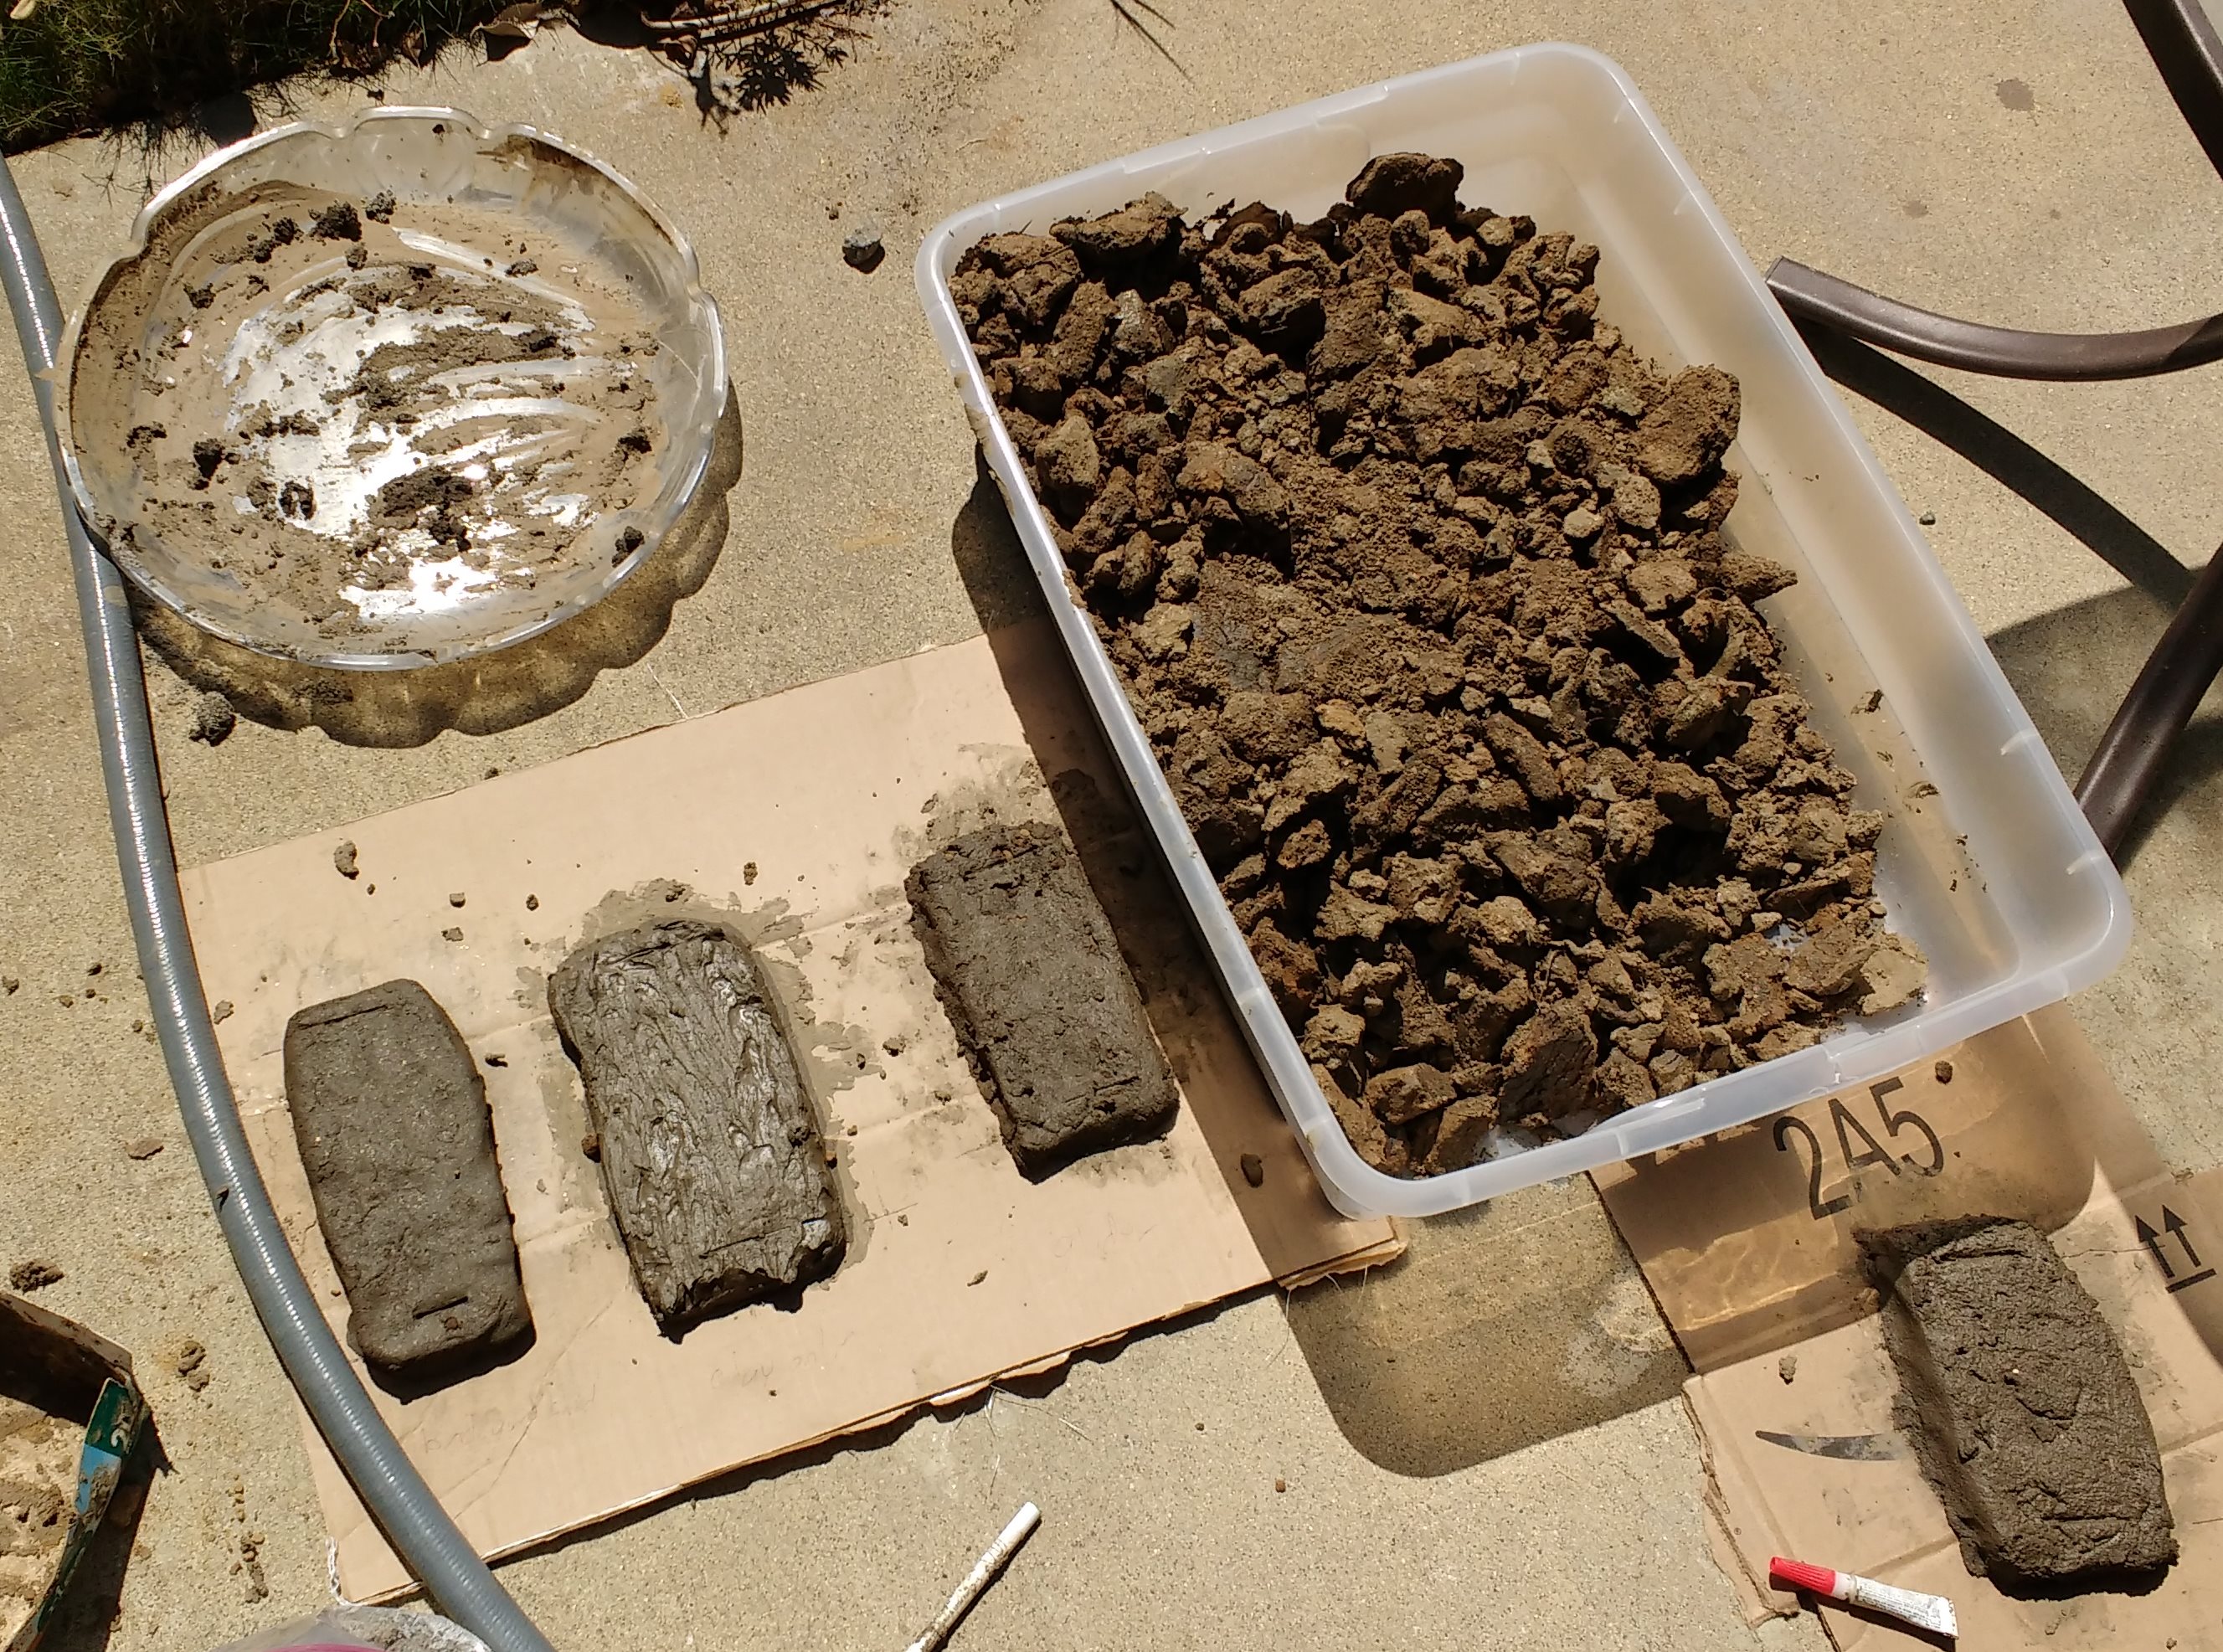
I made a series of bricks using different parts clay to sand. After letting them dry, I was able to determine which mixture worked best for my needs. I found about 50% sand to 50% clay worked pretty well. I’m sure the clay wasn’t 100% clay, so it was probably a higher percentage of sand. That proportion allowed me to have a strong structure without consuming too much clay.
STEP 3
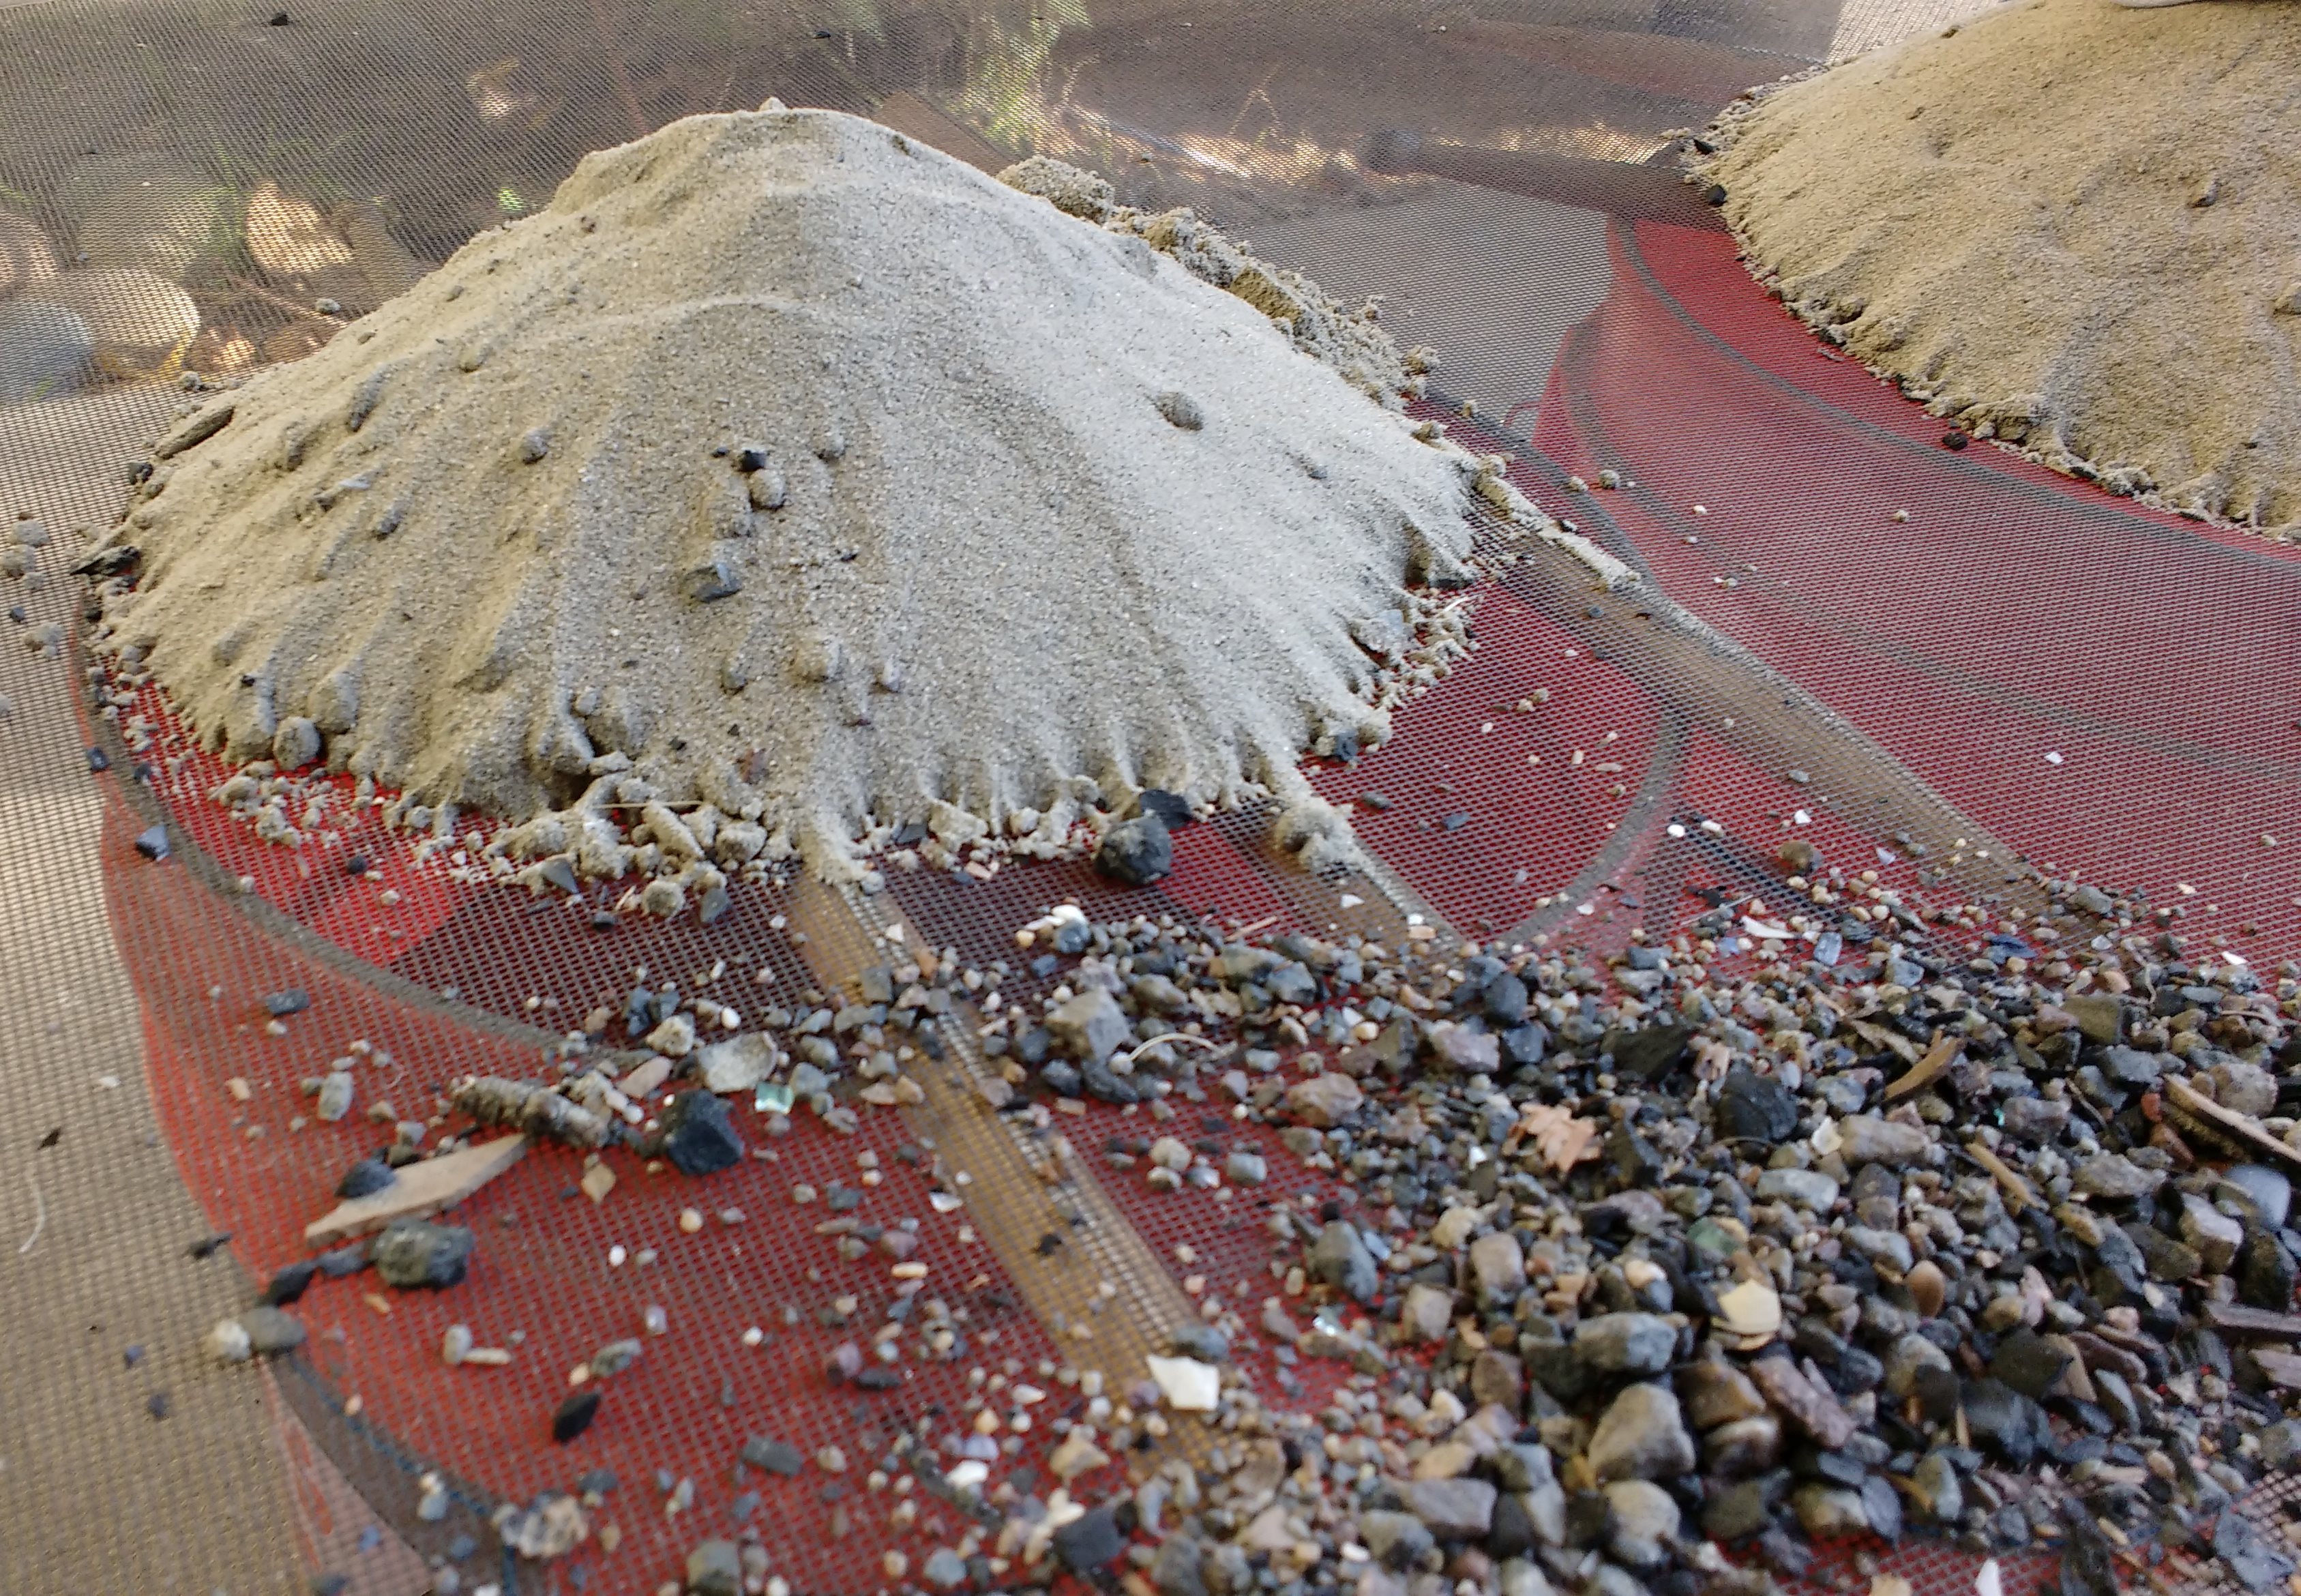
Because you’ll likely be mixing the materials by hand, it’s a good idea to screen the sand and pull out any rocks, glass, etc. I used a couple of buckets, a window screen, and some drumsticks to help support the weight.
STEP 4
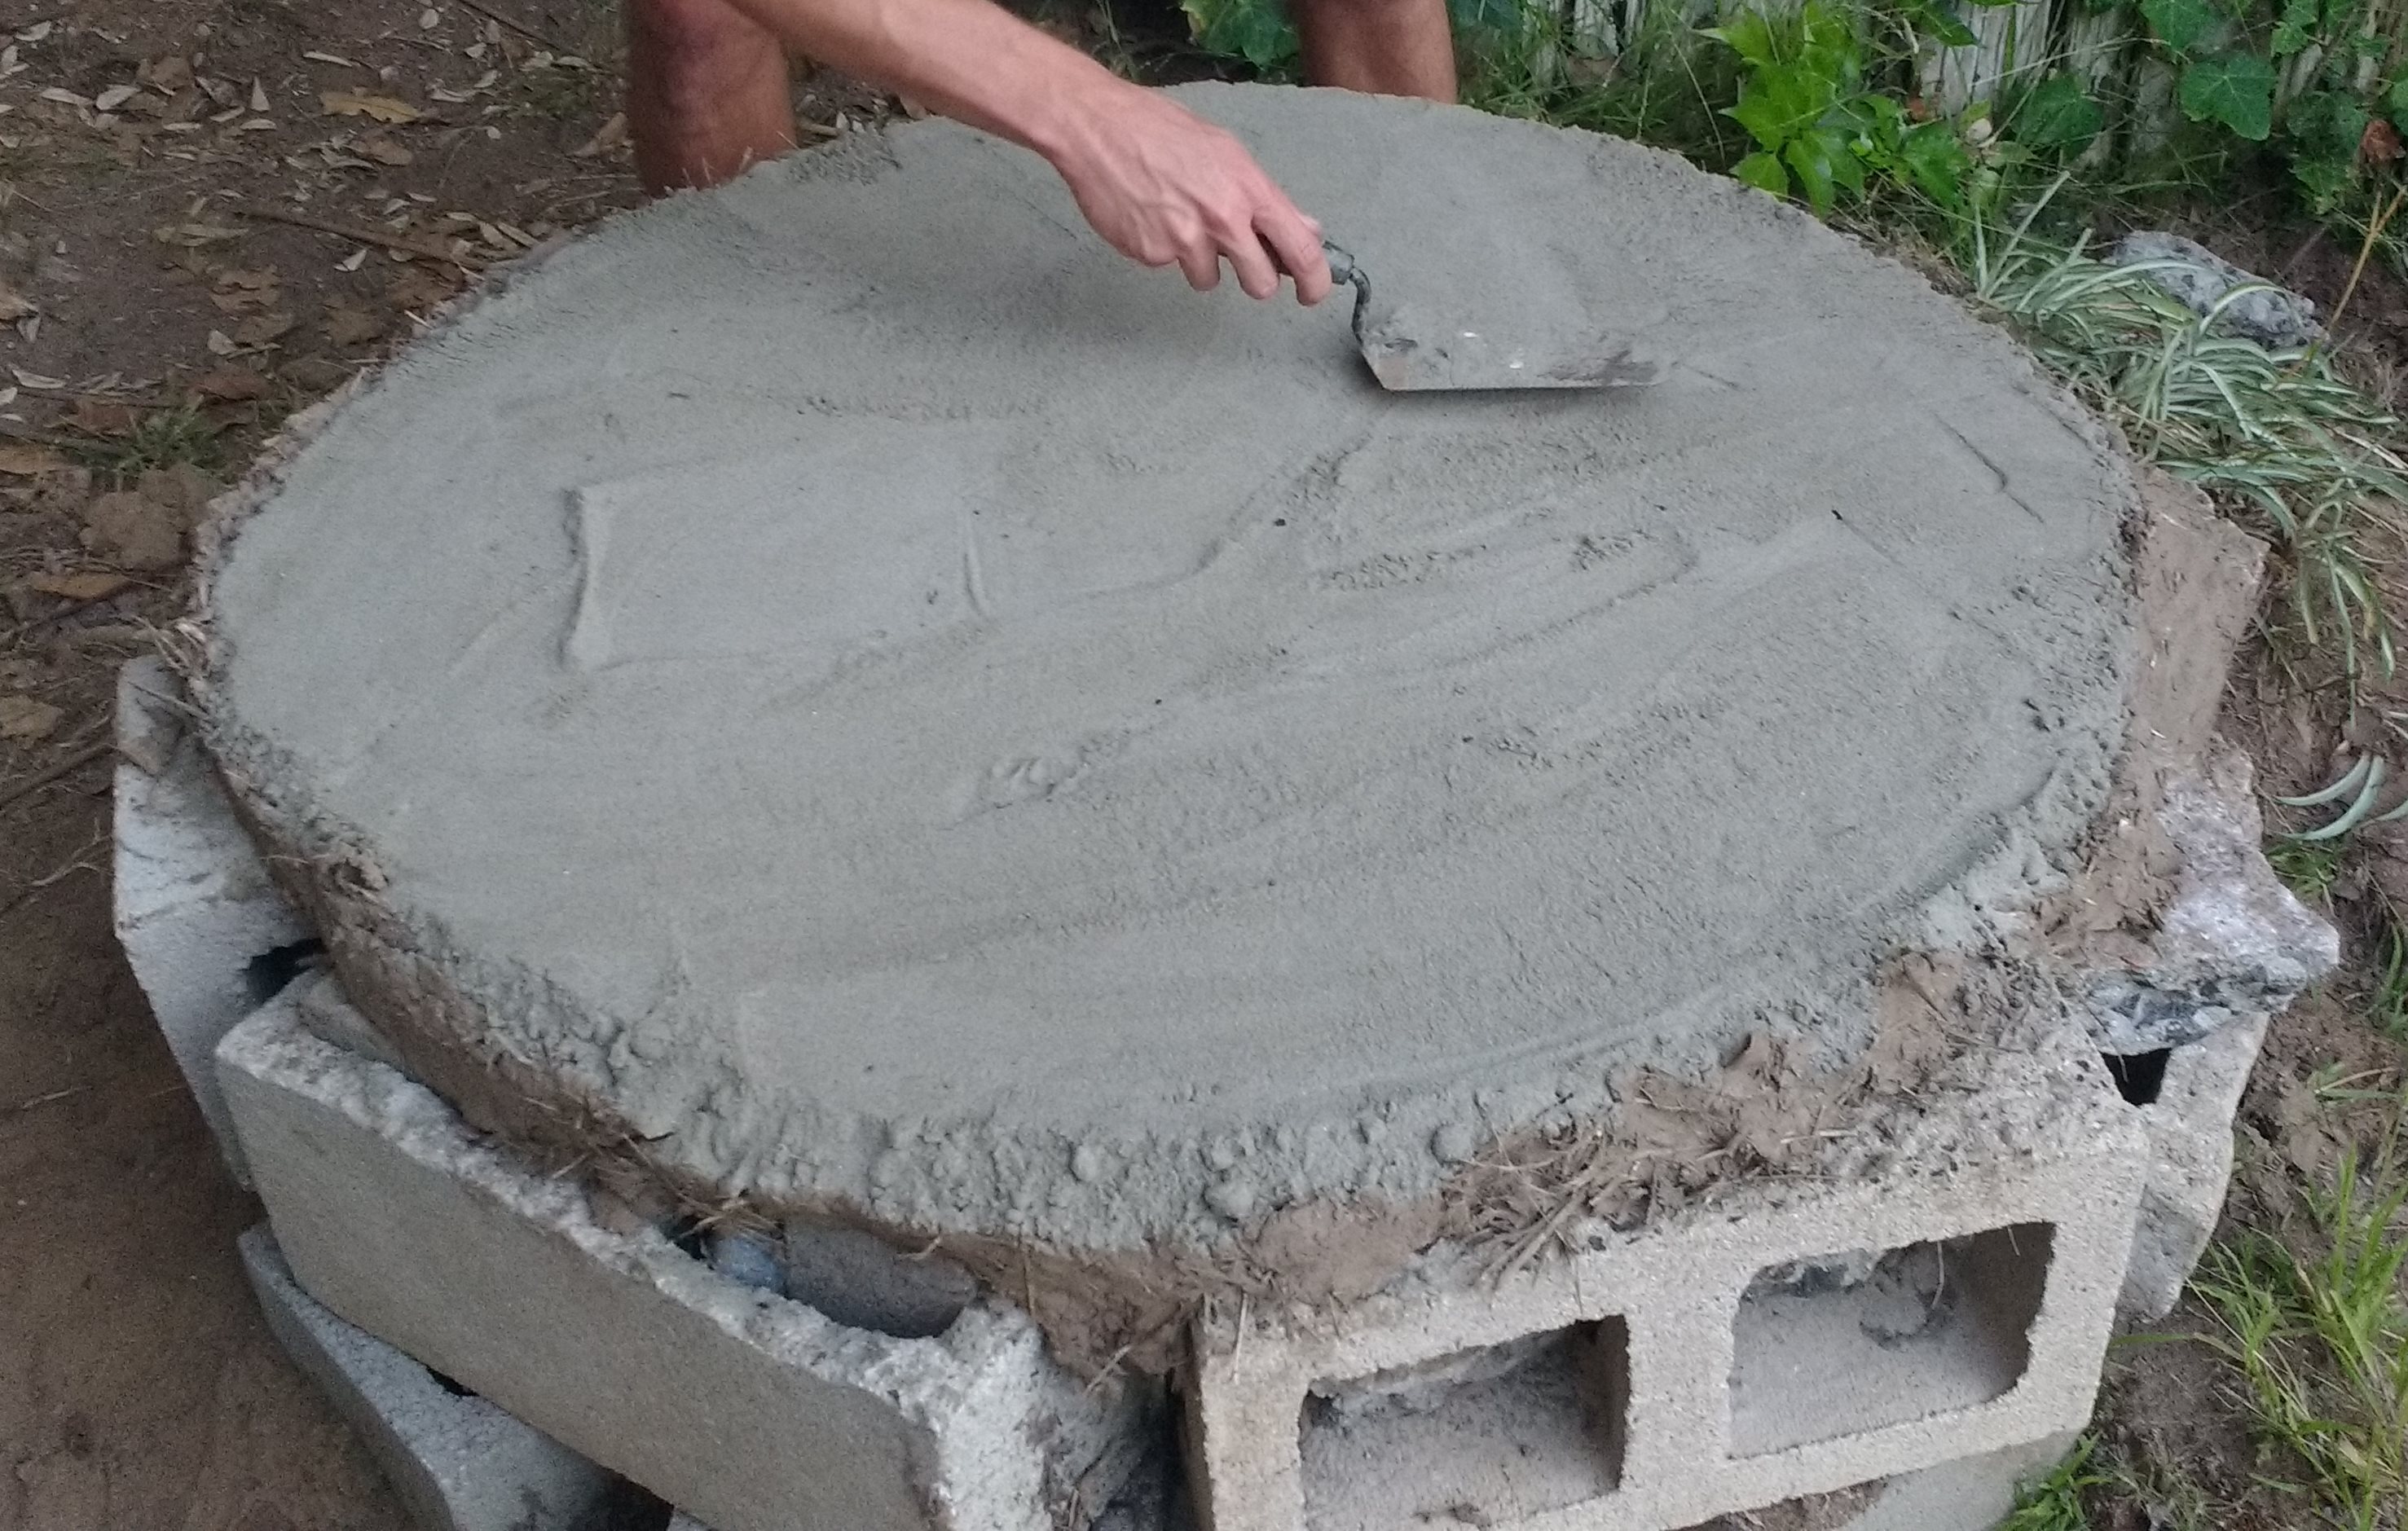
The foundation is built of random chunks of concrete around the outside. The center is made of rock I found on the ground. I can’t stress this enough, build it up high enough so that it will be easy to work with, but not so high that you wont be able to reach it very well. Then cover the top with a insulation layer. Mix the clay/sand with an organic material. Straw works really well. You want something that will create air pockets. Cover that with a thin layer of sand to make a flat foundation.
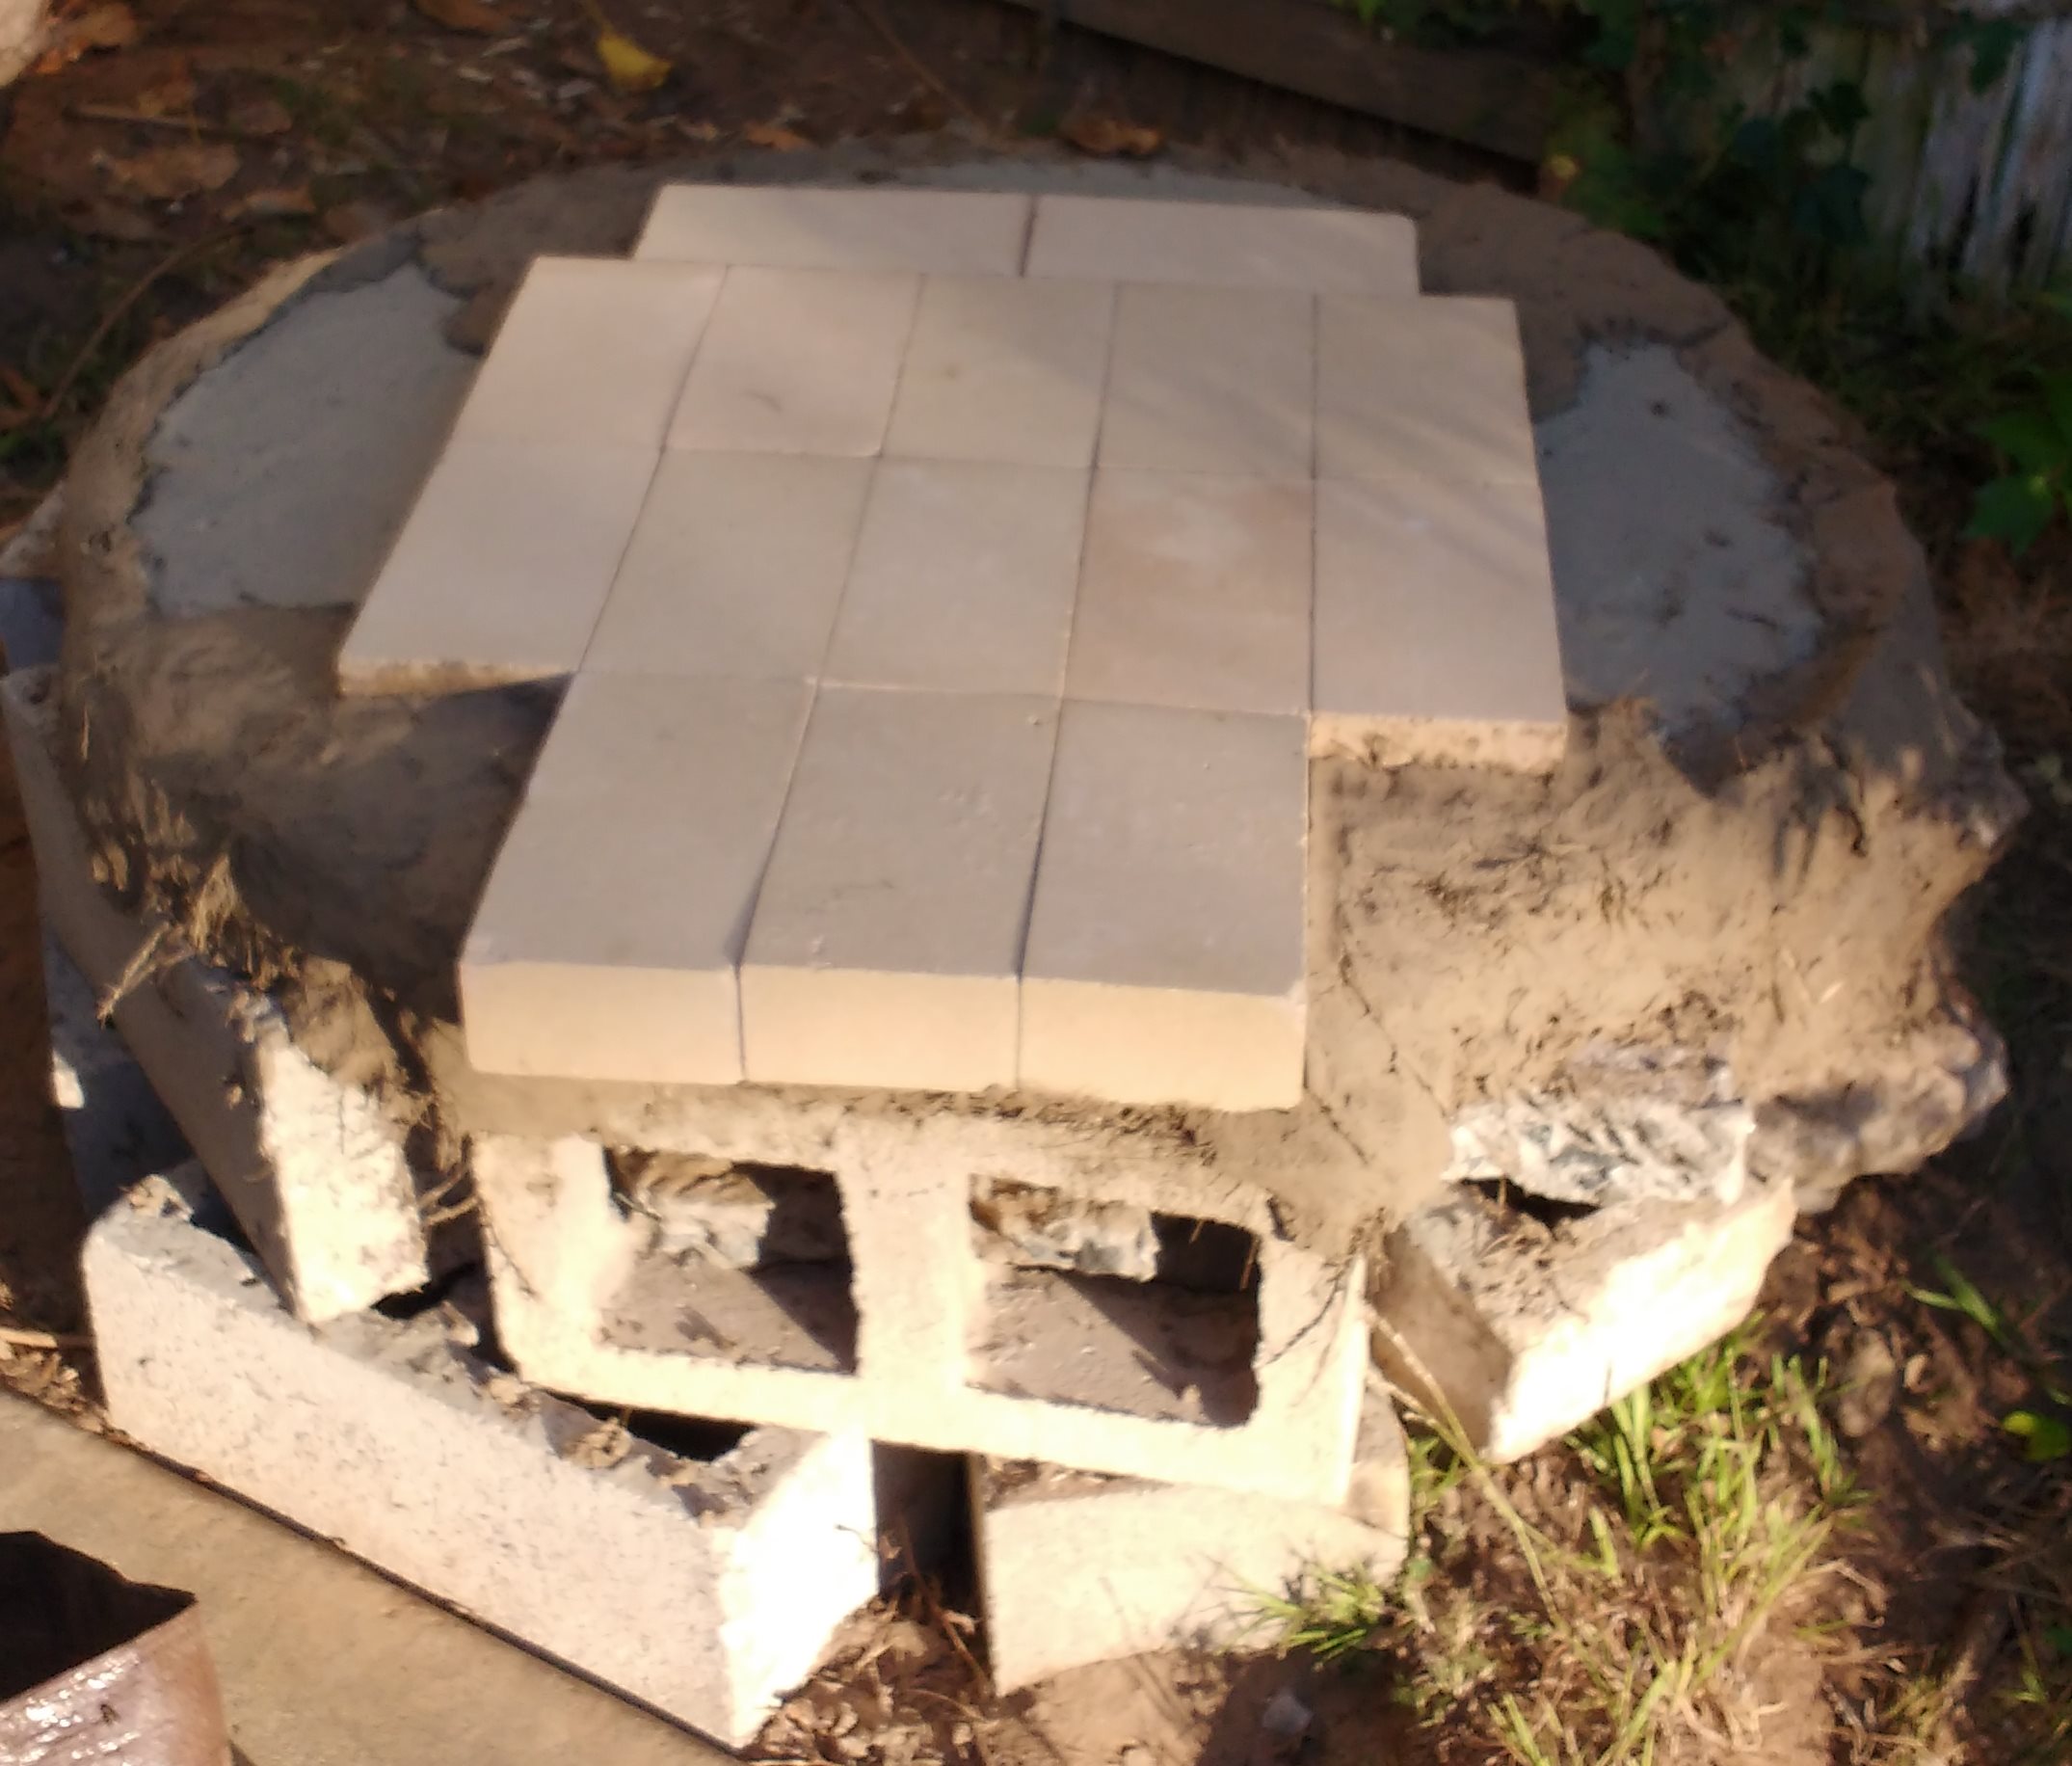
STEP 5
This is the main purchase. I spent $36 on fire brick. Try to get them as smooth and even as you can. You don’t need to cover the whole base since most of that will be insulation layer. Also, make sure they are flat. This is your cooking surface.
STEP 6
Trace out the radius of your internal space. You’re going to fill this up with sand. I found it handy to cut a stick to the height you want. This way you can ensure that you build it tall enough.
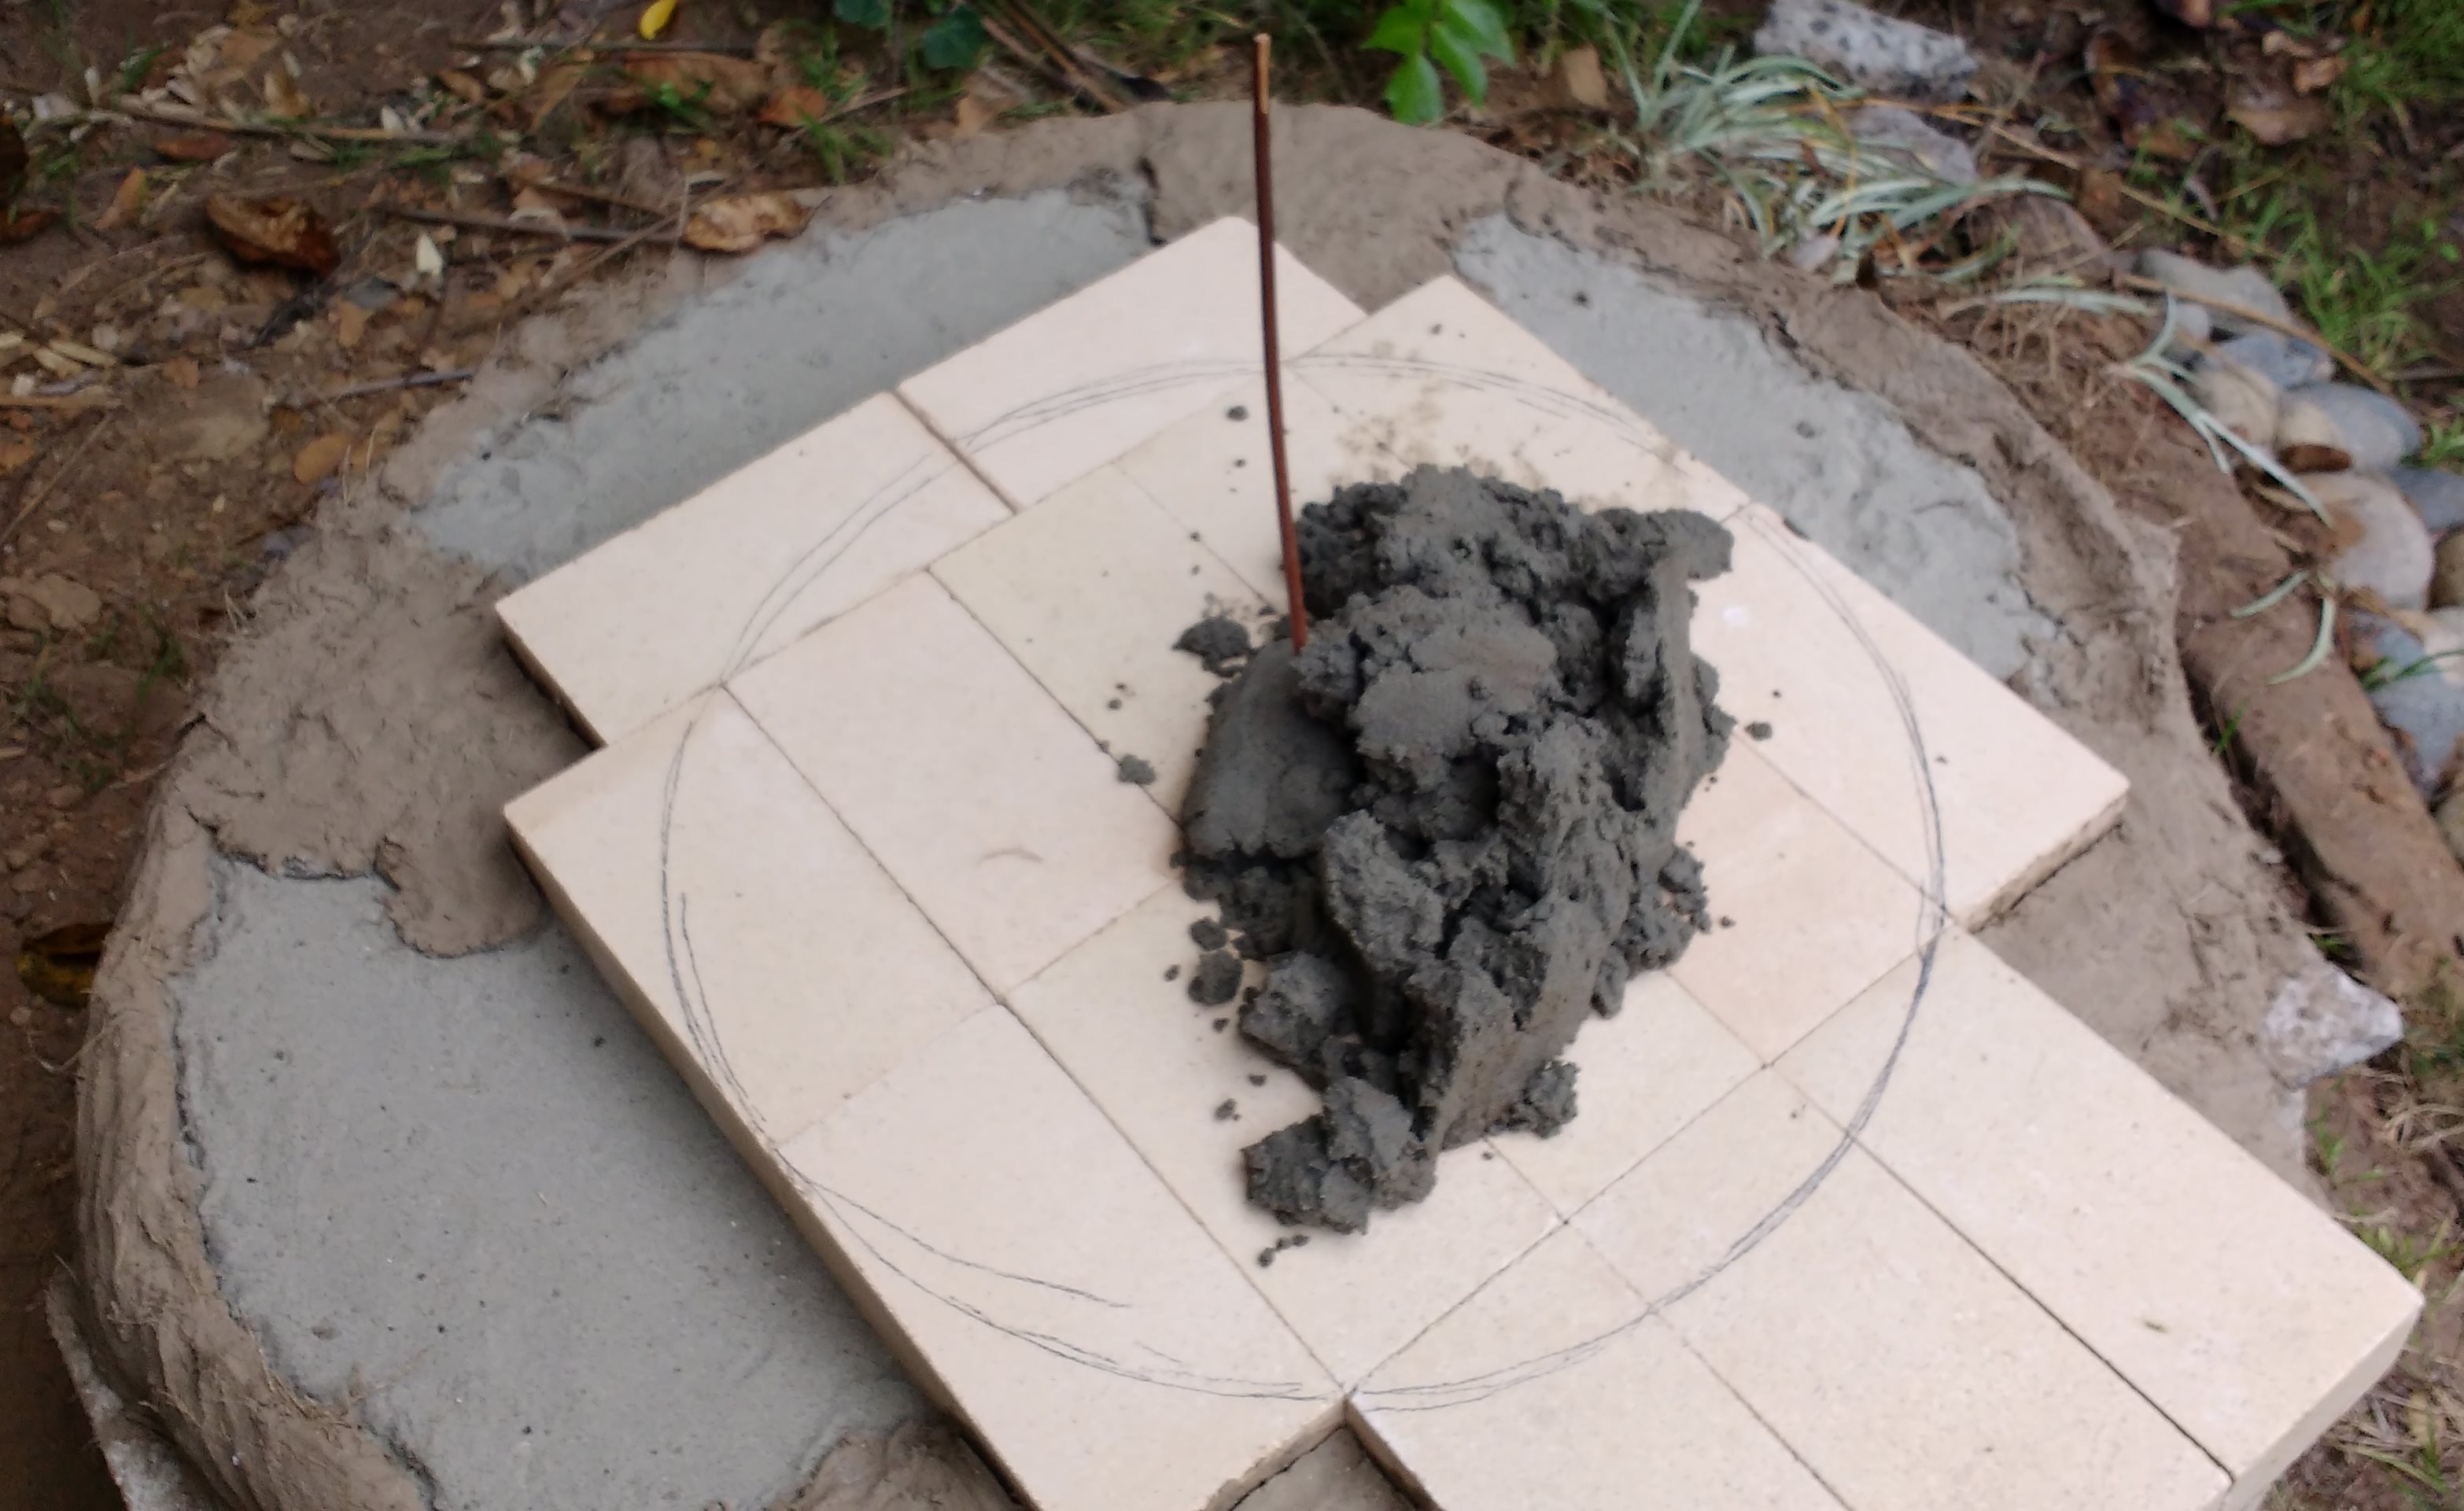
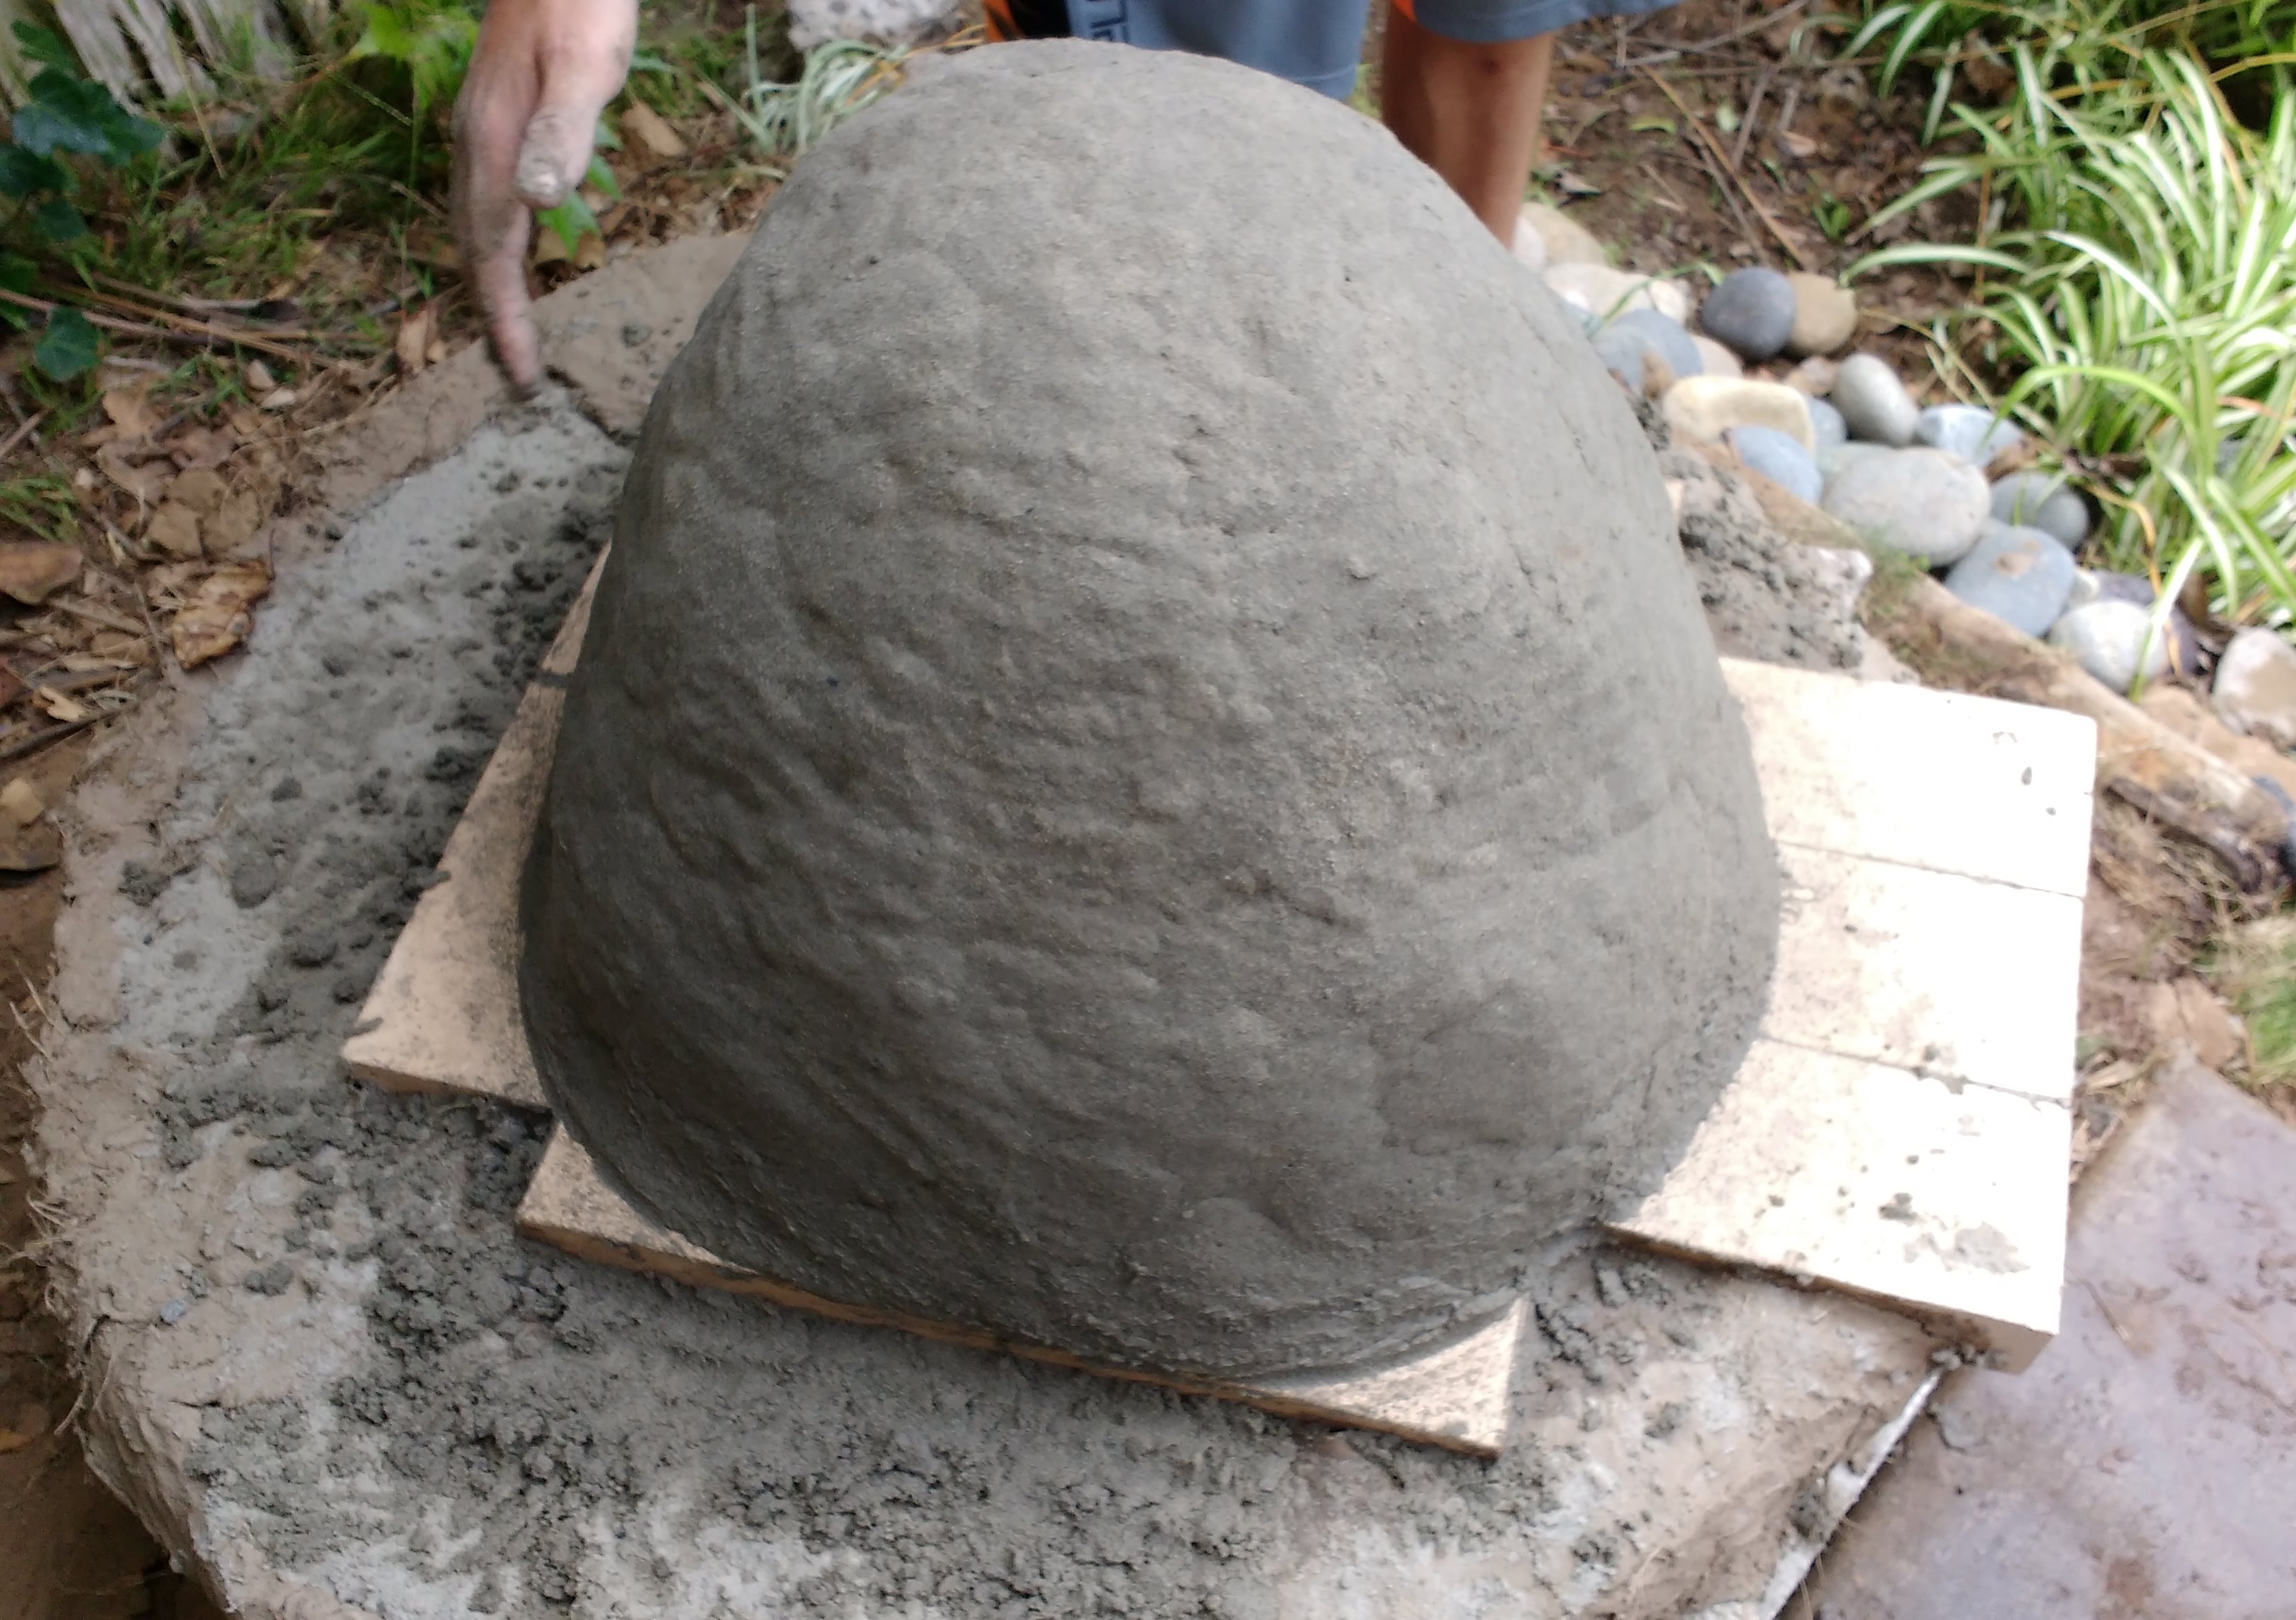
STEP 7
Create your dome out of sand. You’ll need to keep it wet so it doesn’t collapse as you’re building. It isn’t a perfect dome, but tapers towards the top.
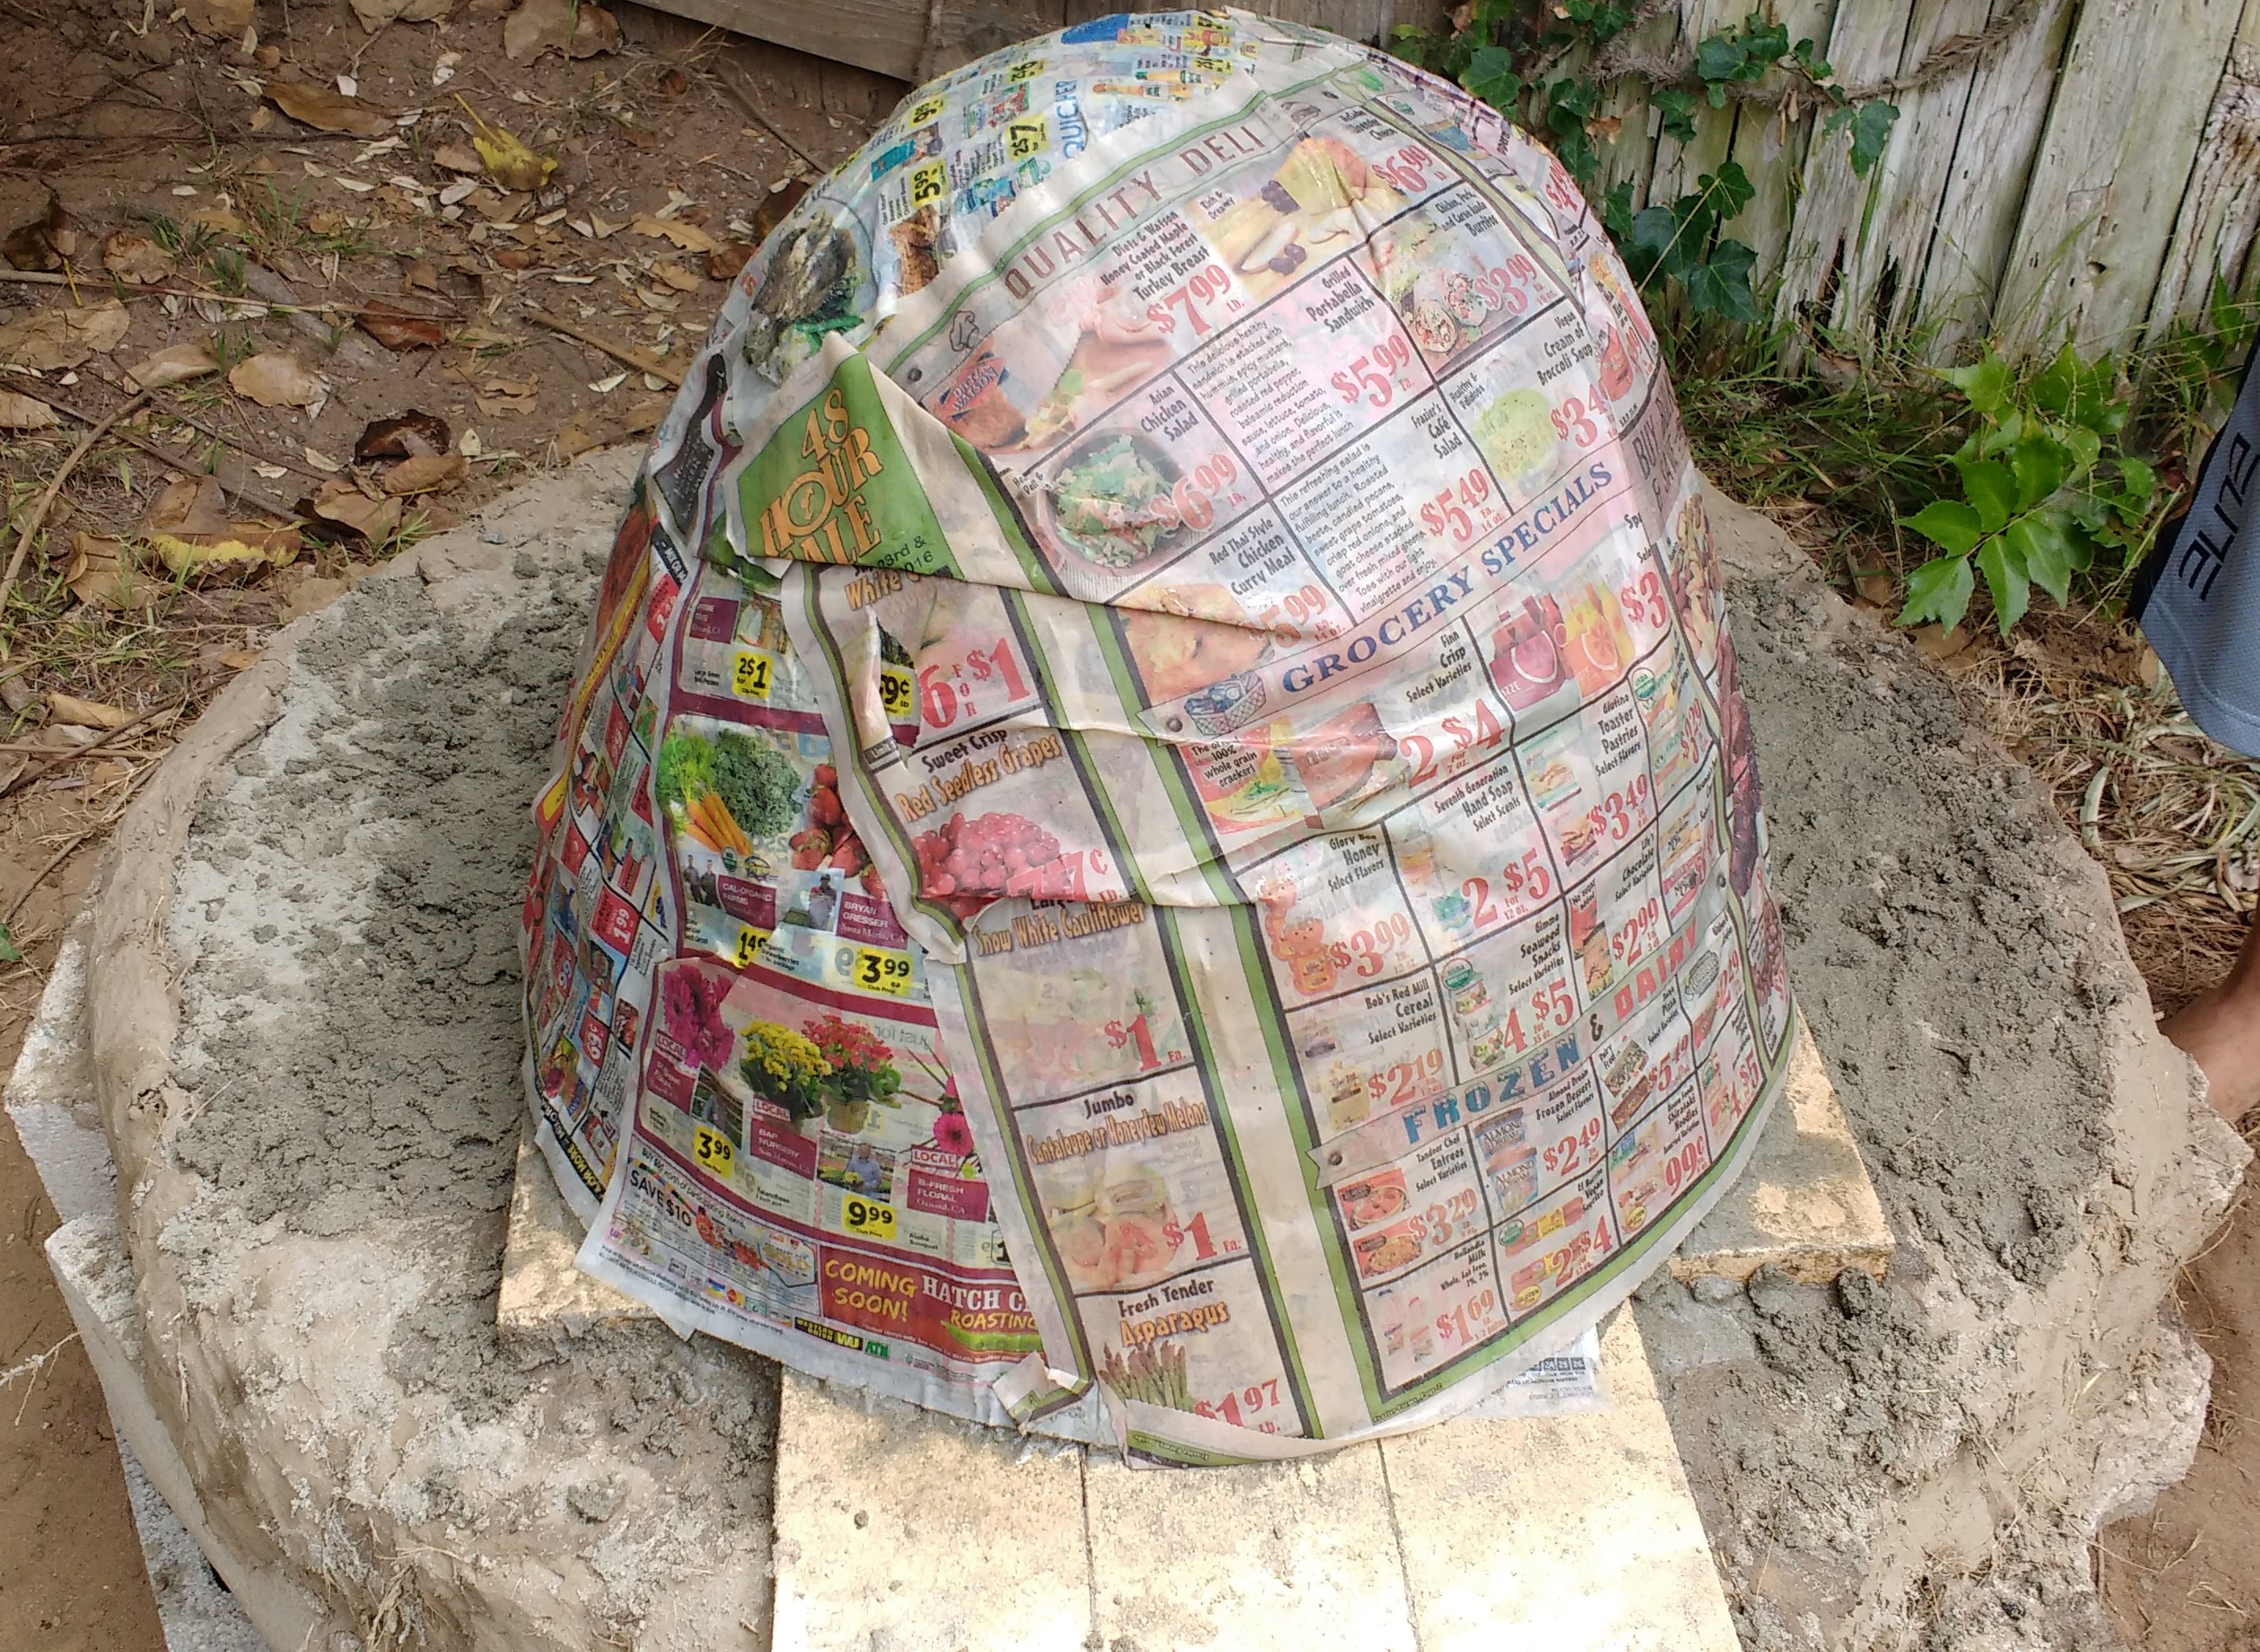
STEP 8
Cover the dome in wet newspaper. This will help keep the dome damp as you’re building the next layer, but it will also help identify when you’re done with the sand layer when you’re digging it out.
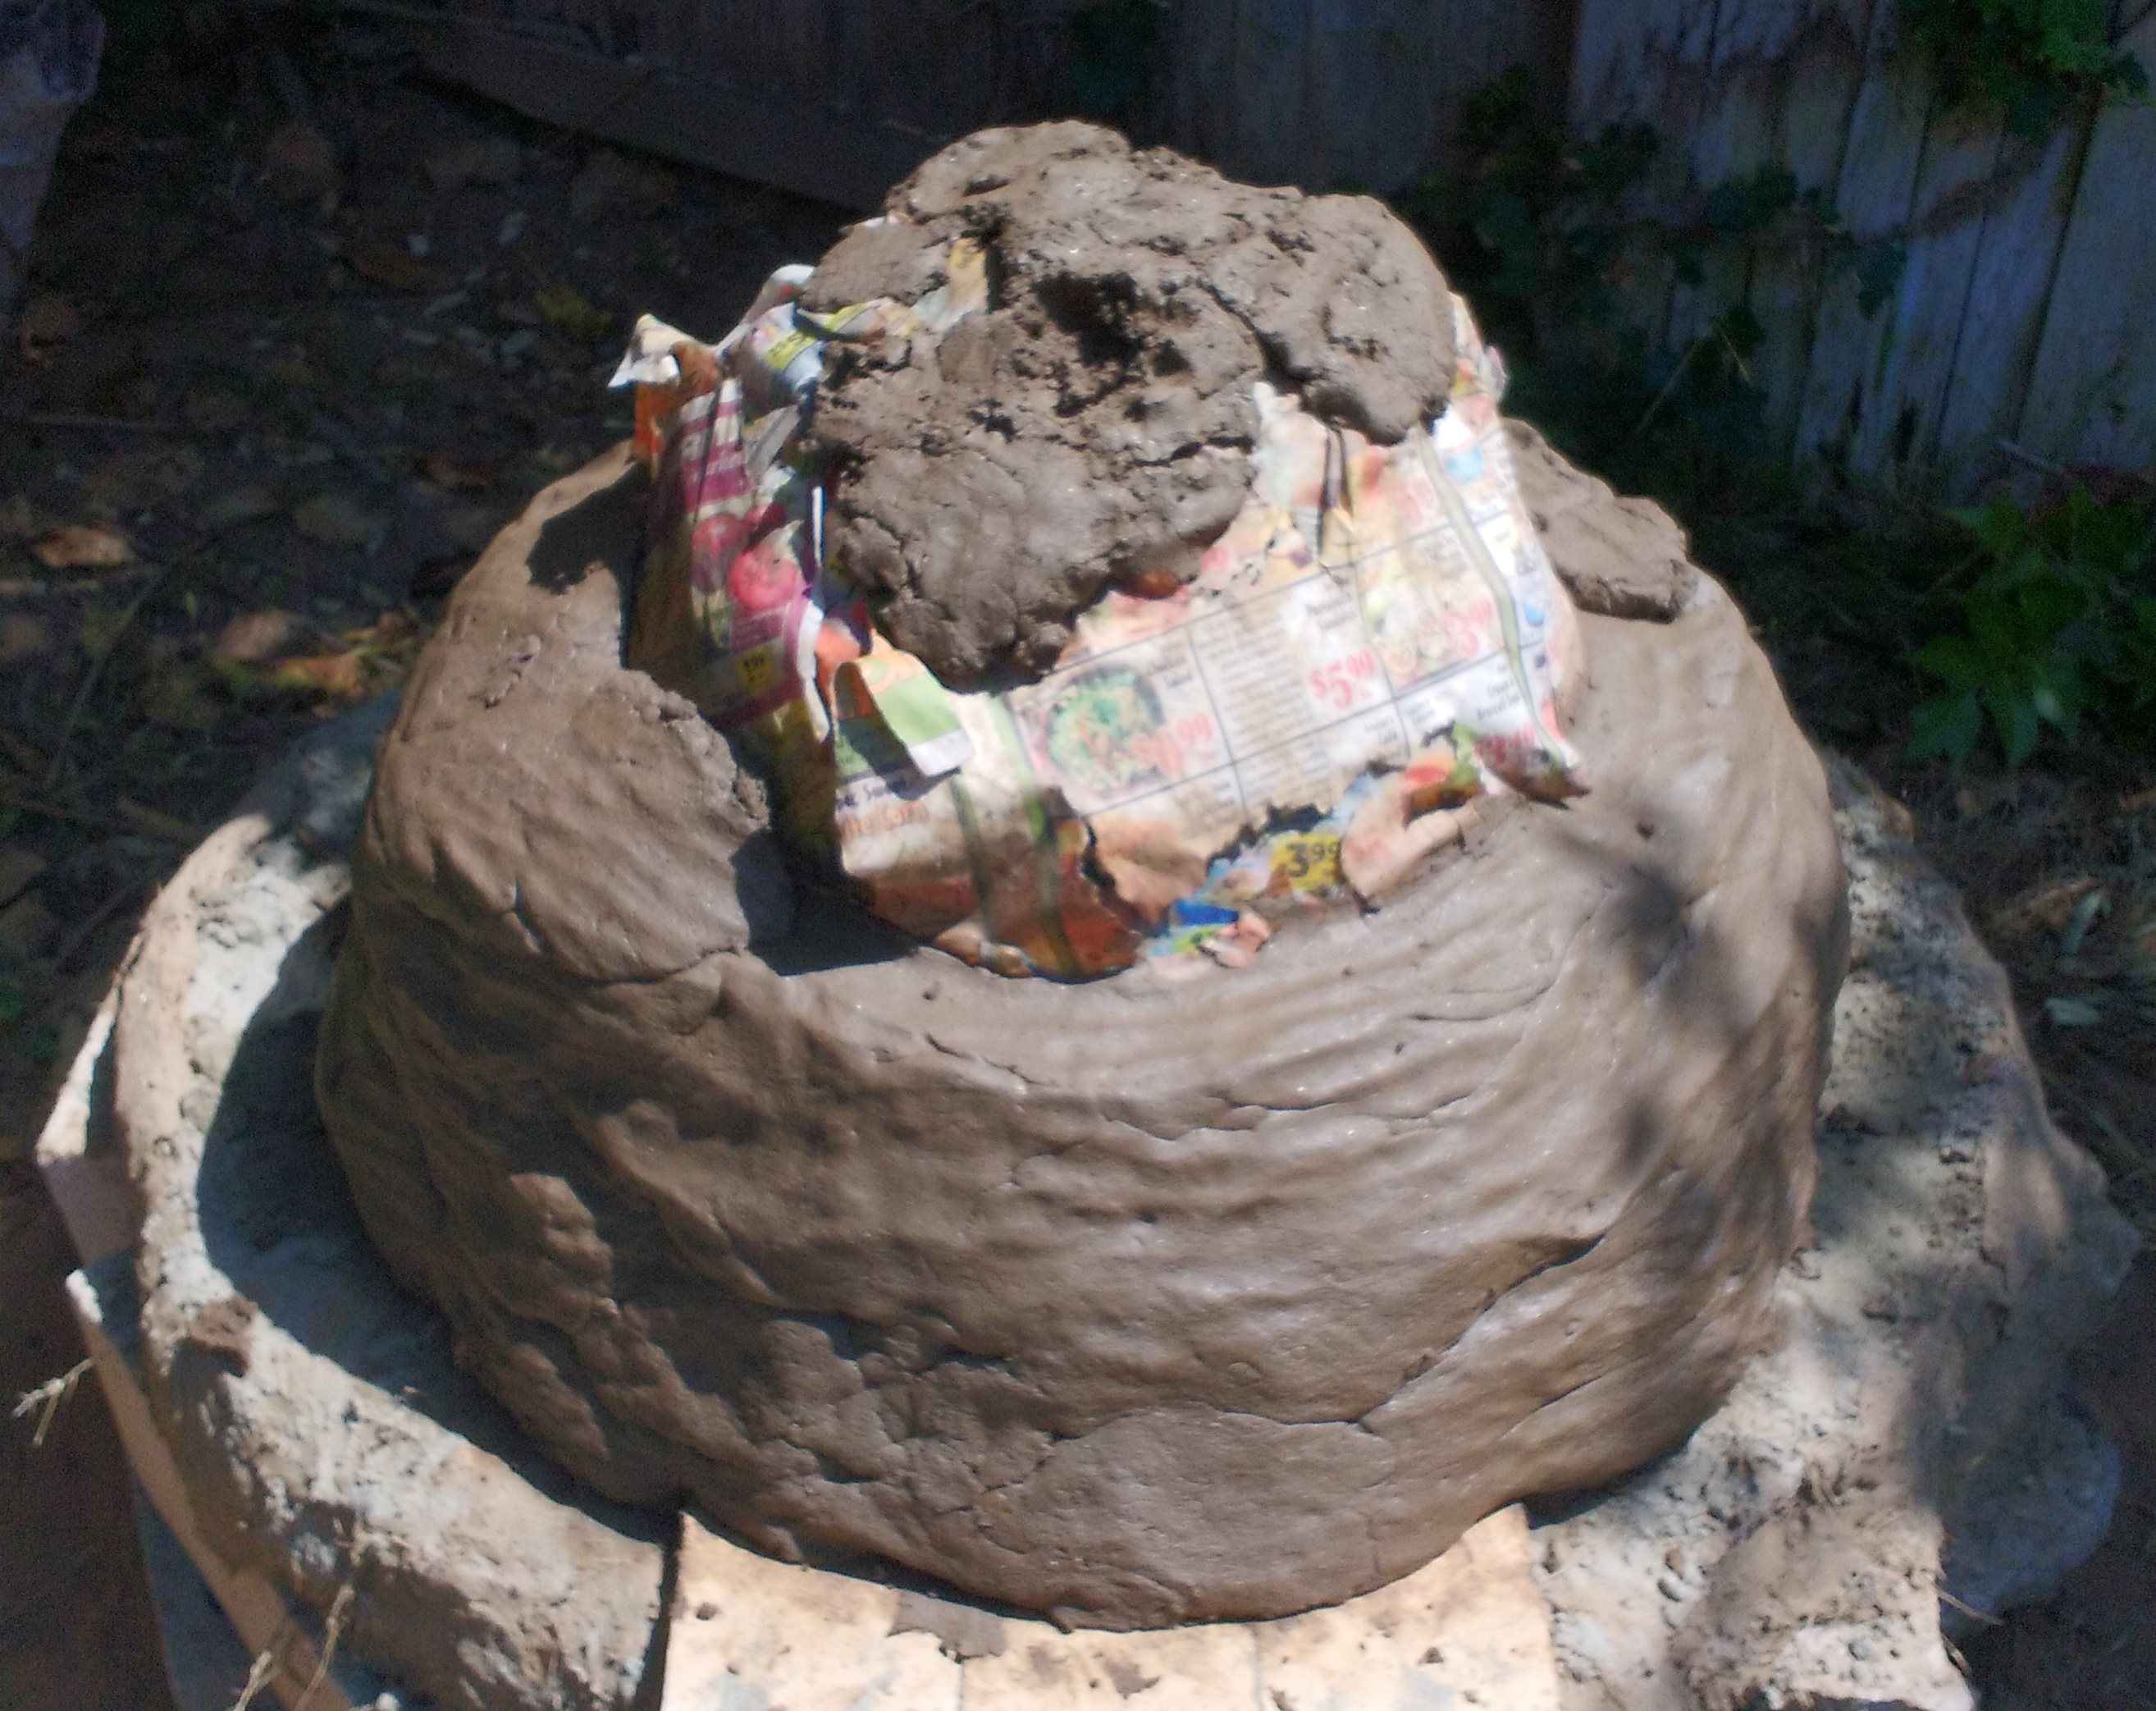
STEP 9
Now you’ll want to cover the rest of the dome in the clay/sand mixture. It’s pretty easy to mix it together with a drill and water for the clay and dumping that on top of a tarp with sand. You don’t want it to slump down, but you want it to be wet enough to work with. Cover the entire dome with at least 3 inches. This is what cooks the pizza.
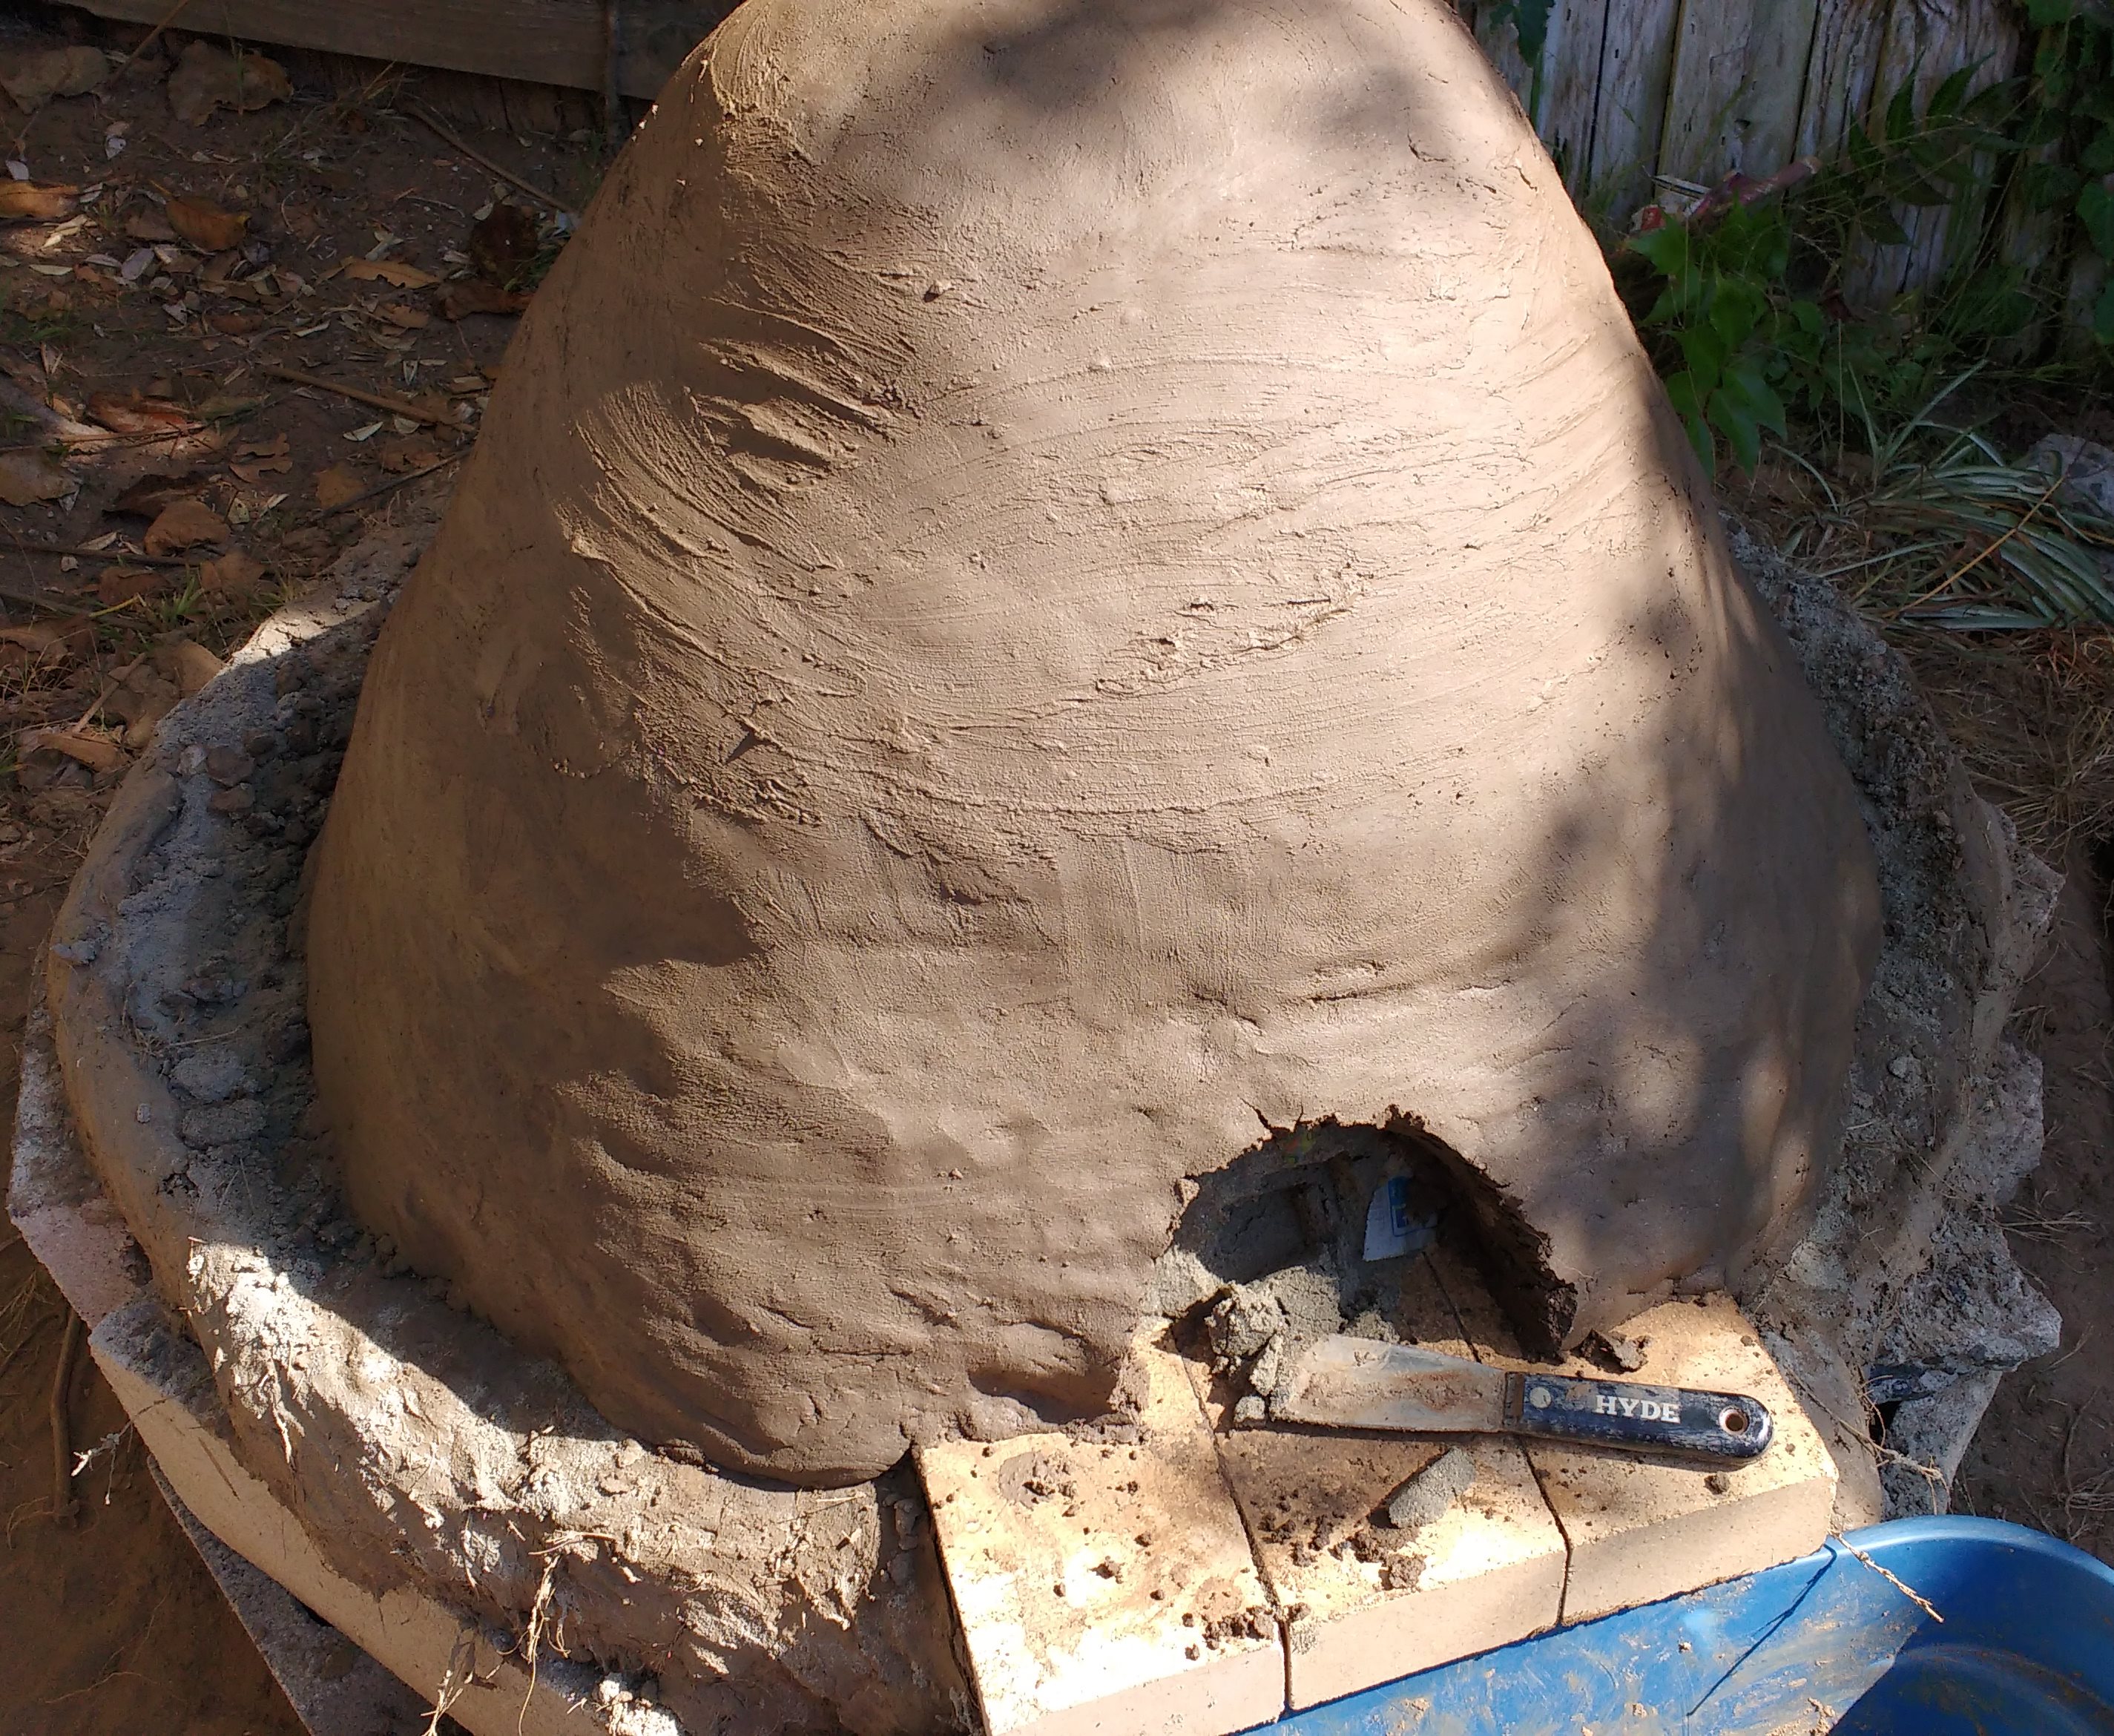
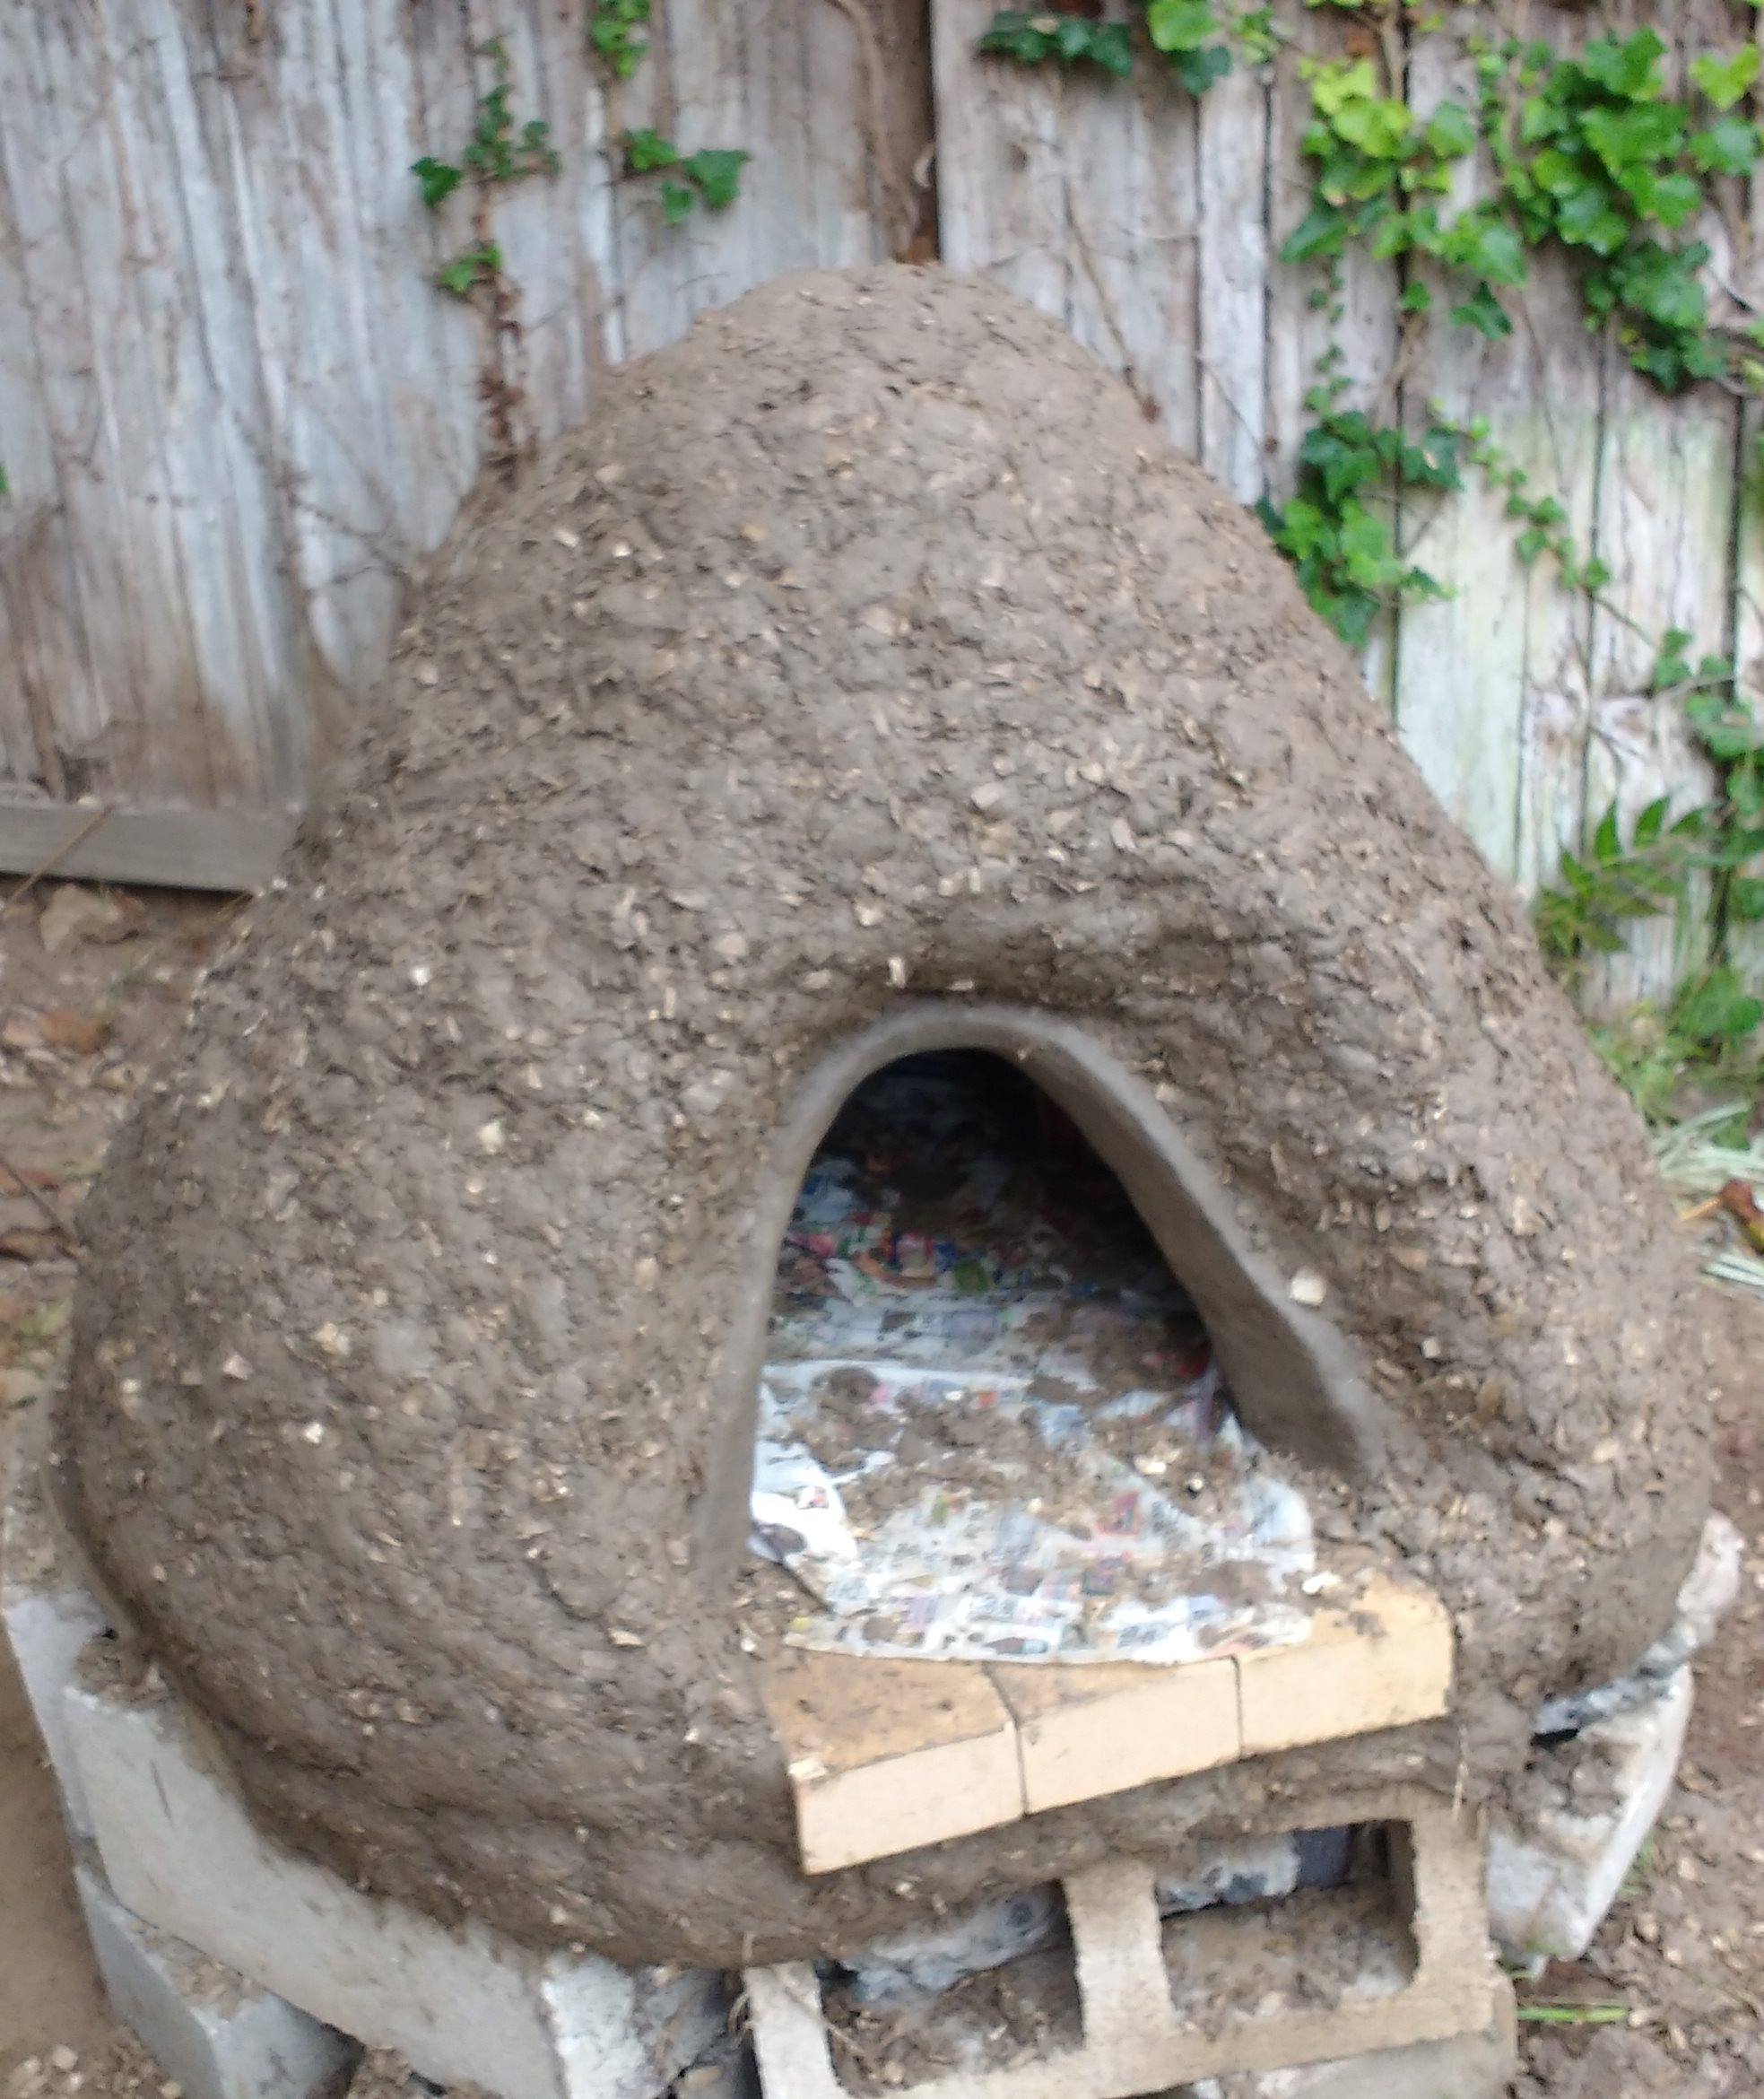
STEP 10
Cut out enough of a hole to start scooping the sand out. You can cut the entire entrance now if it’s hard enough, or wait until the walls solidify a little more. Scoop the sand out within a few ours or it will start cracking as it hardens. If it’s in direct sun, start scooping immediately after it hardens enough to maintain its shape.
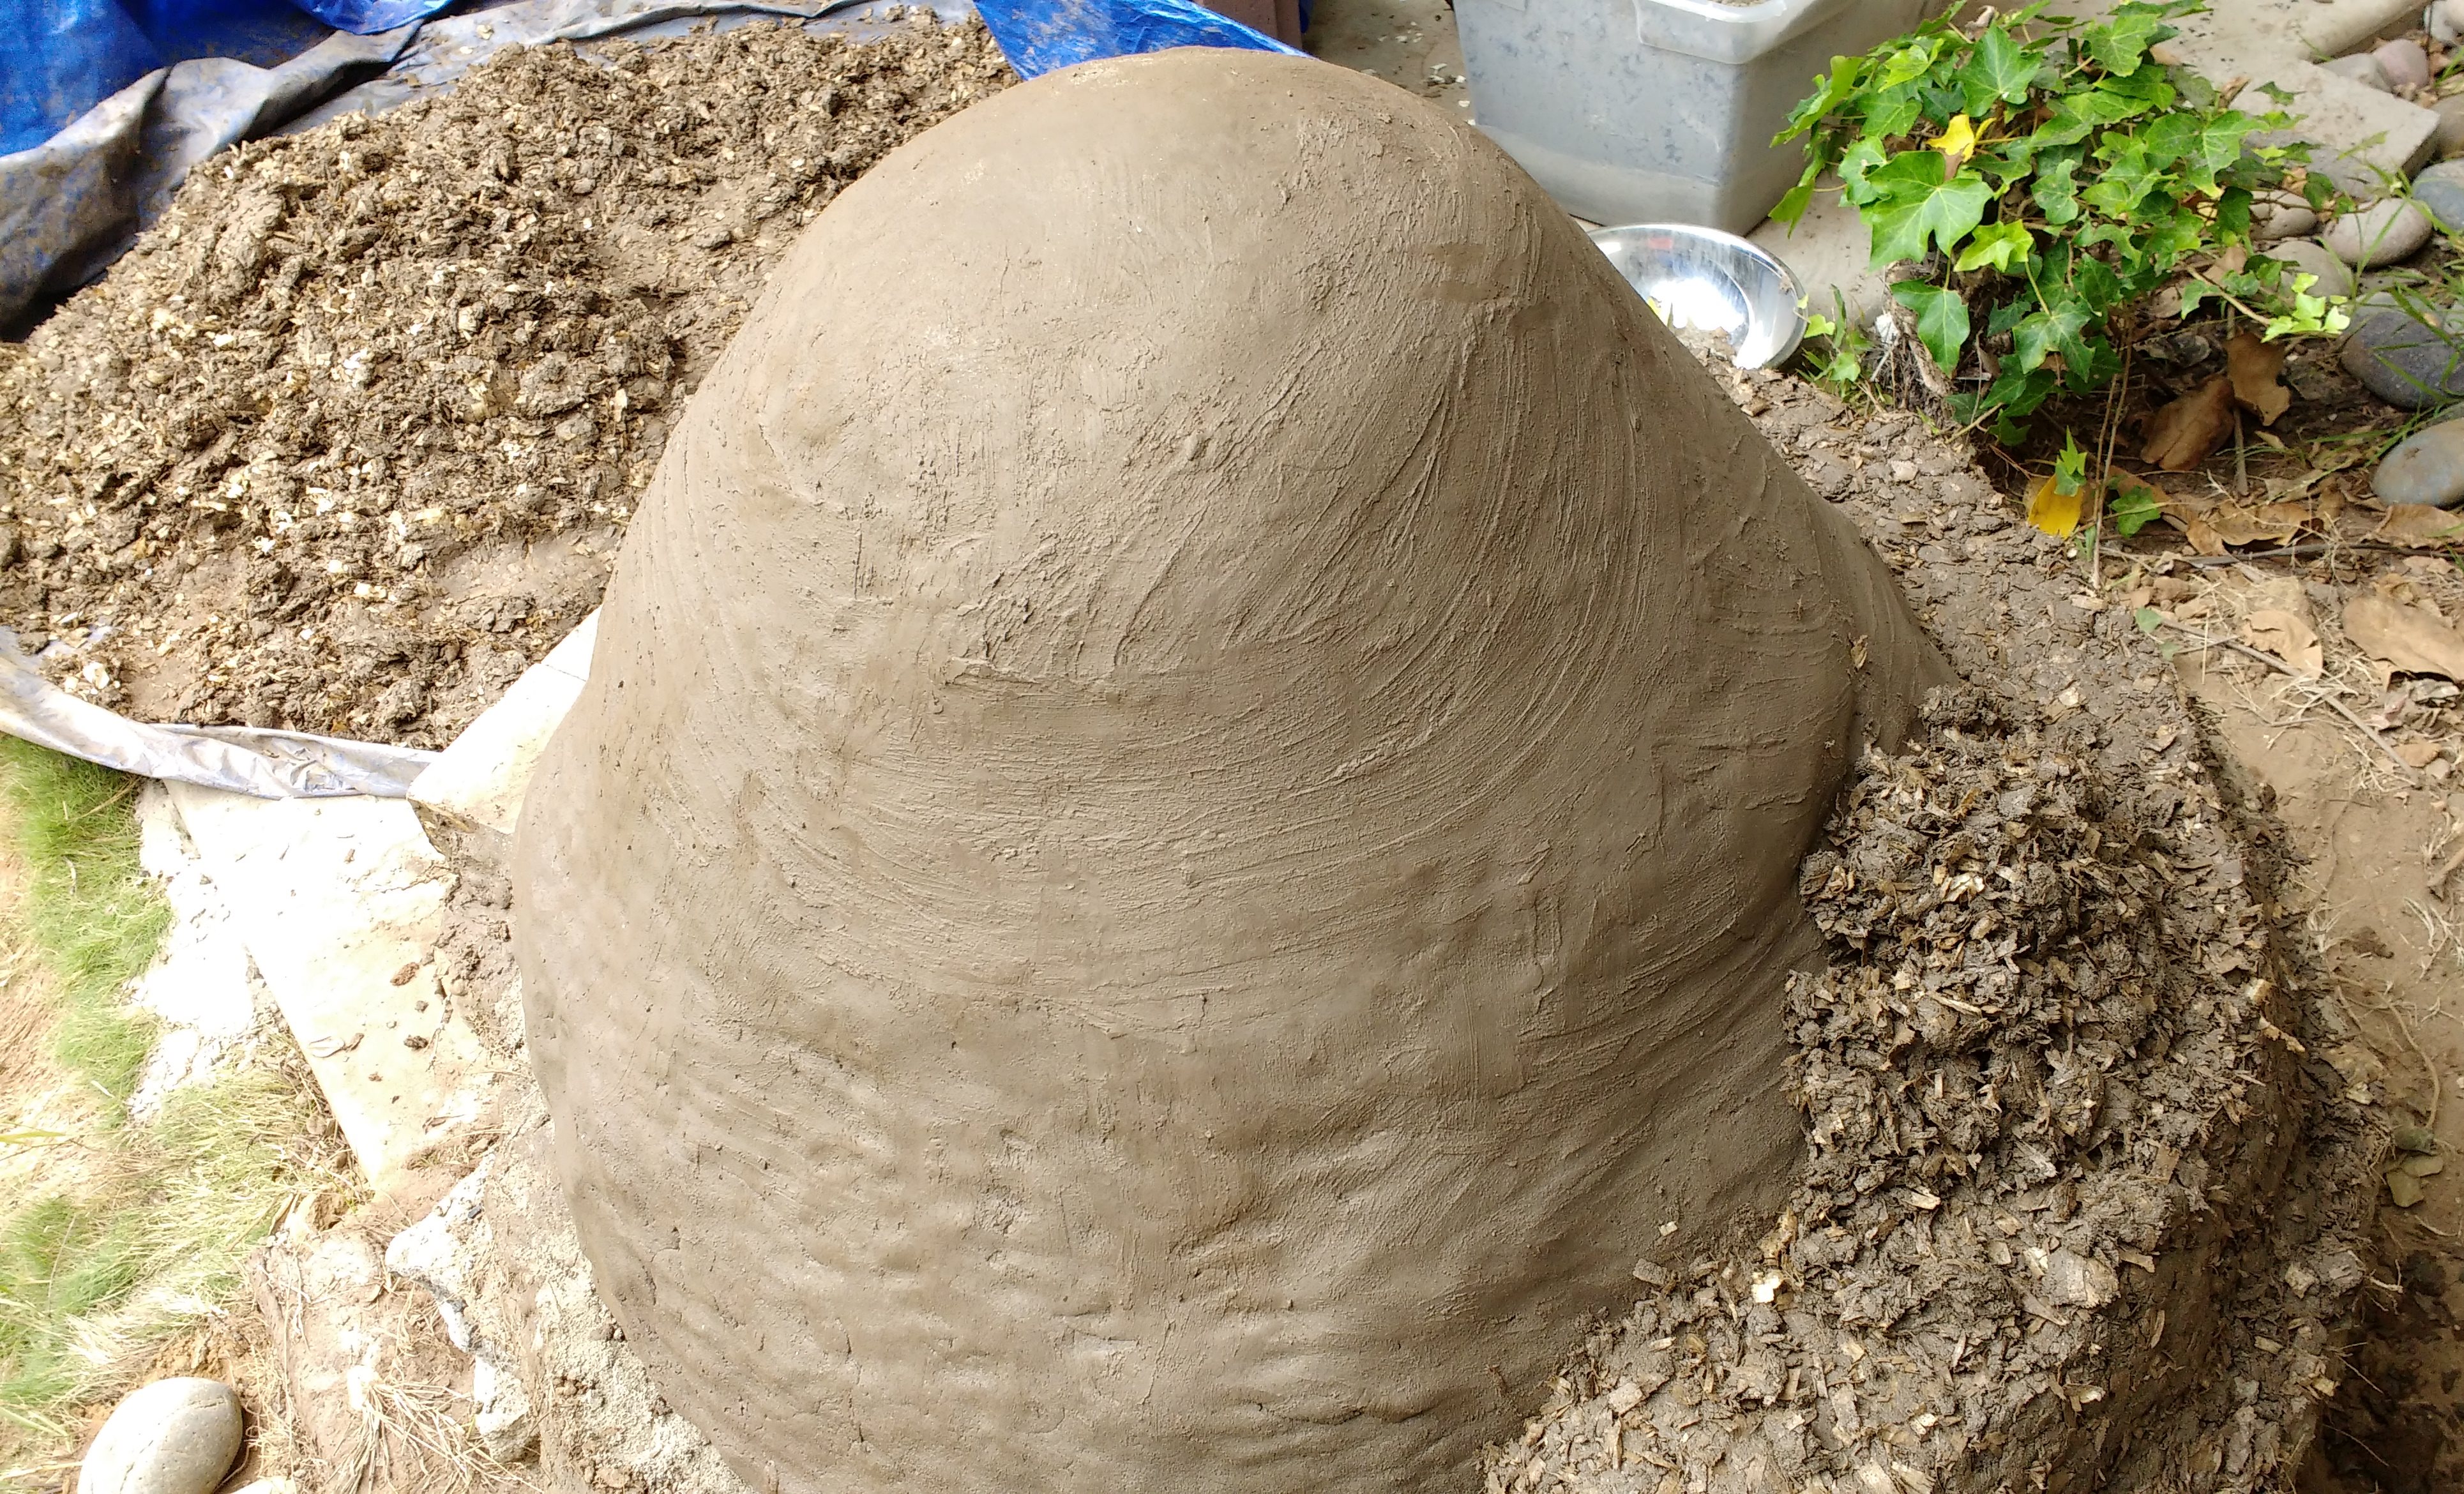
STEP 11
Once it has dried completely on the outside, should feel very hard like a brick, you want to cover it with an insulation layer. I used a mixture of straw and sawdust combined with my clay/sand base. In the background you can see the tarp I was using to roll it around. Make this nice and thick. You can’t really make it too thick.
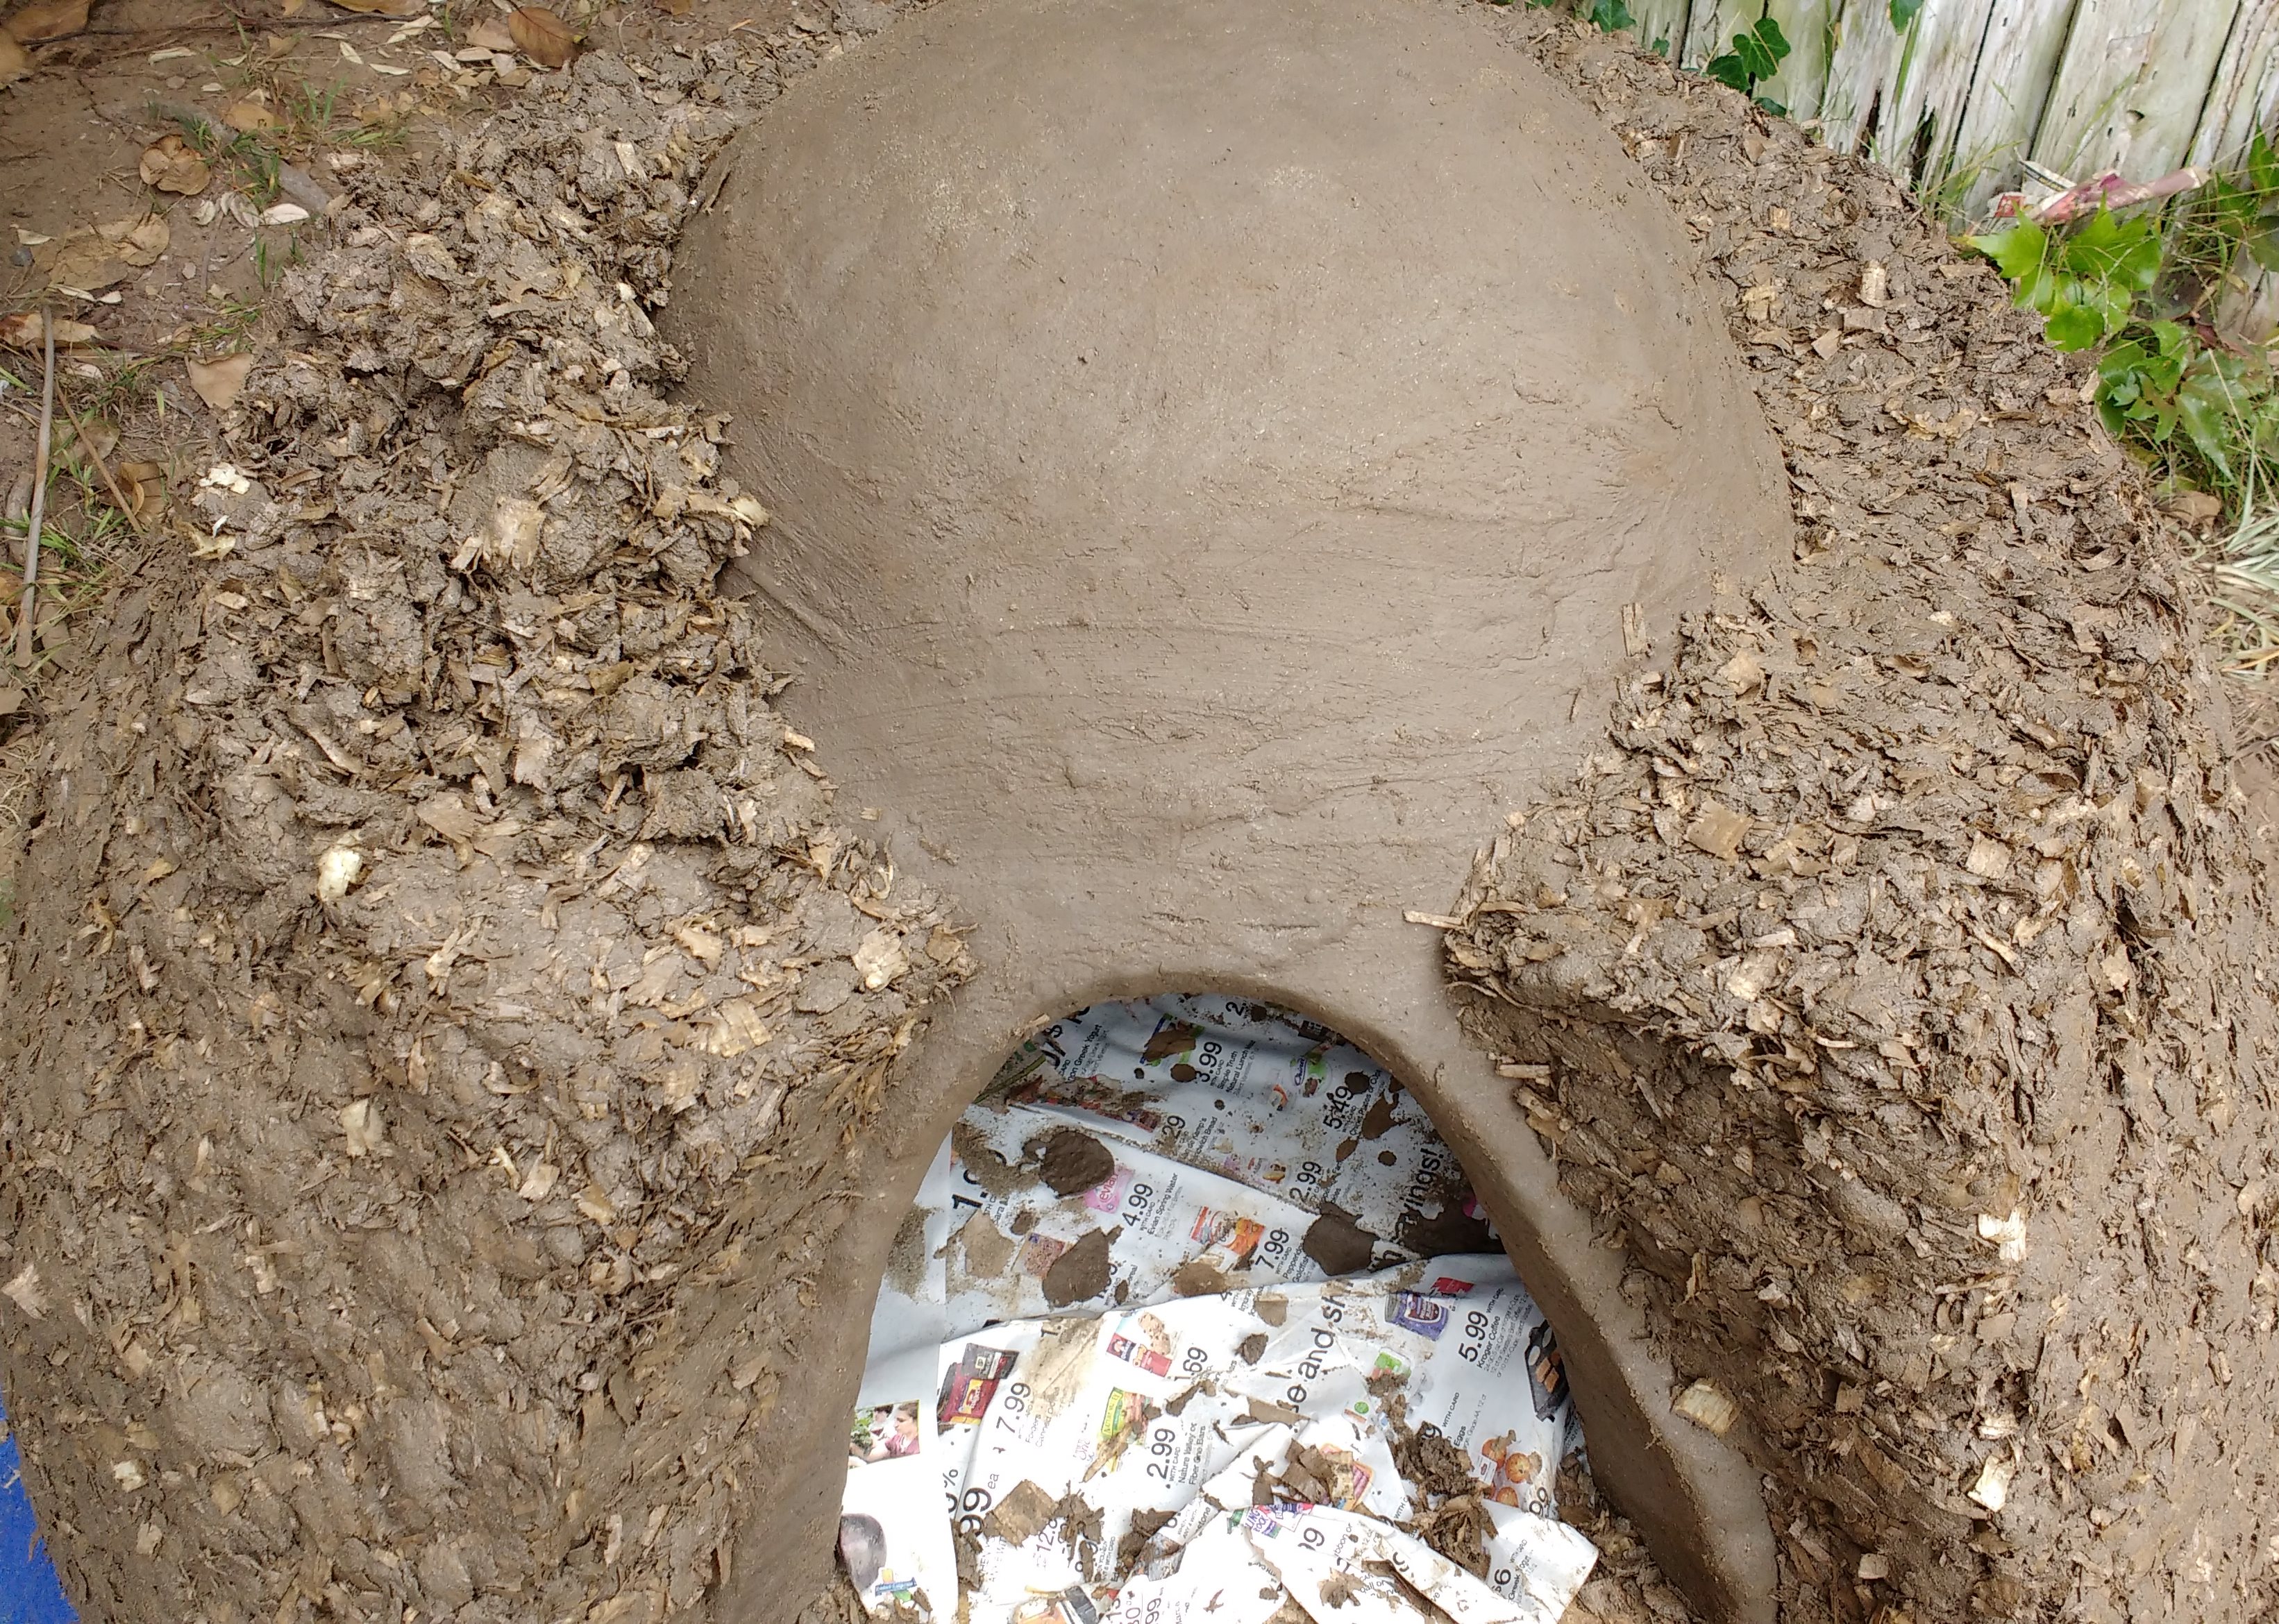
STEP 12
Keep progressing up the dome. If you haven’t finished cutting your entrance, you’ll want to do this now.
STEP 13
Once it’s done you’ll have a completed pizza oven. Depending on your weather conditions it could take a few days up to a month to dry. You can have small fires inside to help with the drying. I used a long burning candle for a couple nights to help speed the process. Remove any extra sand from the inside.
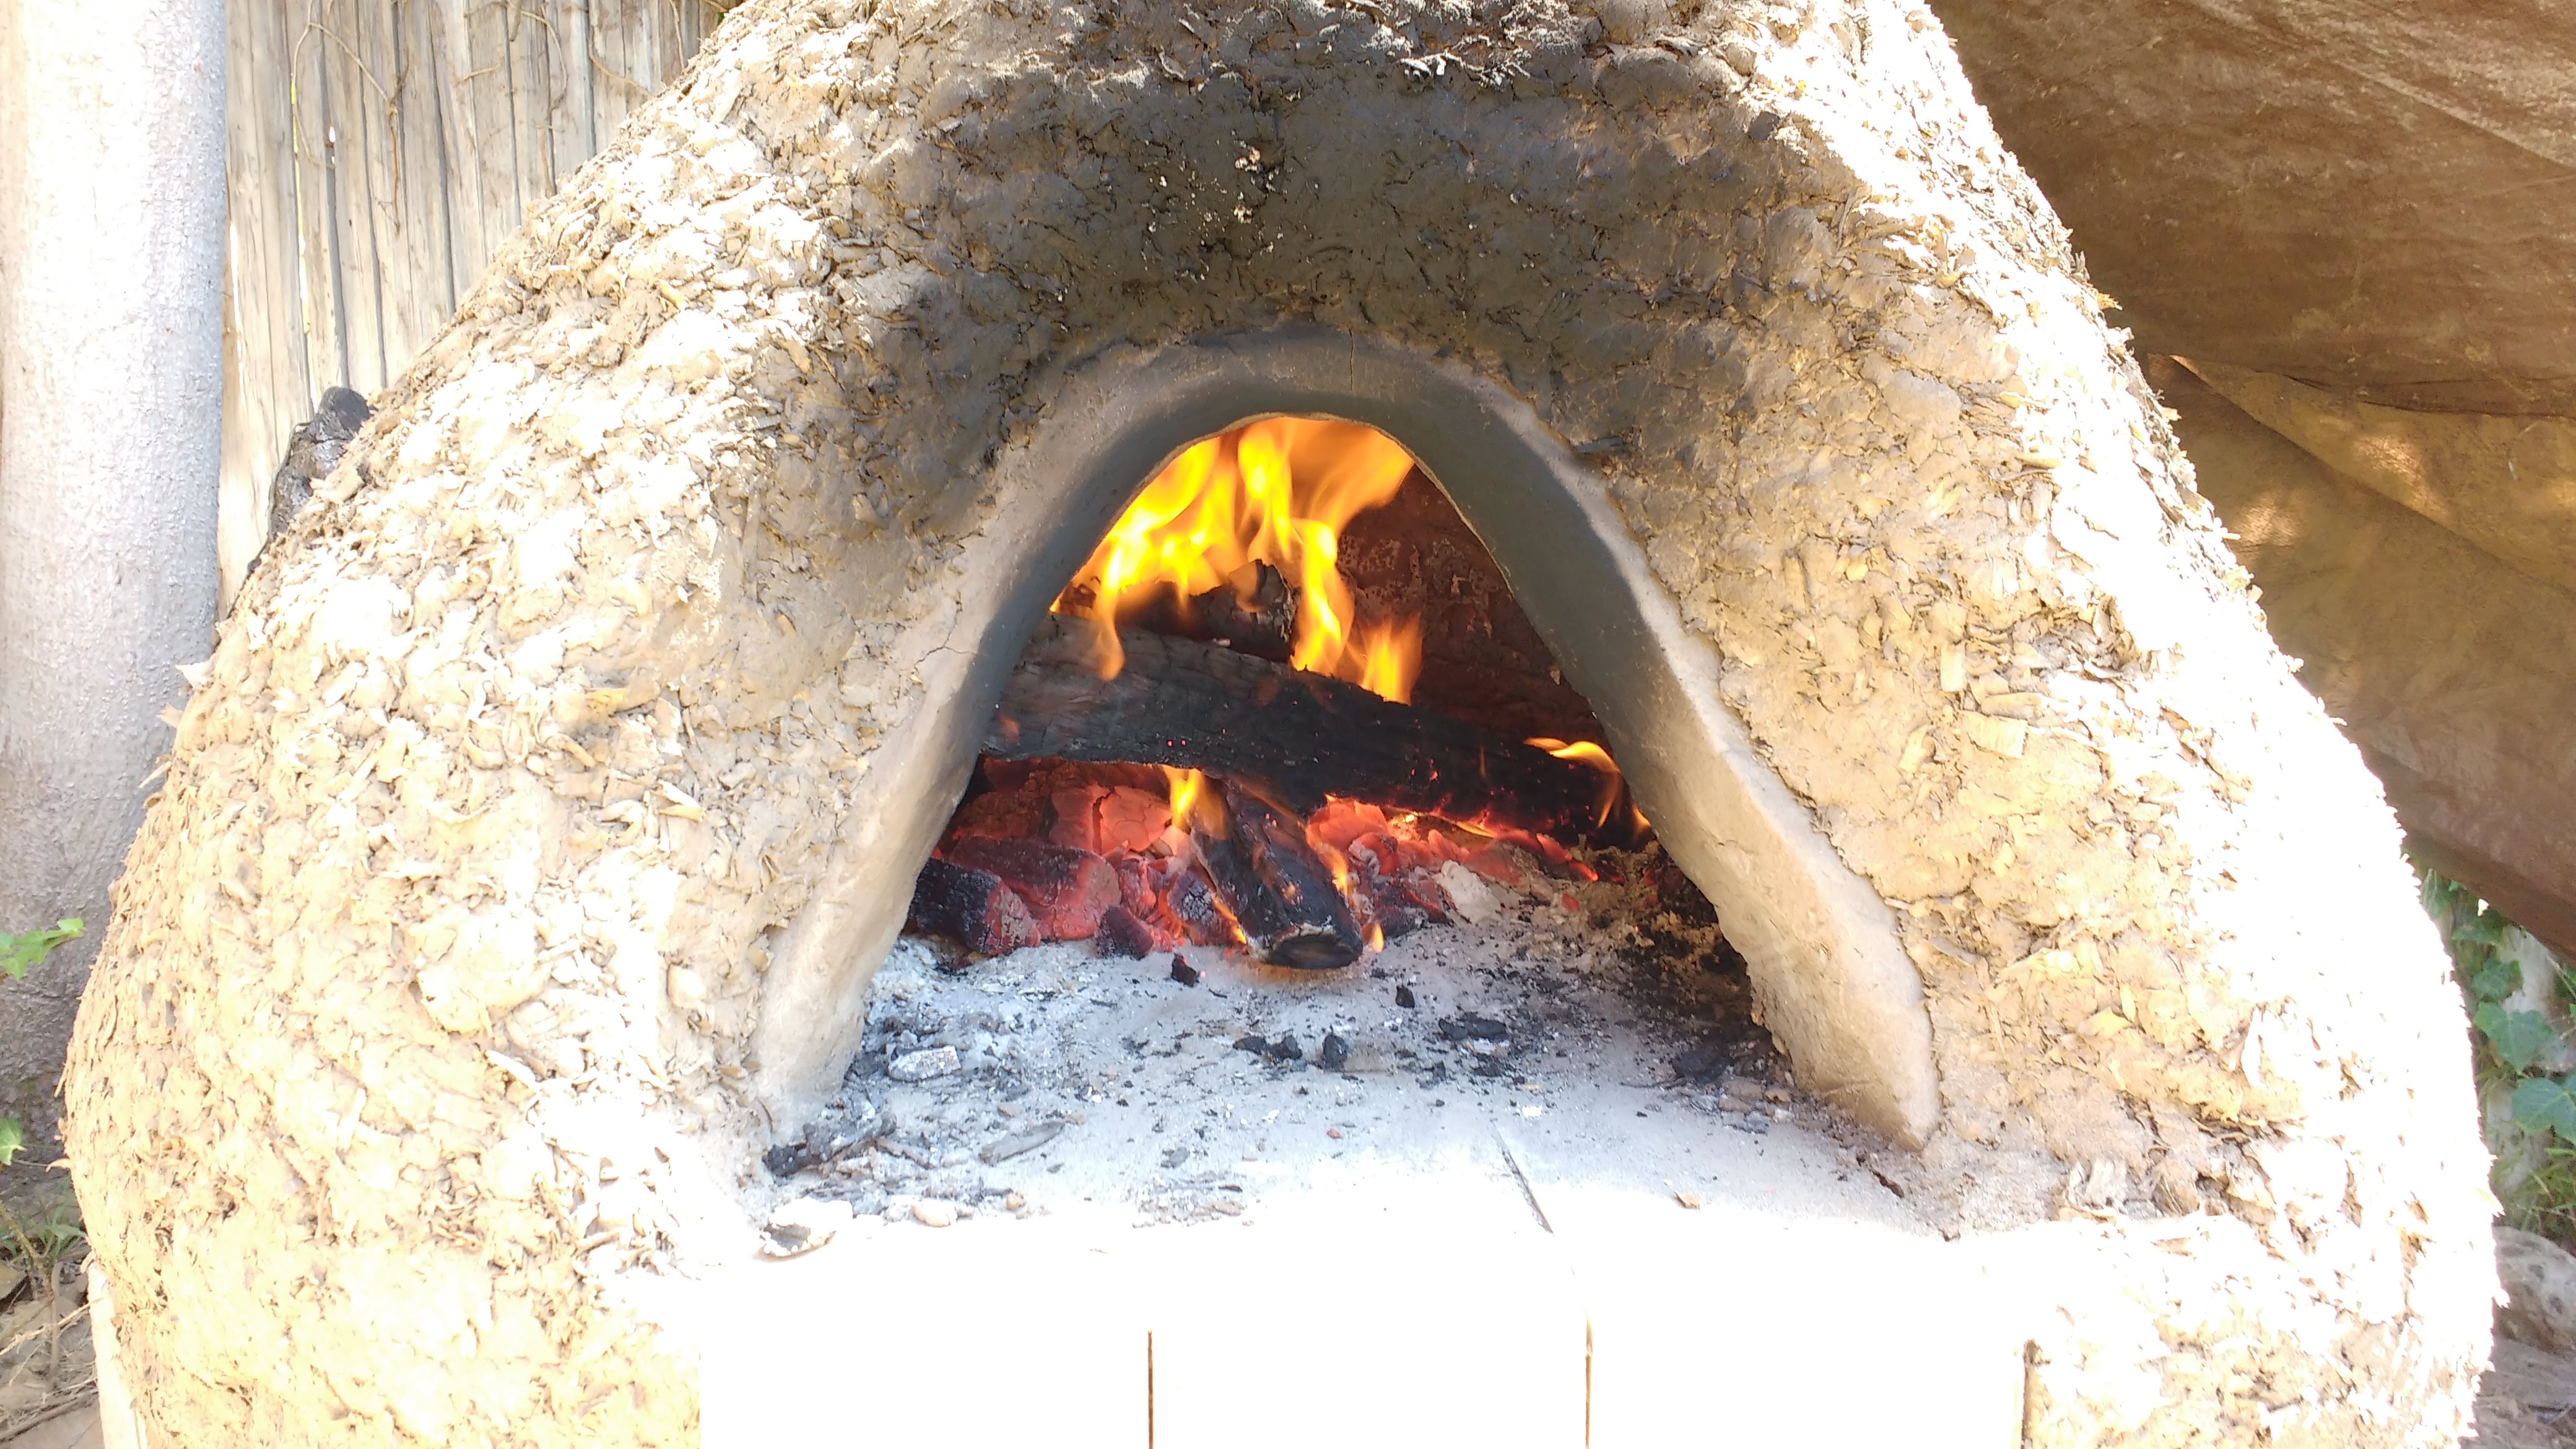
STEP 14
Once it’s completely dry, you’re ready to fire it up. I found it only needed a few logs to burn super hot. Depending on the size, your oven may take 2-3 hours to heat up. I found mine was pretty good to go after about 1.5 hours. Scrap the coals to the side, or completely out and wipe the bricks down. I found a wet T-Shirt tied to a long stick to work really well.
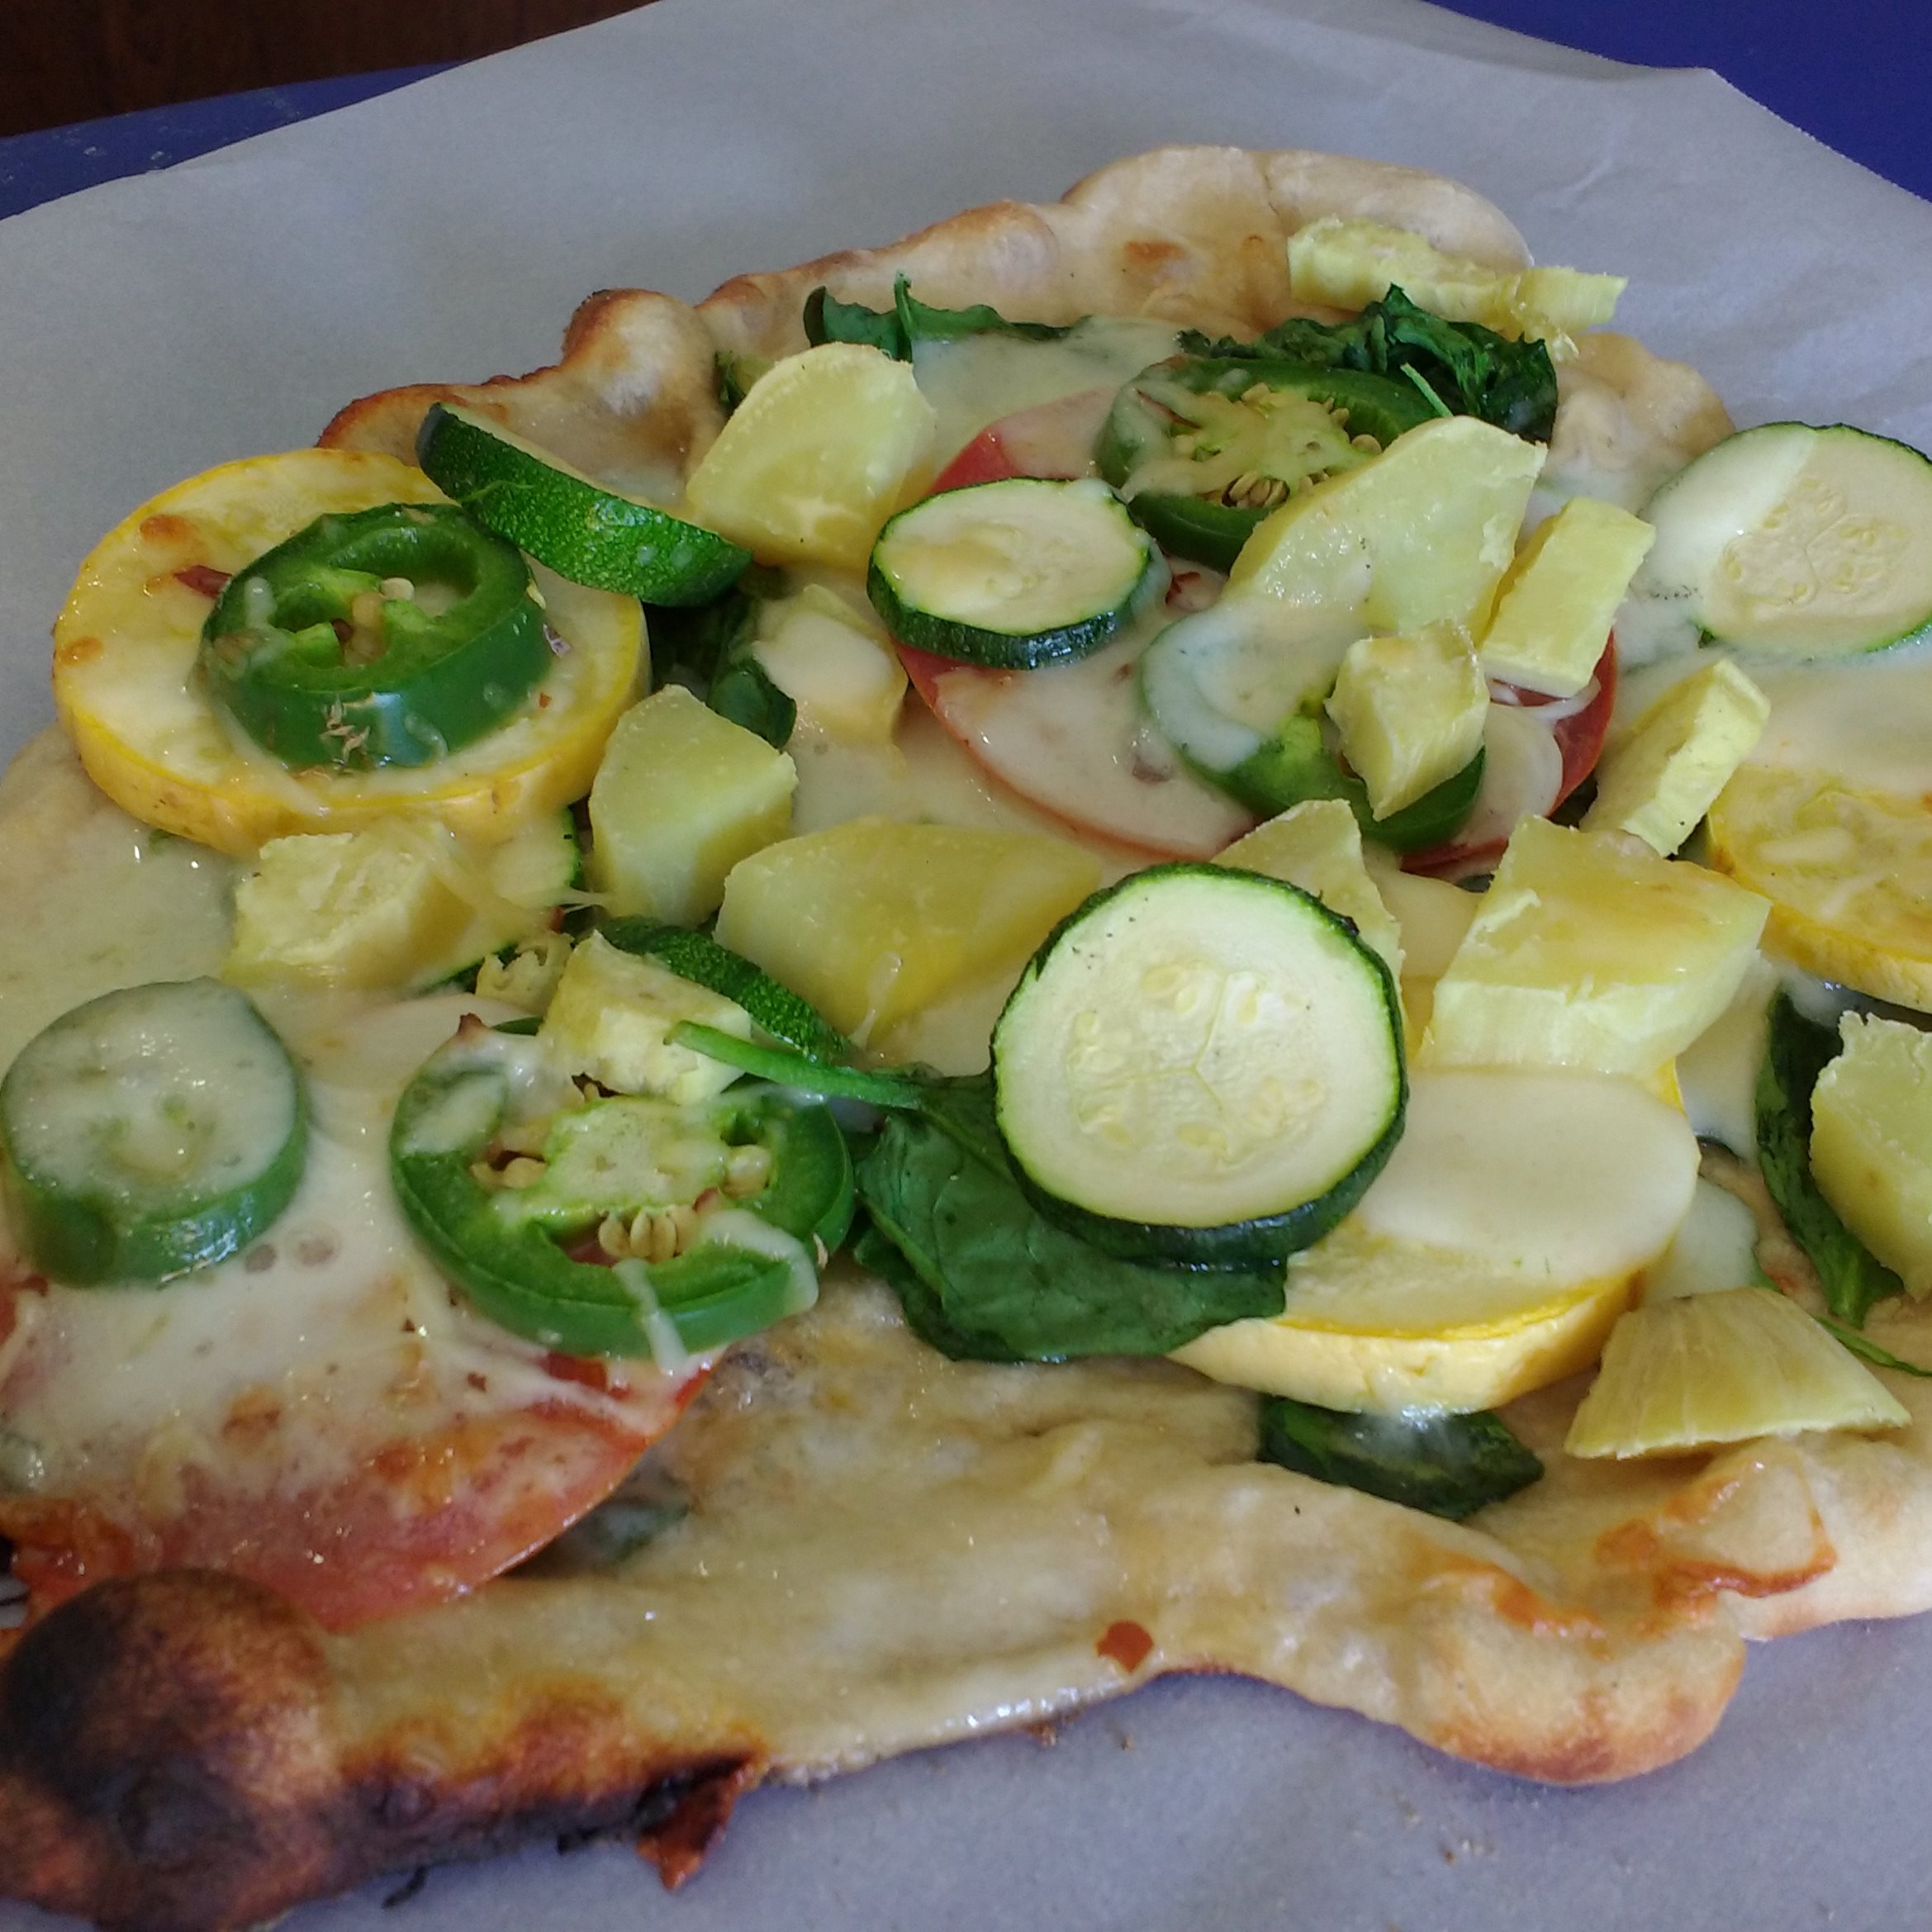
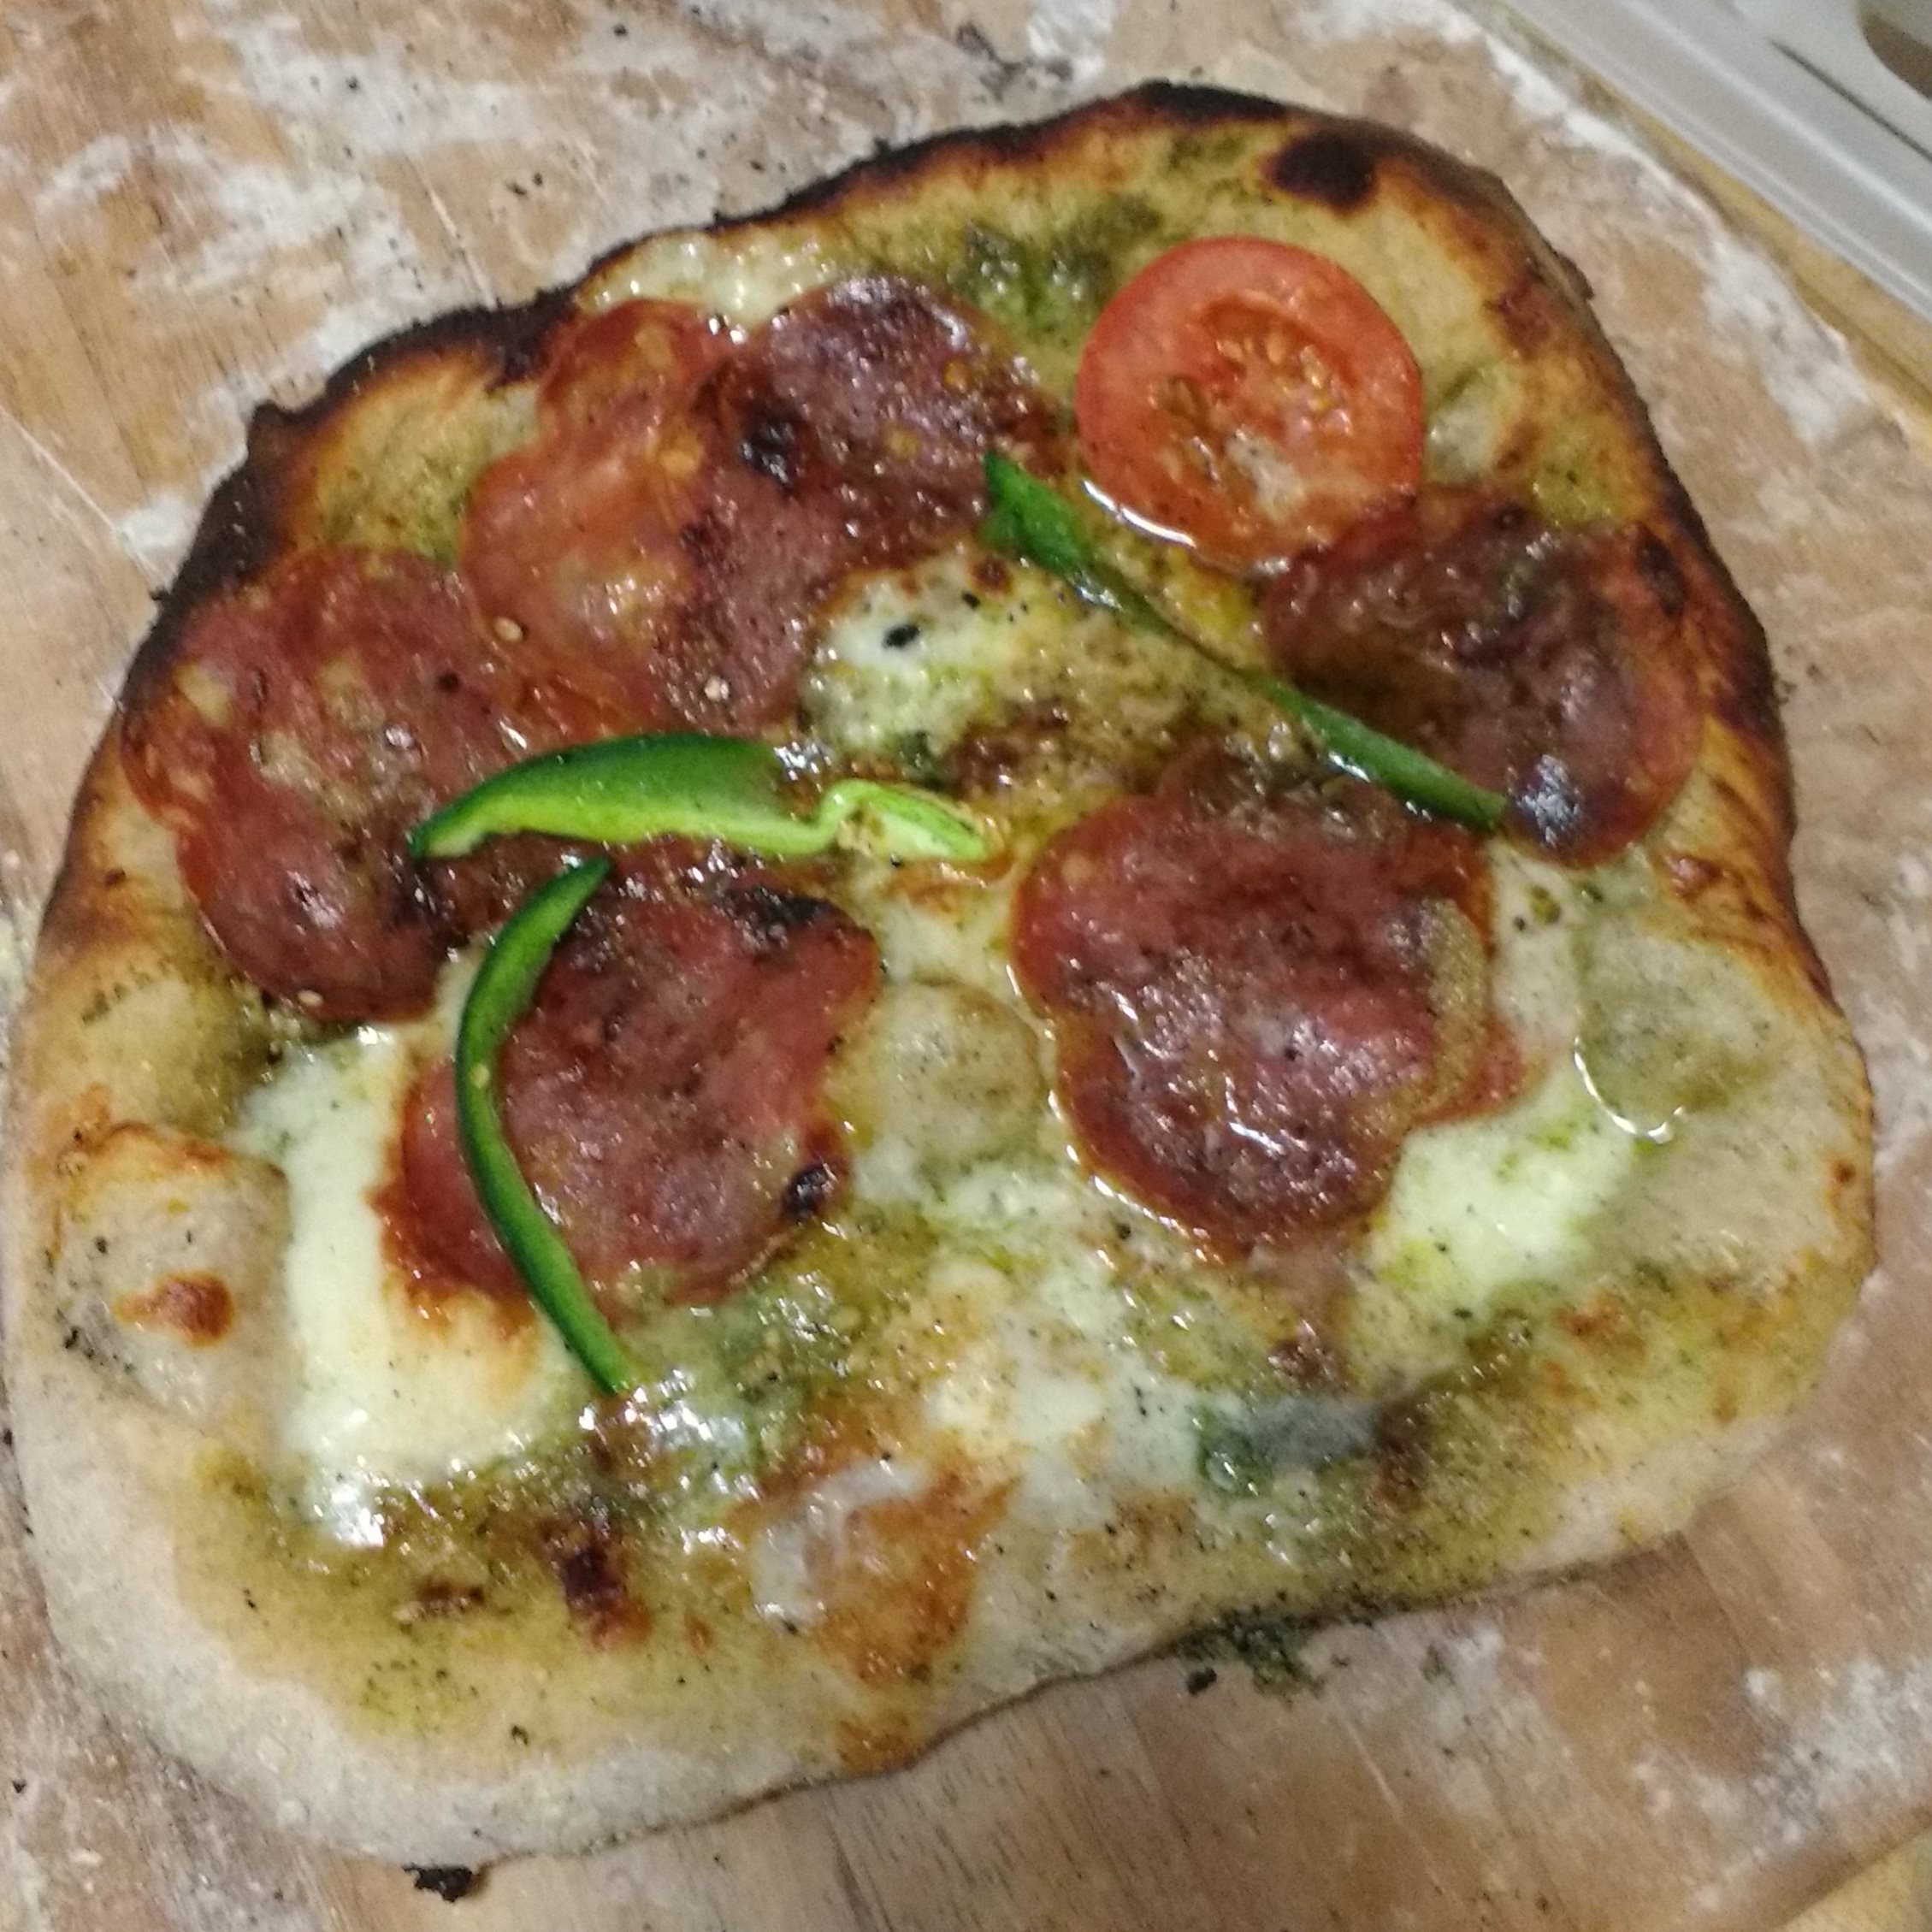
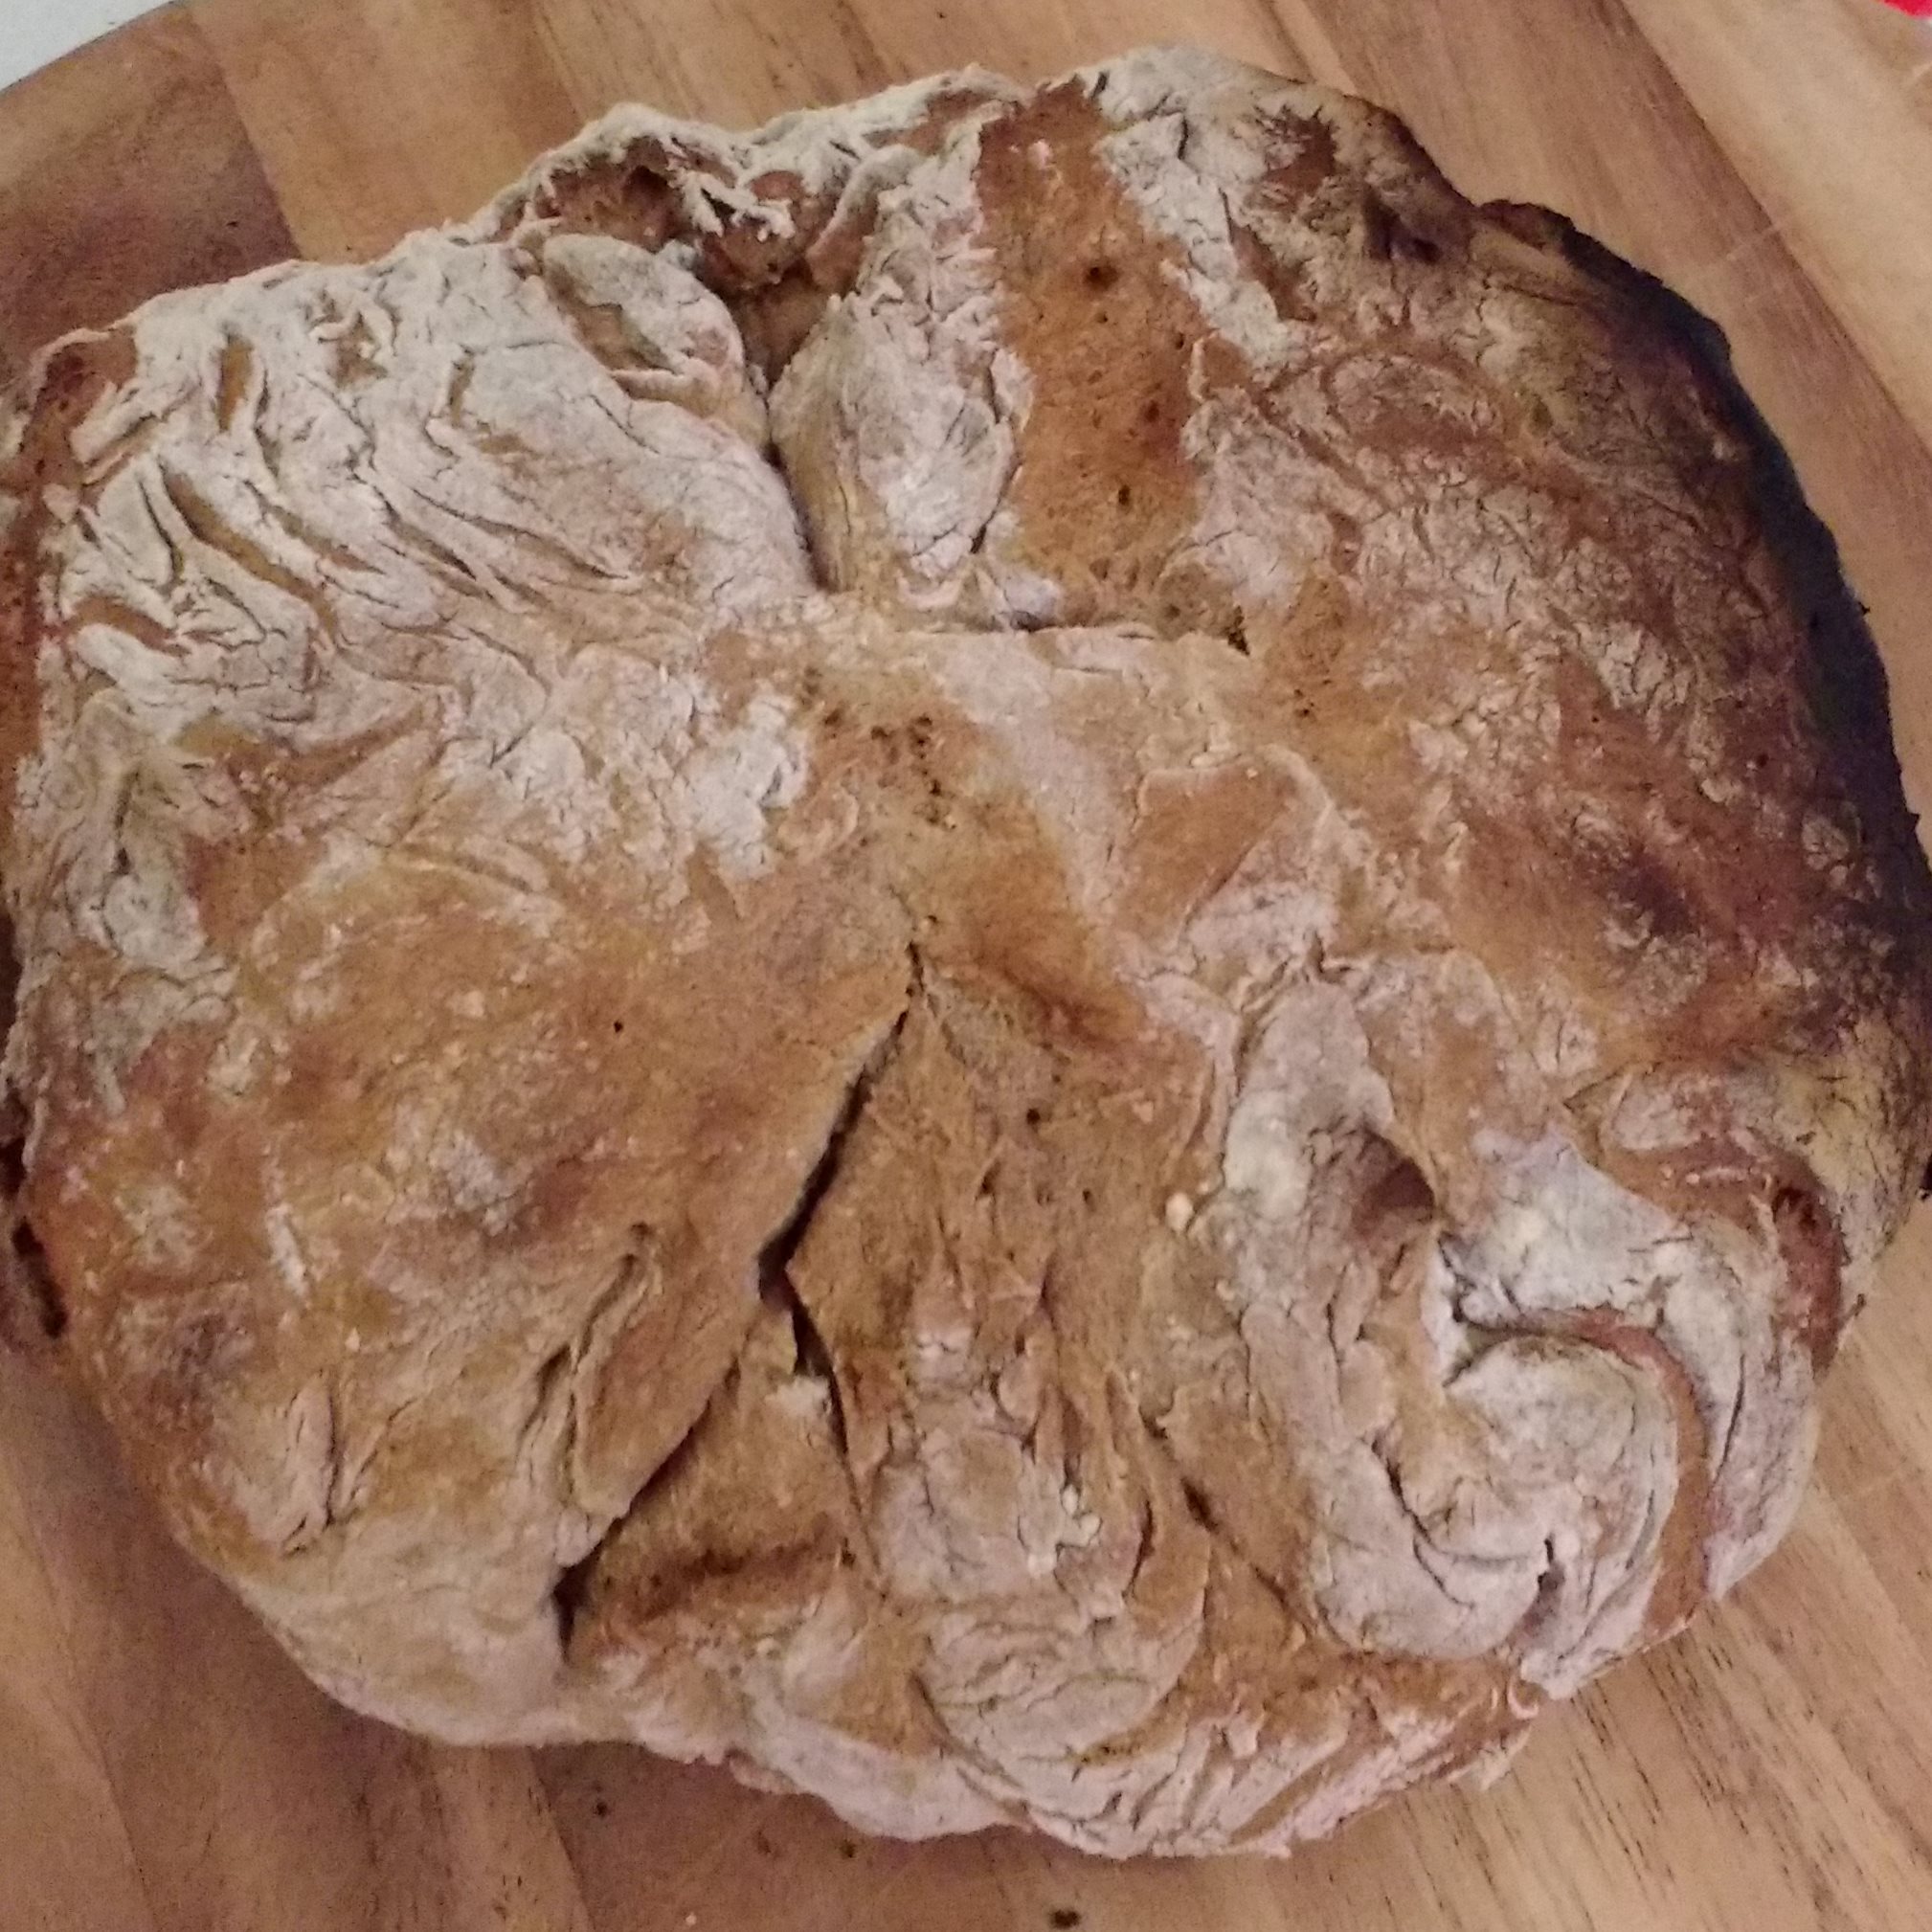
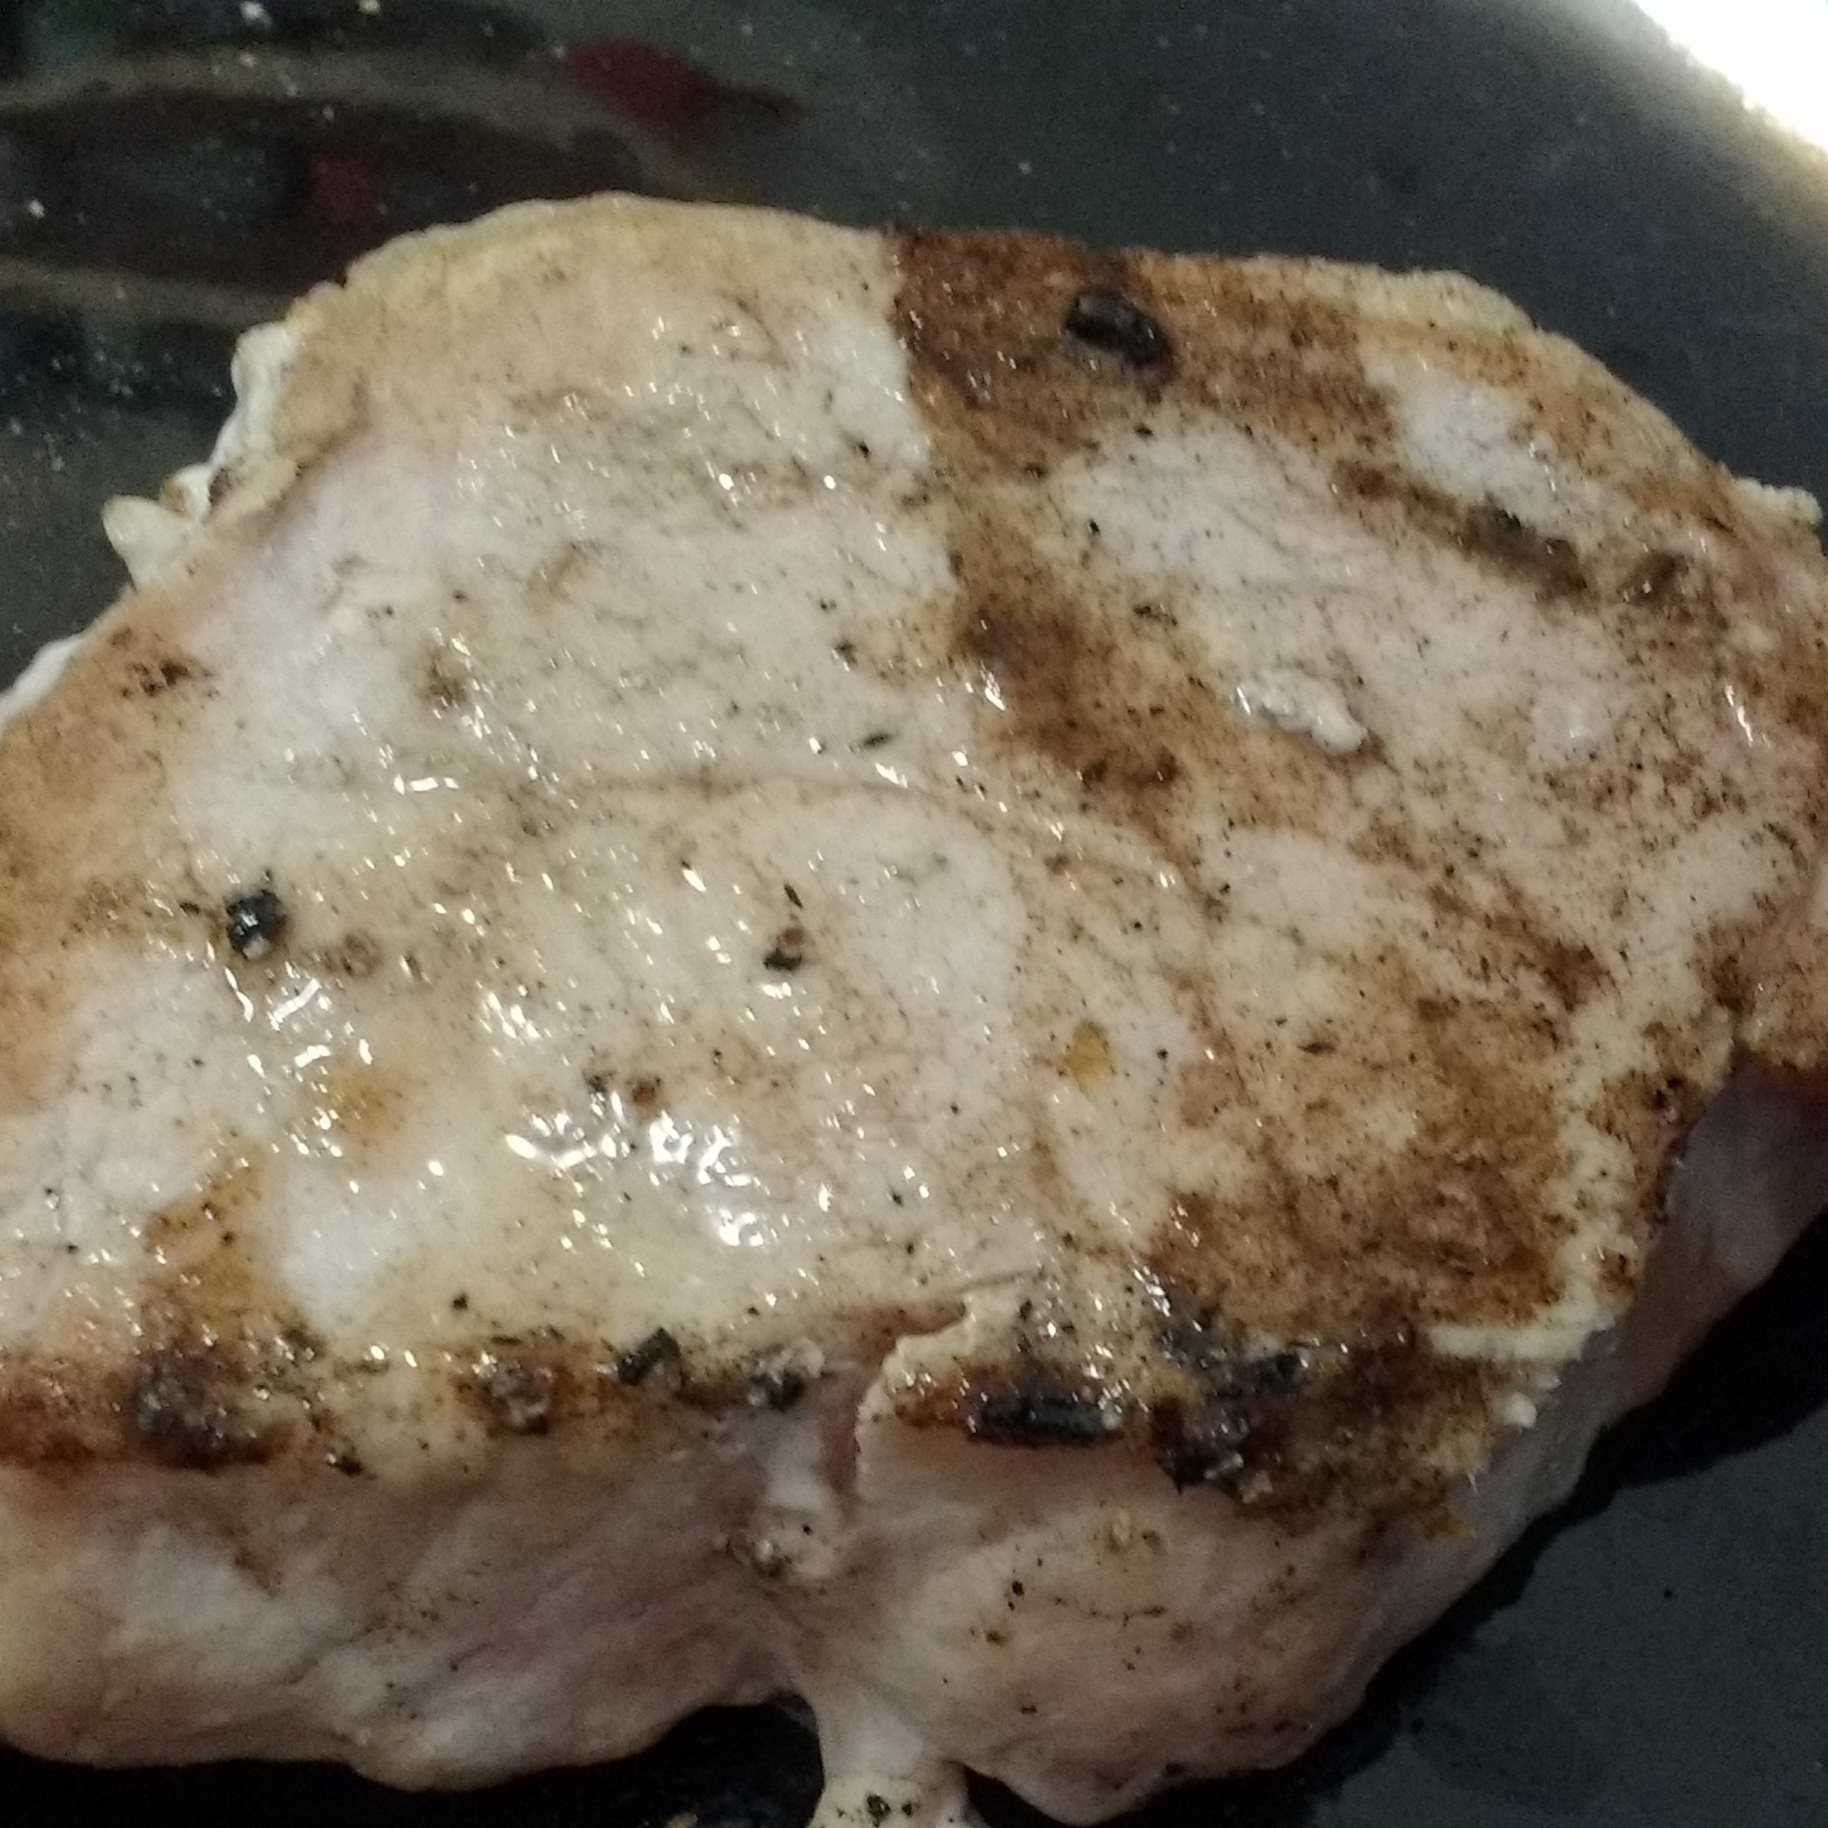
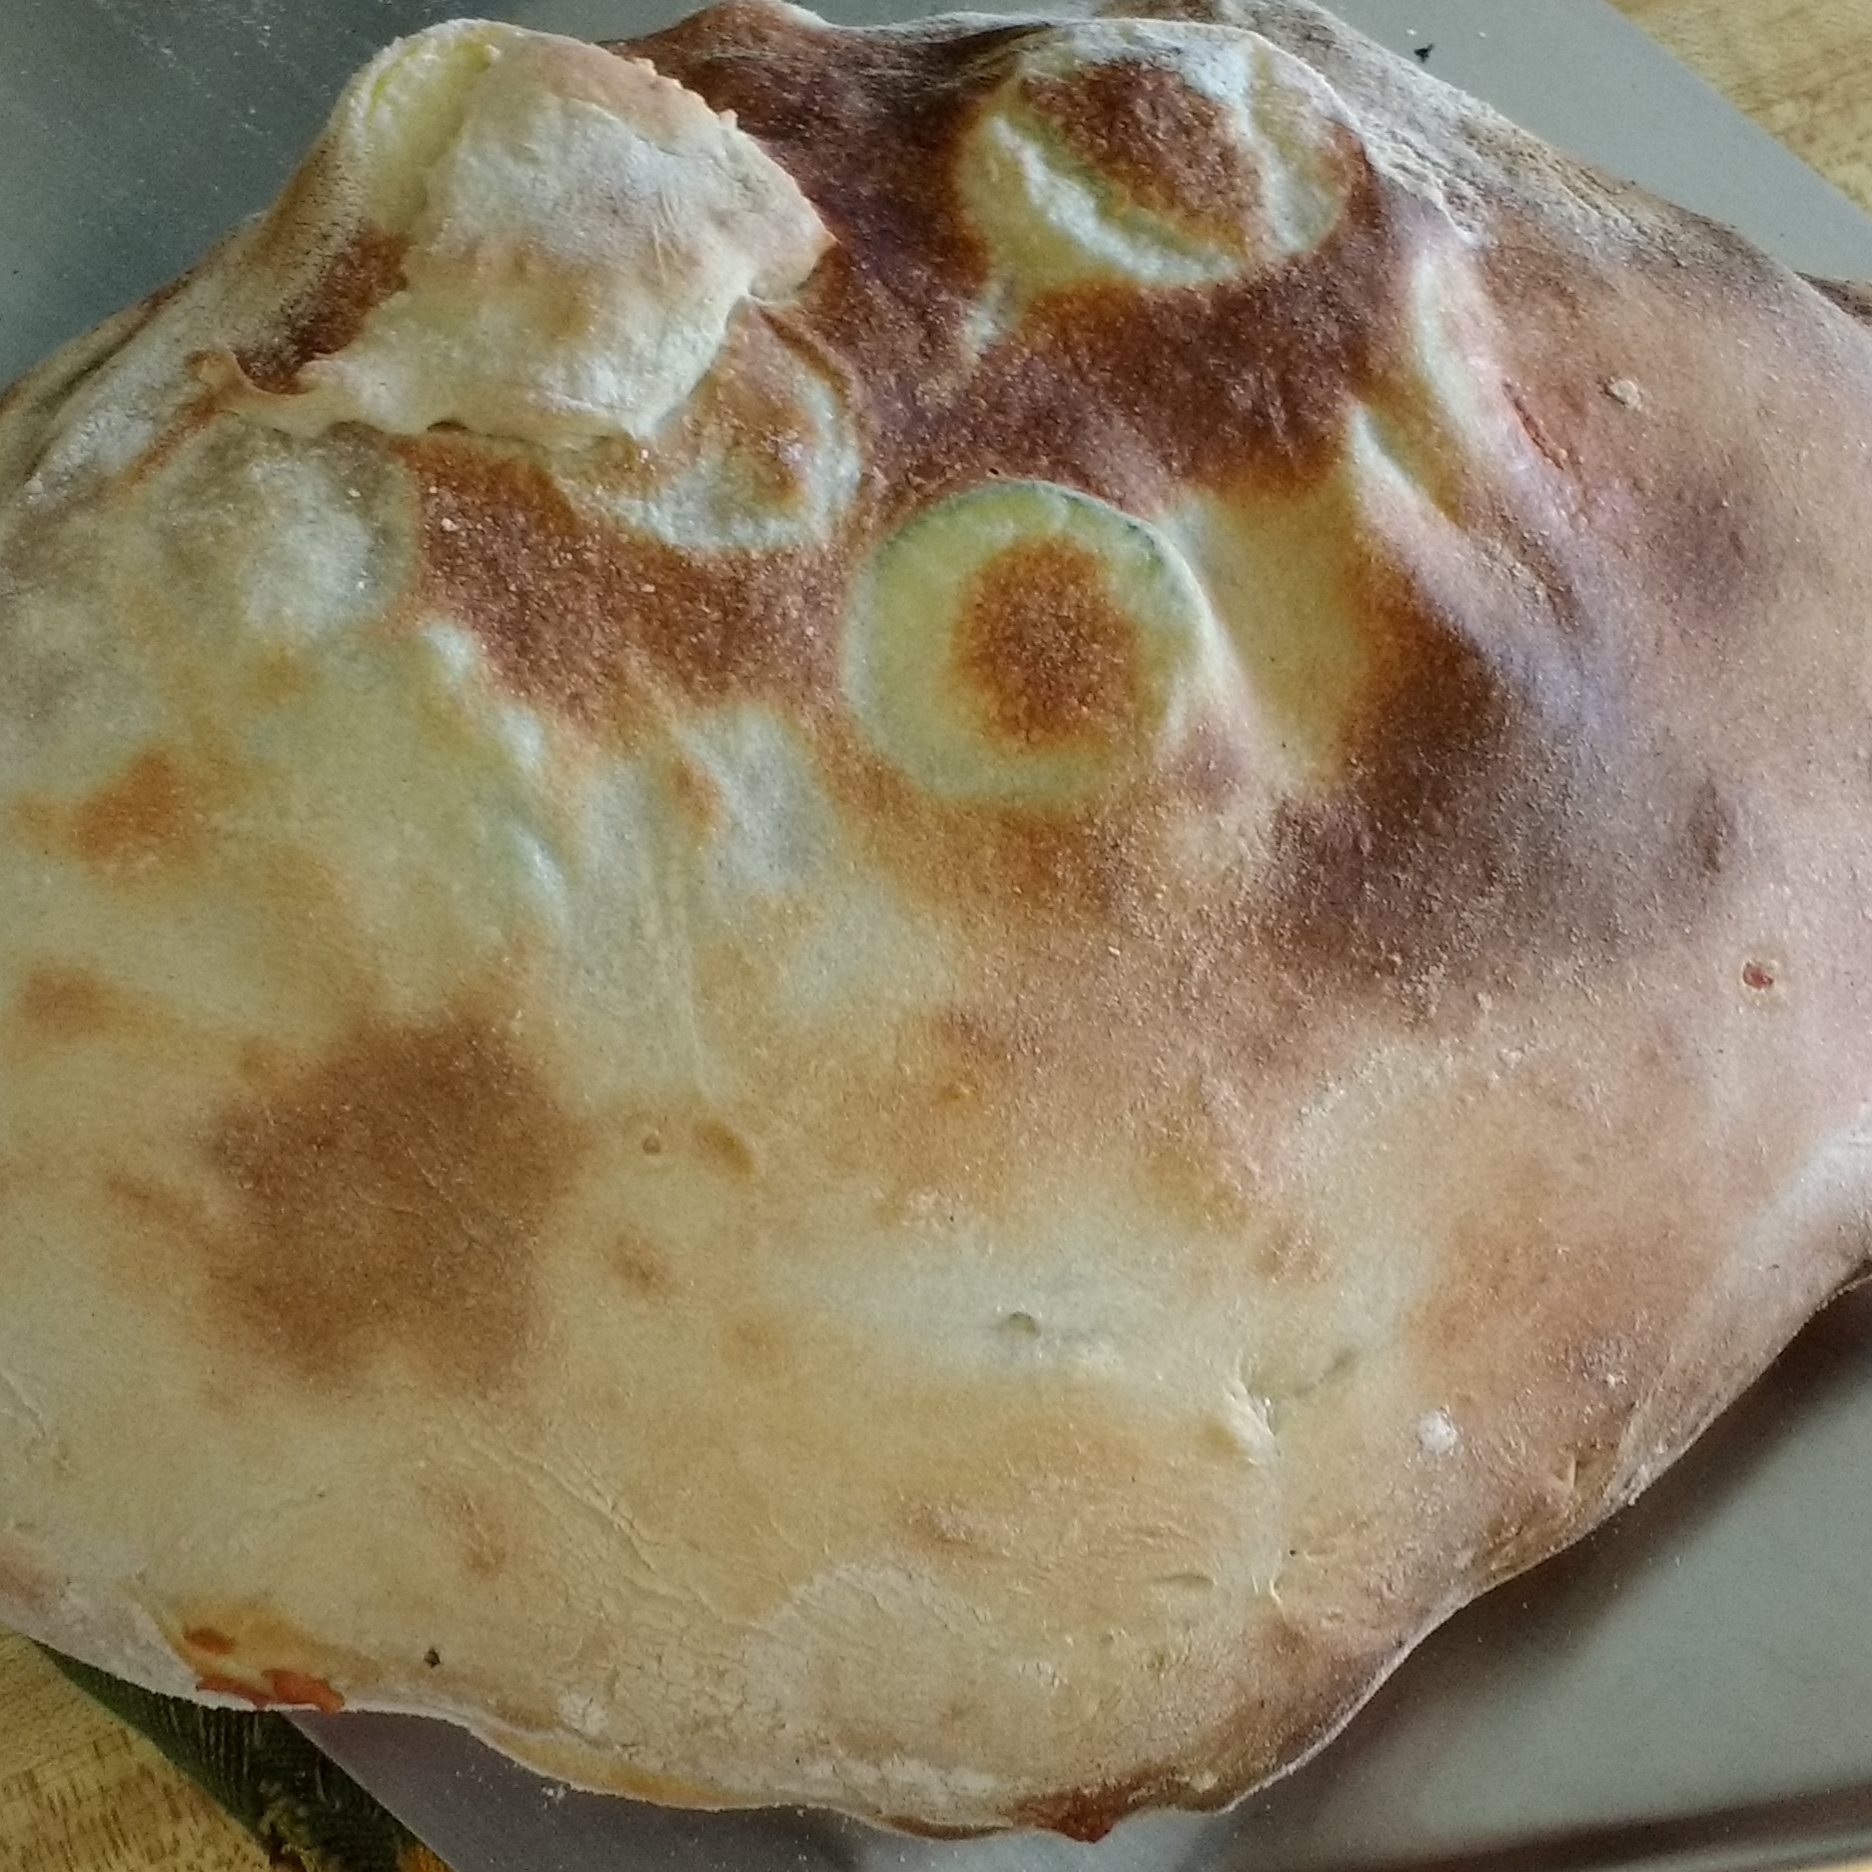
STEP 15
Make some food. I cooked pizzas, cuts of meat, calzones, and bread in here. Everything was amazing and cooked in record time.