Desk Construction
Price for Materials
Hours Drying
Hours to Build
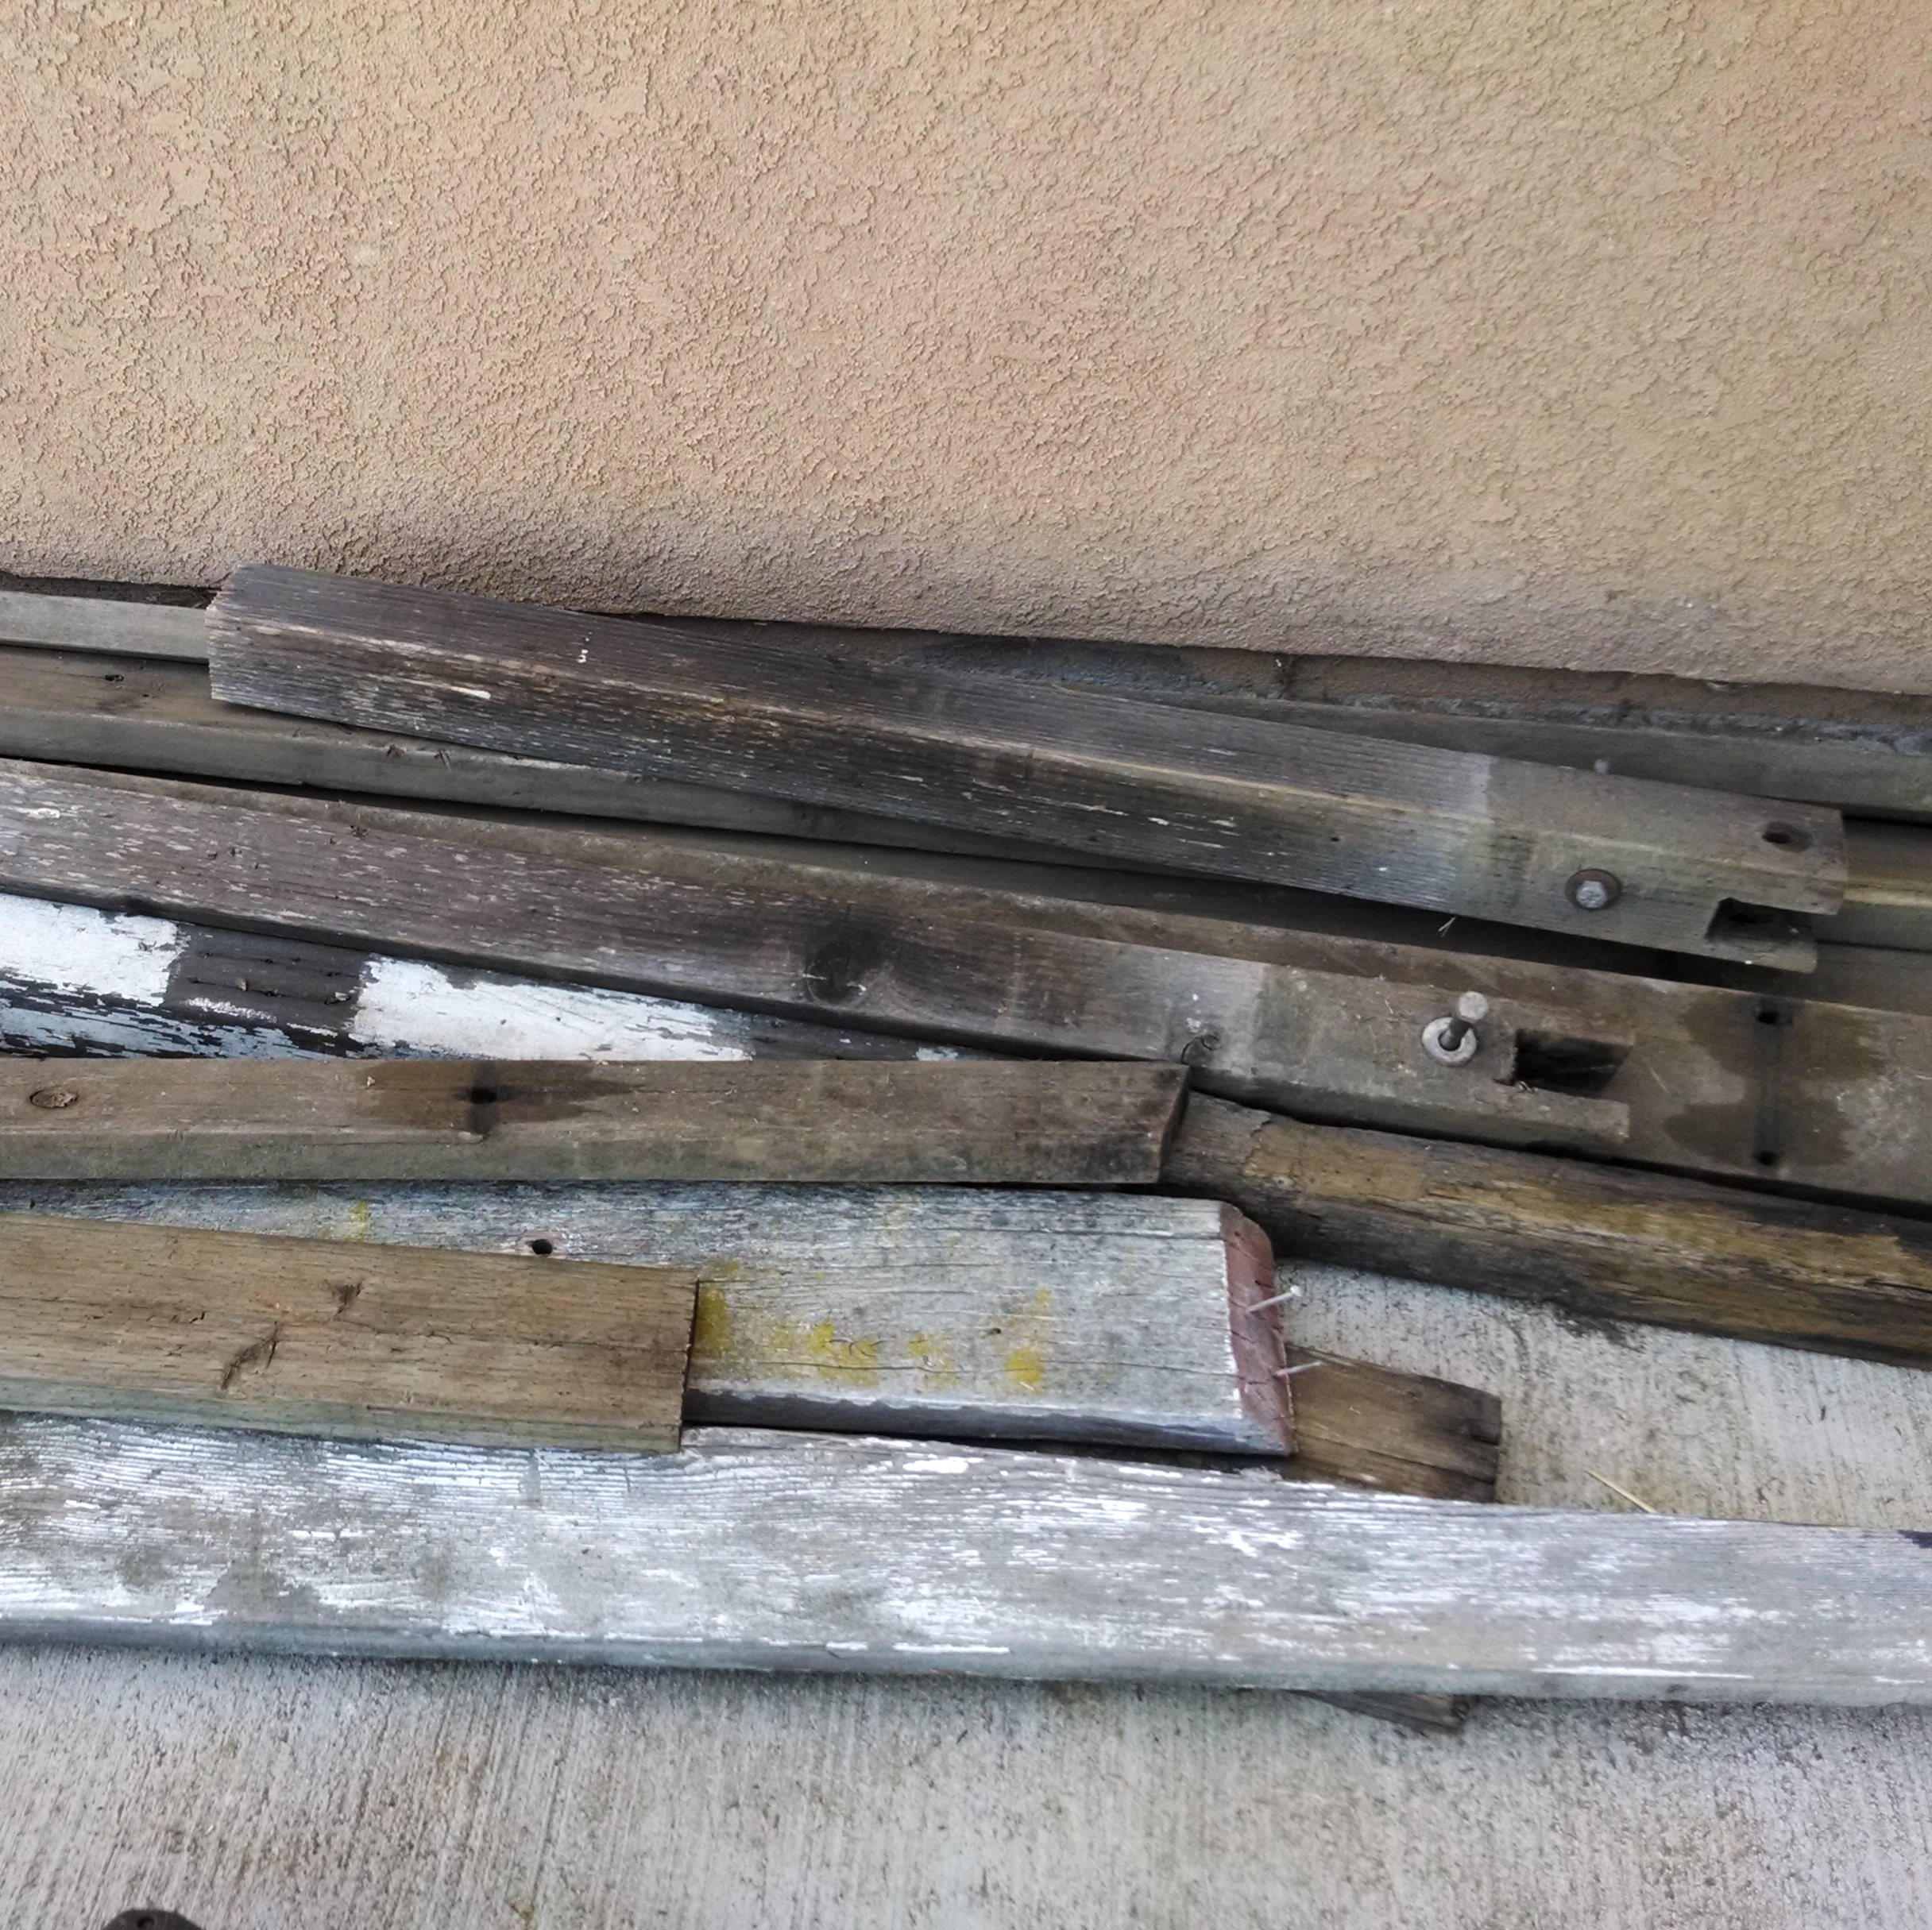
Reusing Lumber
I found some old lumber that my grandfather had used for a couple of projects years ago. I decided to reclaim some of the lumber for my project.
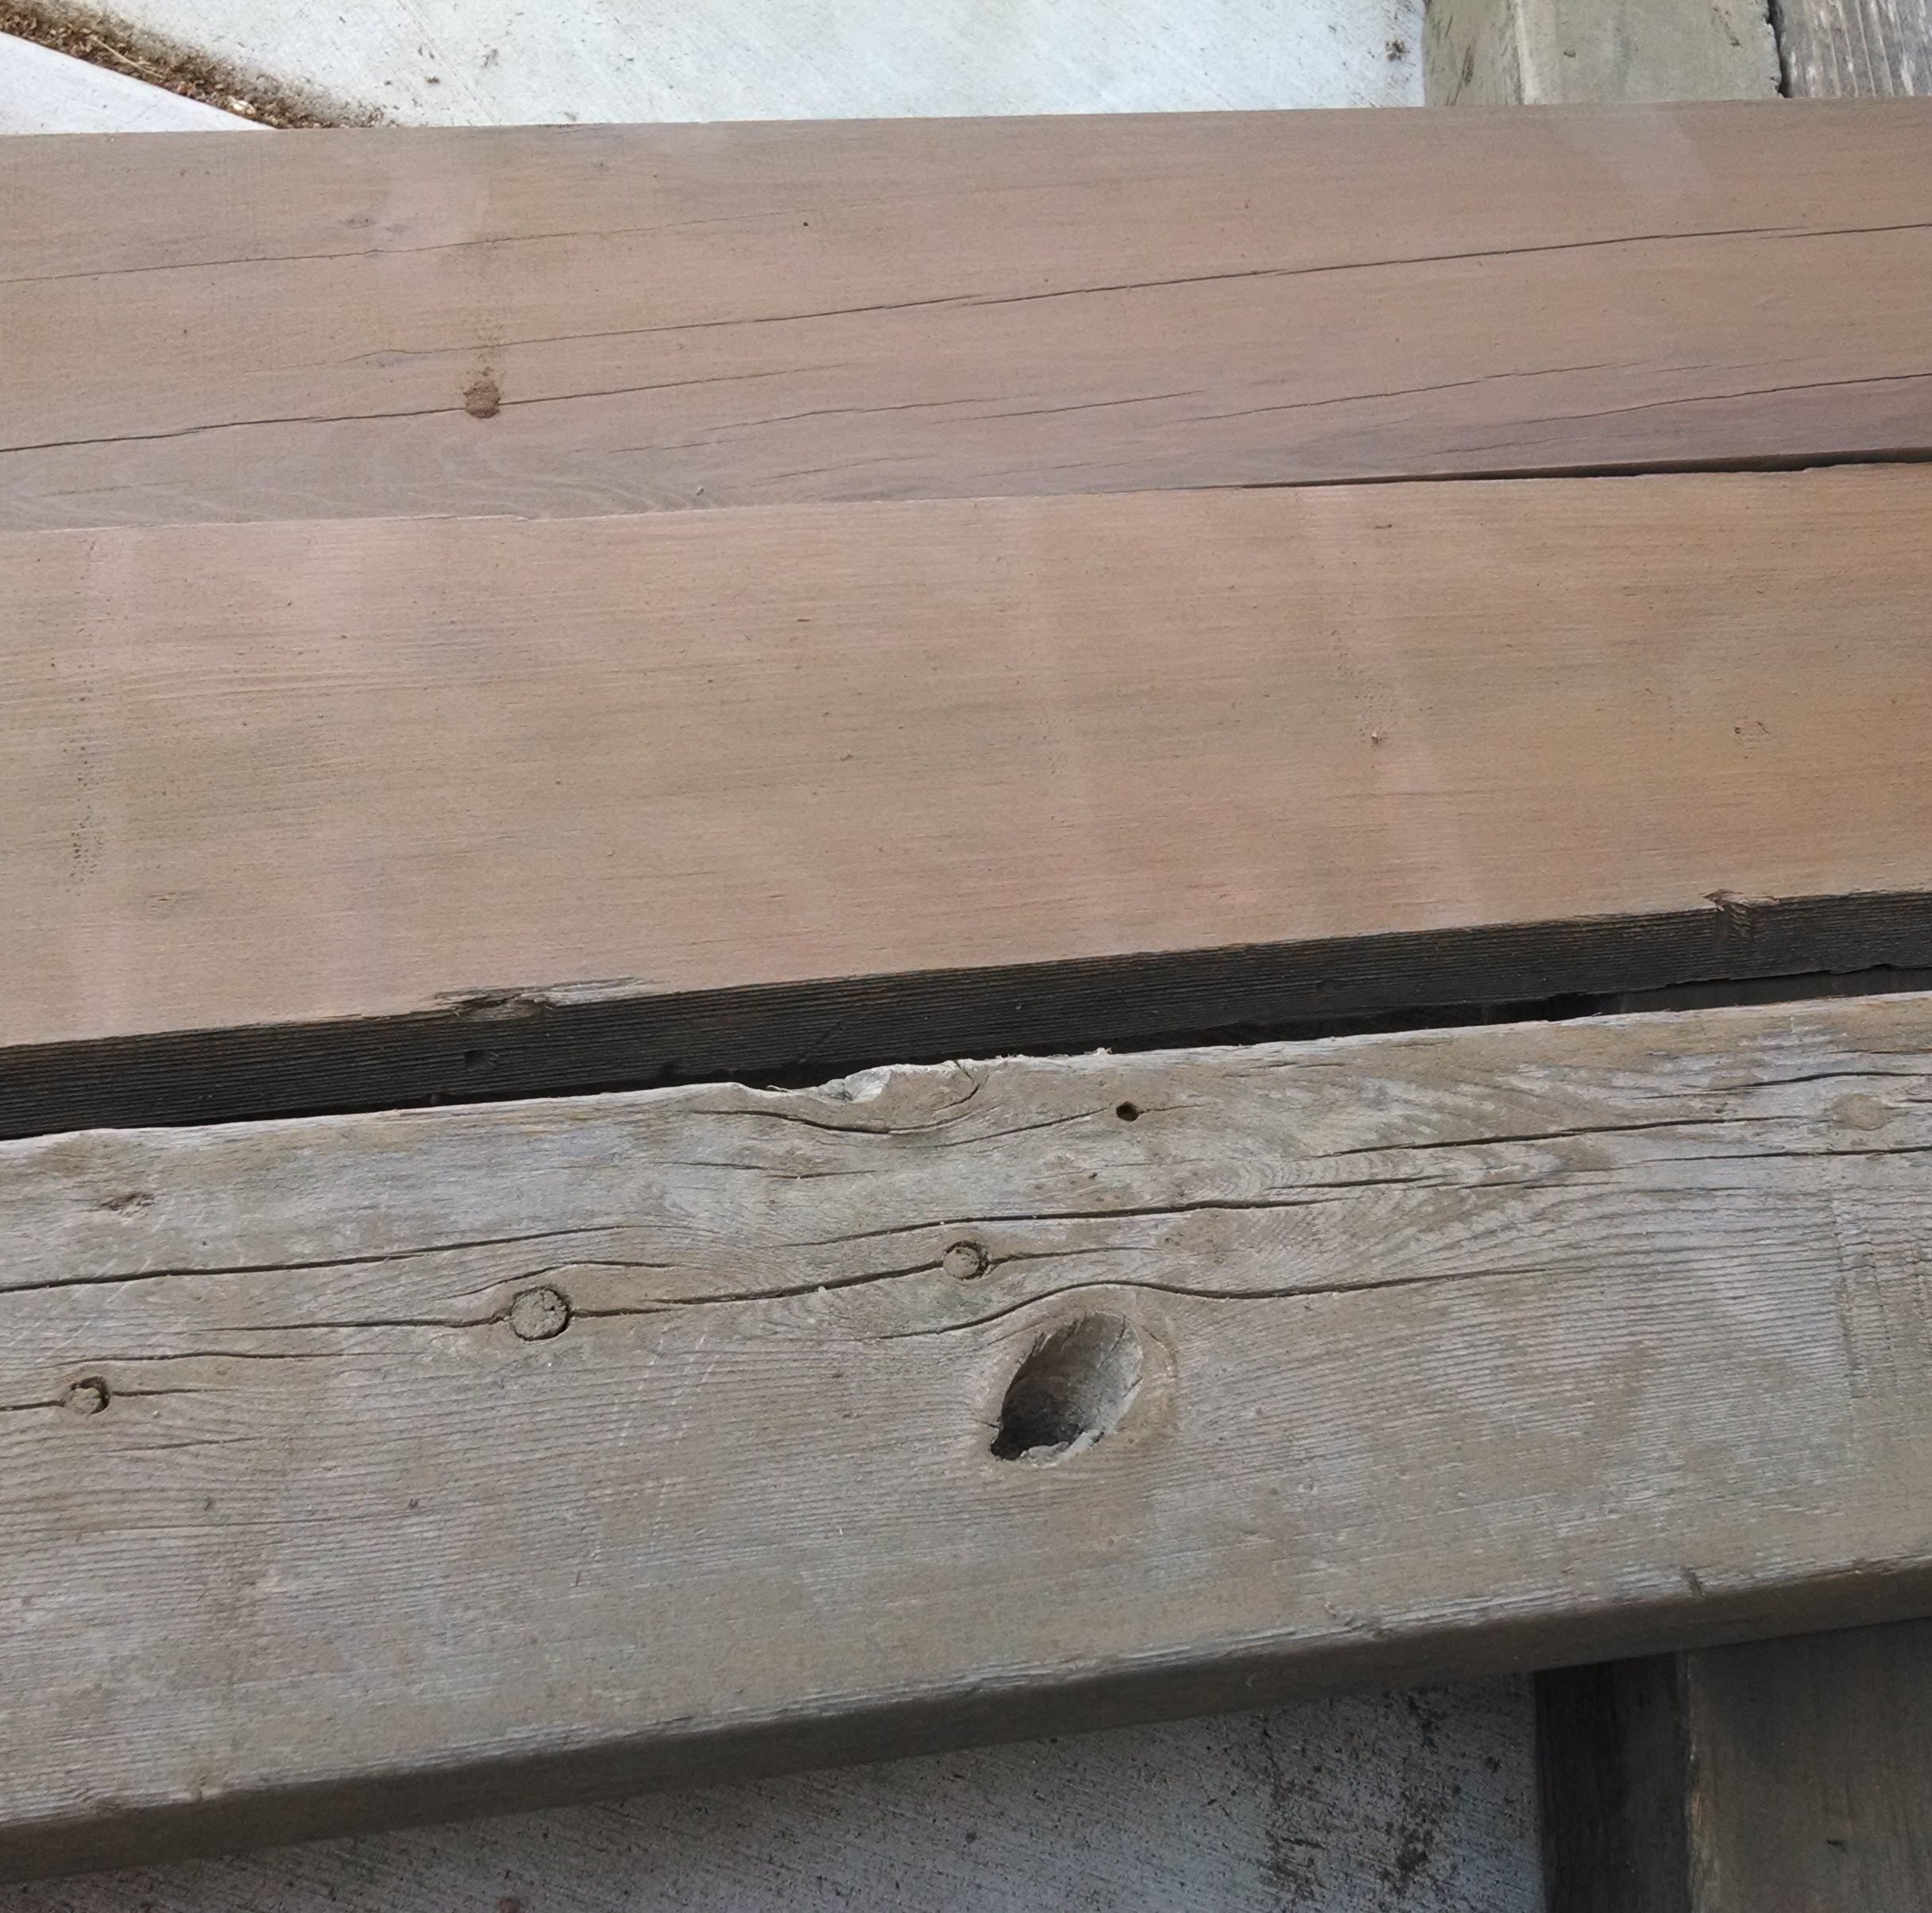
Sanding
After selecting the straightest pieces, I sent it through a planer a few times to flatten and refinish it. I followed that with some sanding to smooth it.
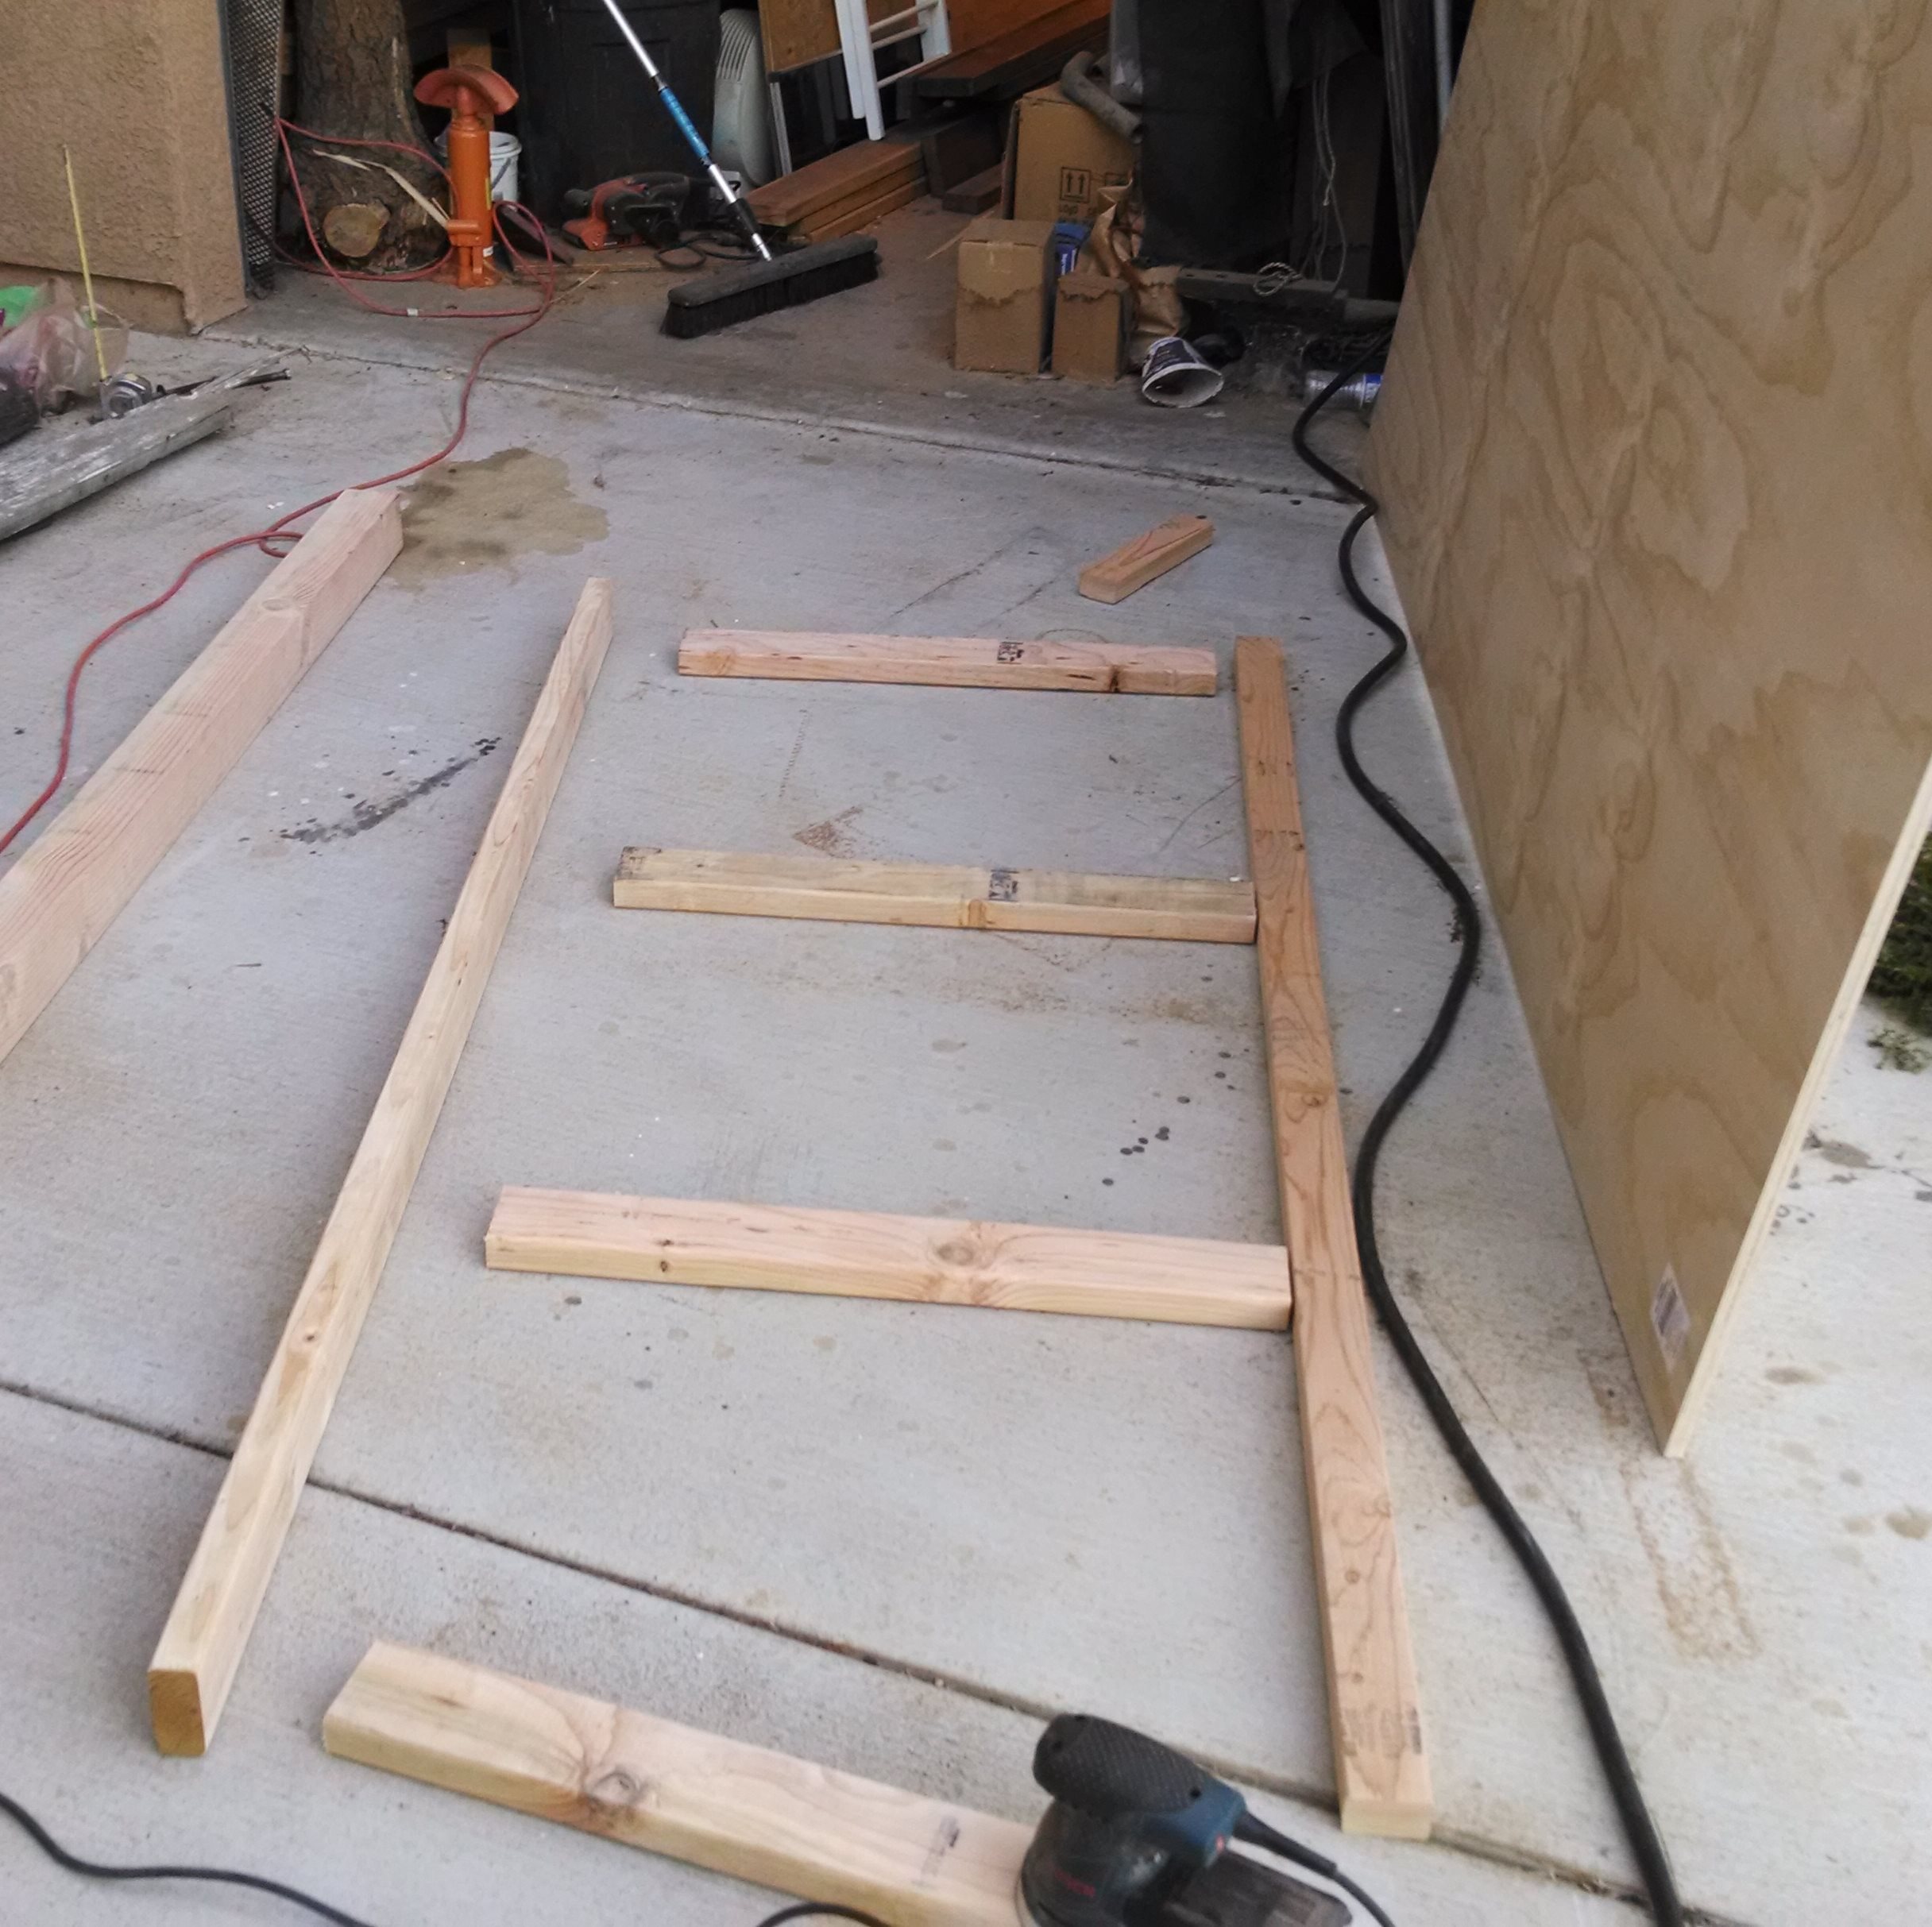
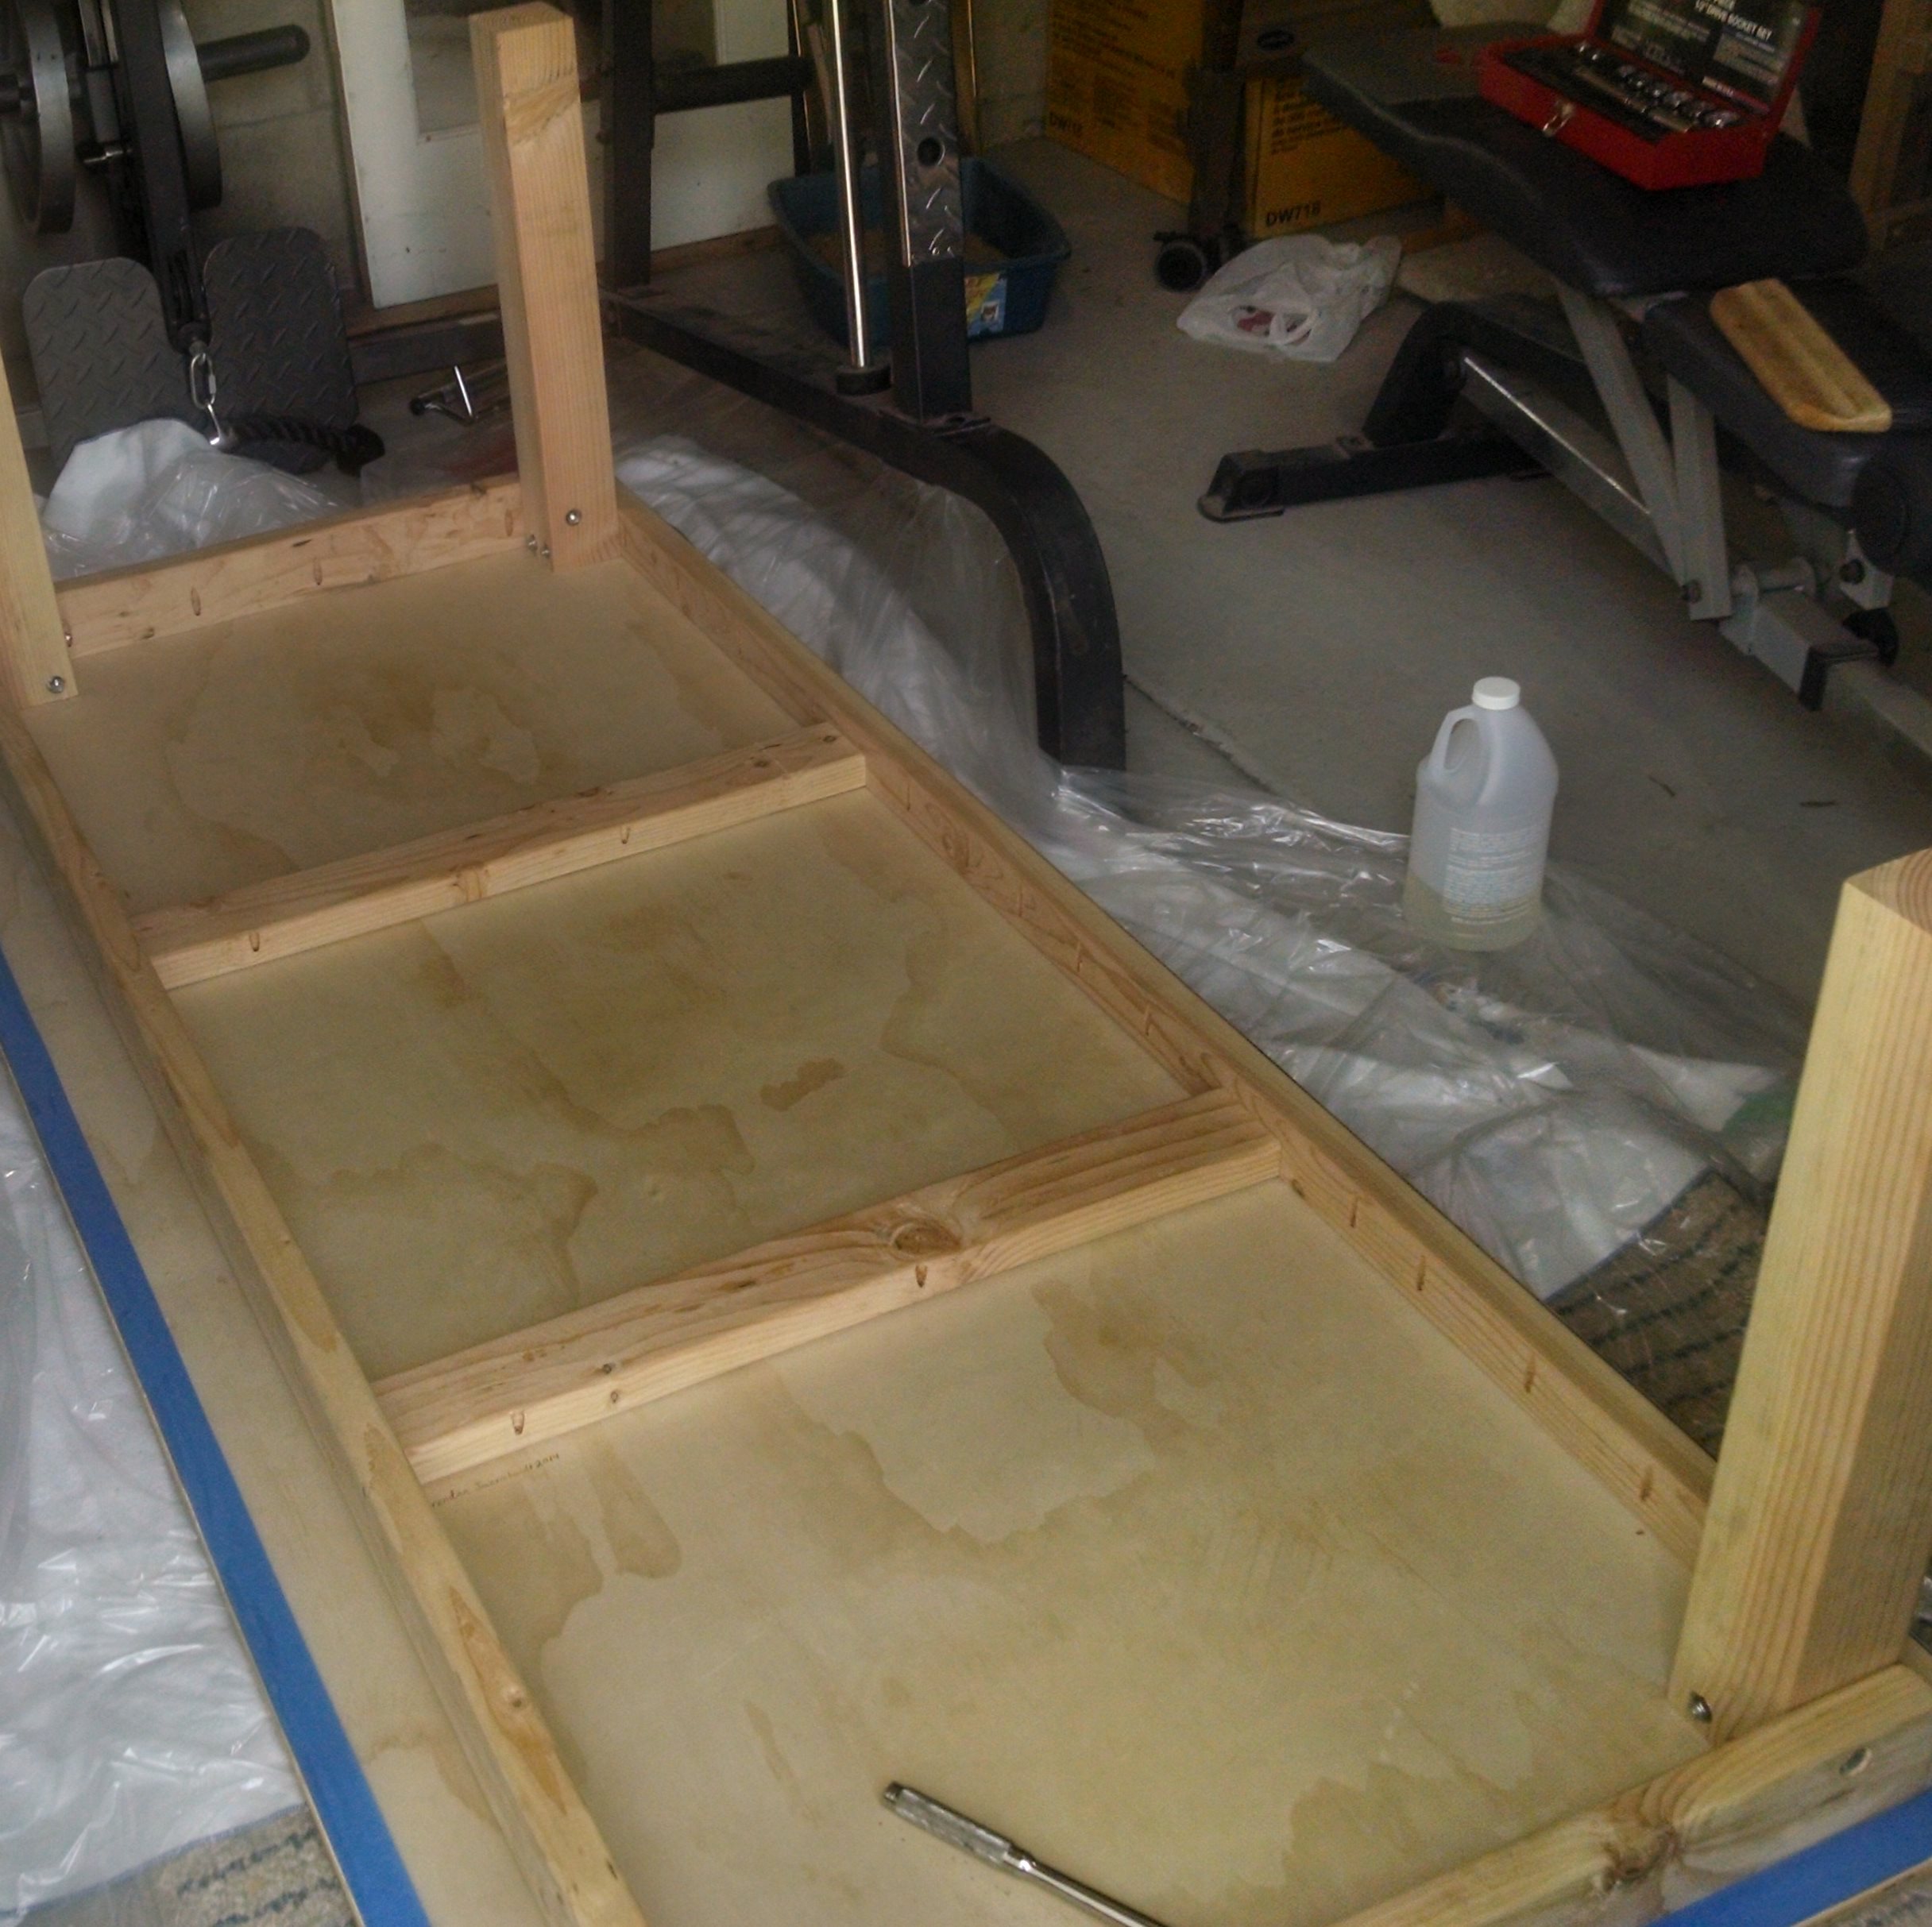
Preping the Underside
I decided to build a very long desk because I regulalry need to run two computers for my job. I picked up some additional lumber for the support structure directly underneath the desktop.
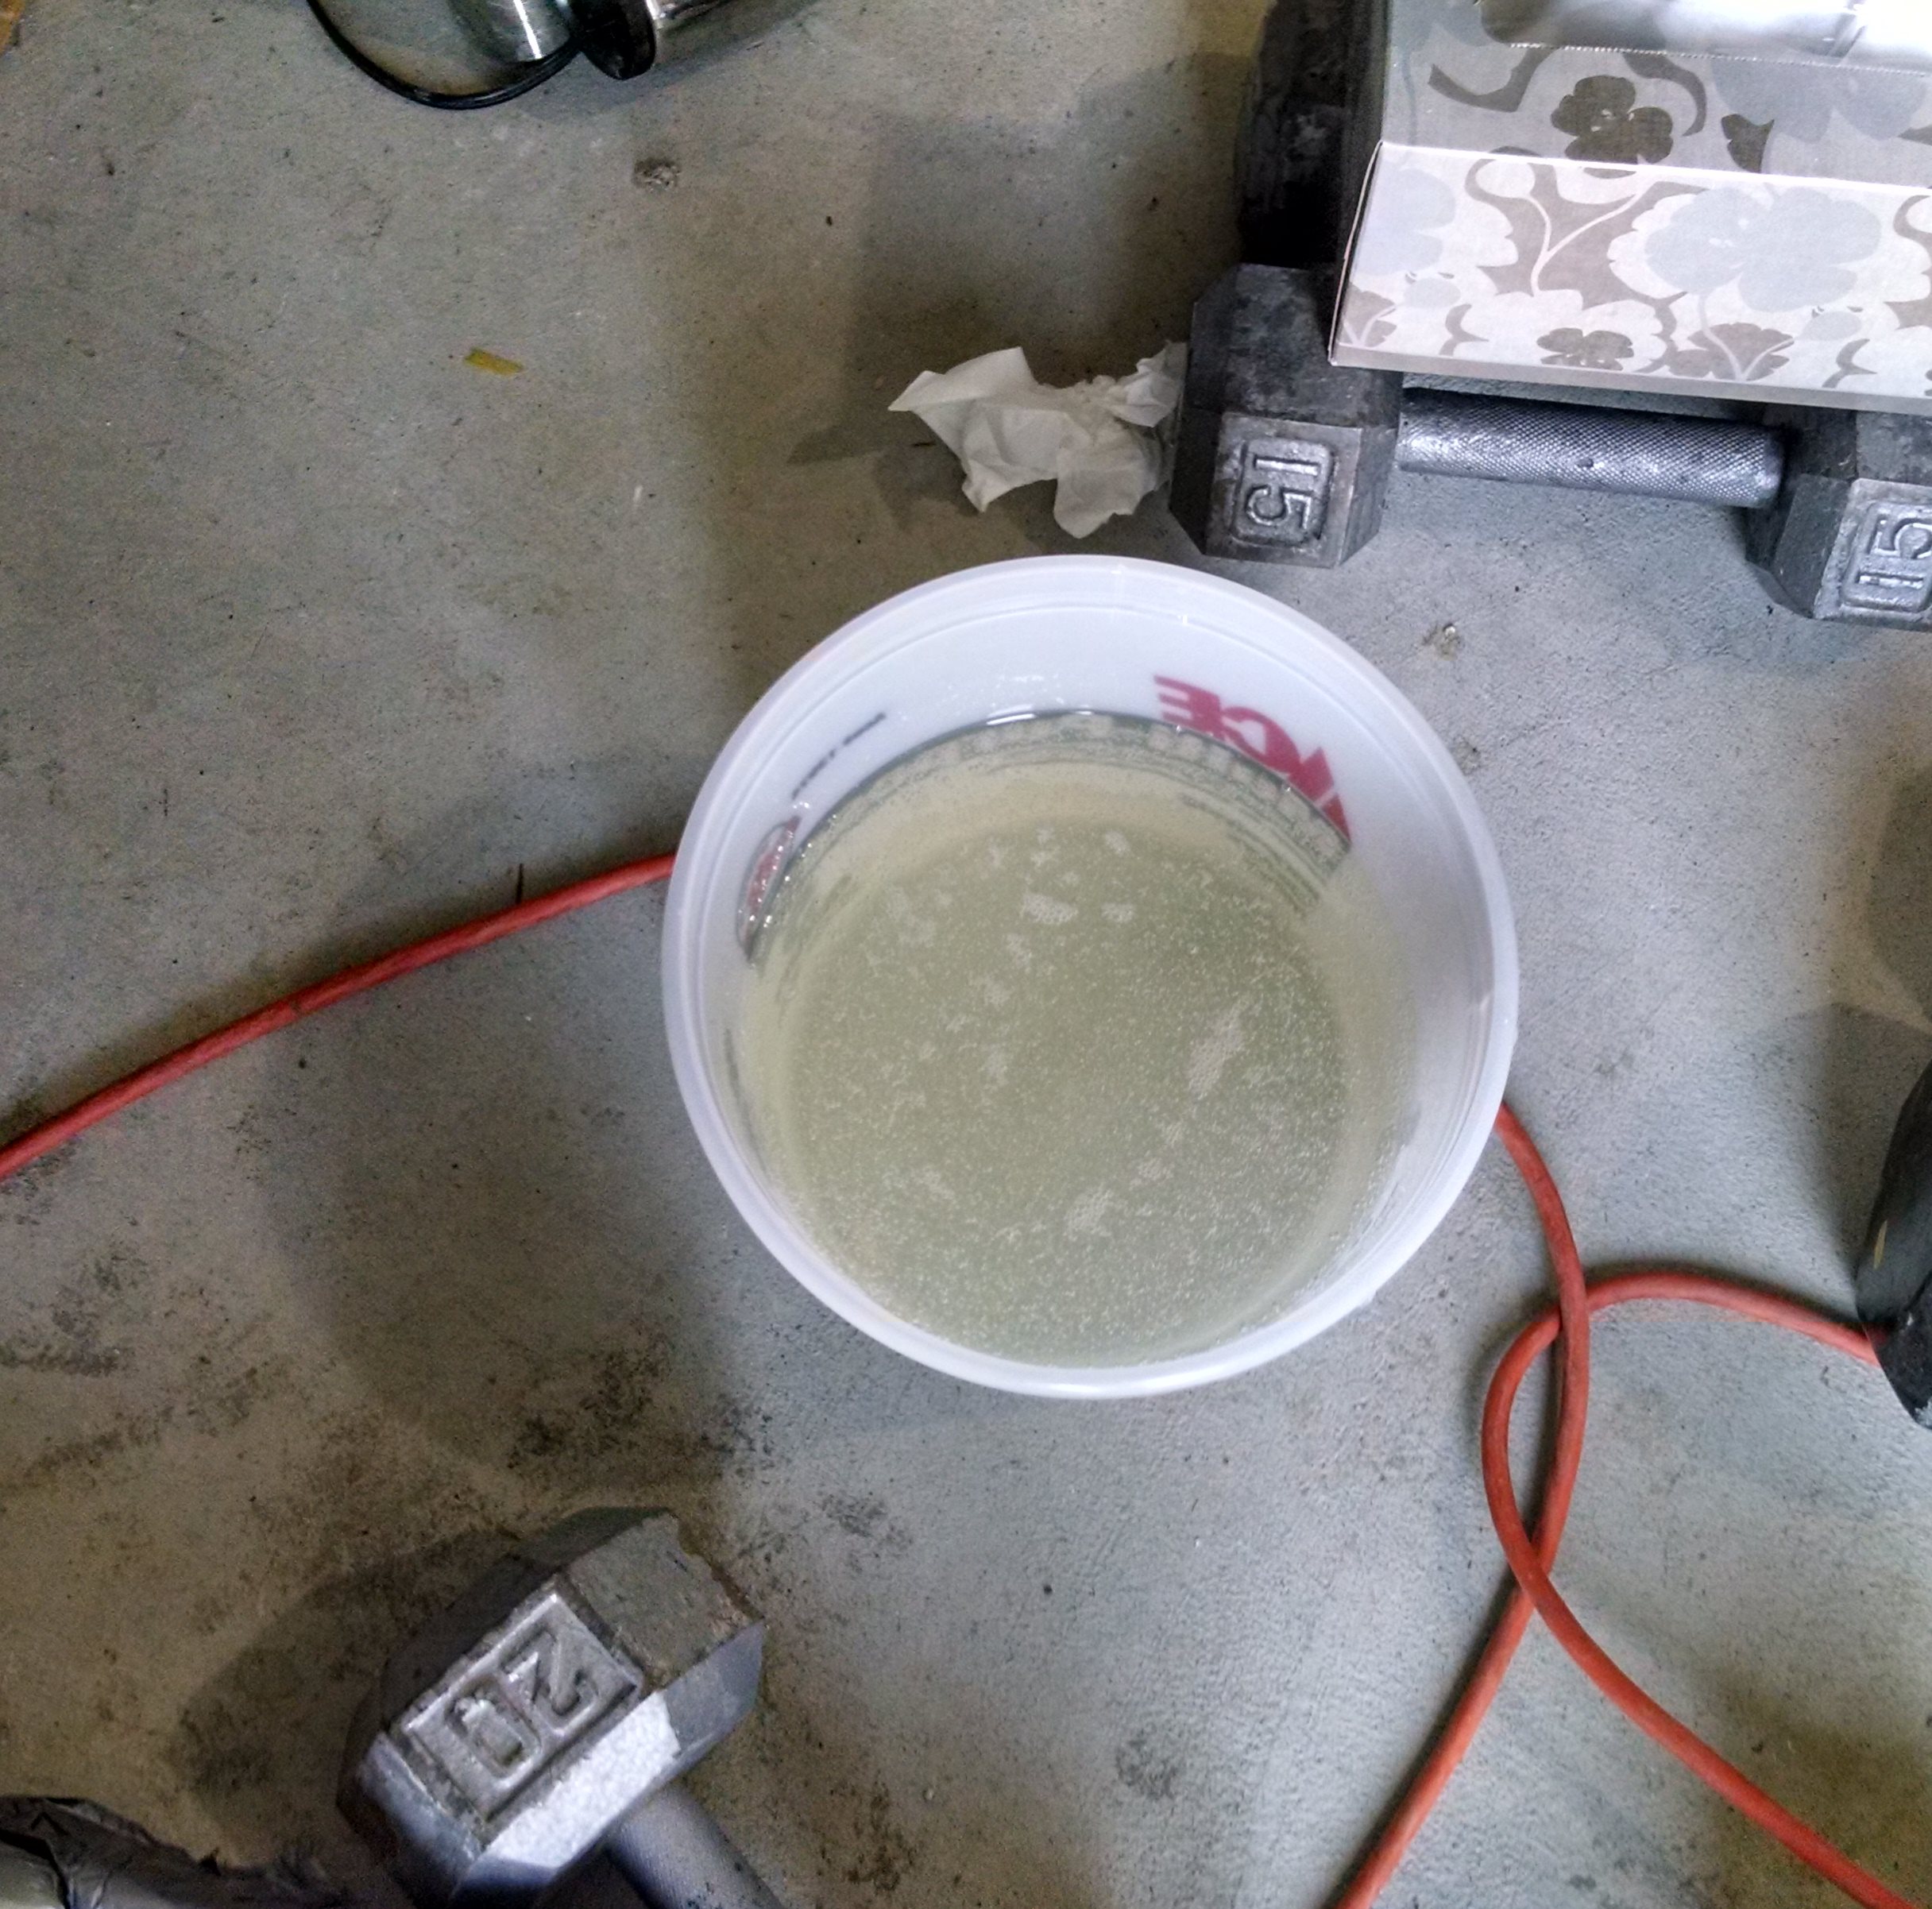
Mixing the Topcoat
I decided to use a resin on the top to protect the tabletop. I had seen this used before and the finish seemed to be very strong and durable. I wanted something that would be easy to clean and would look nice, so I used this epoxy resin.
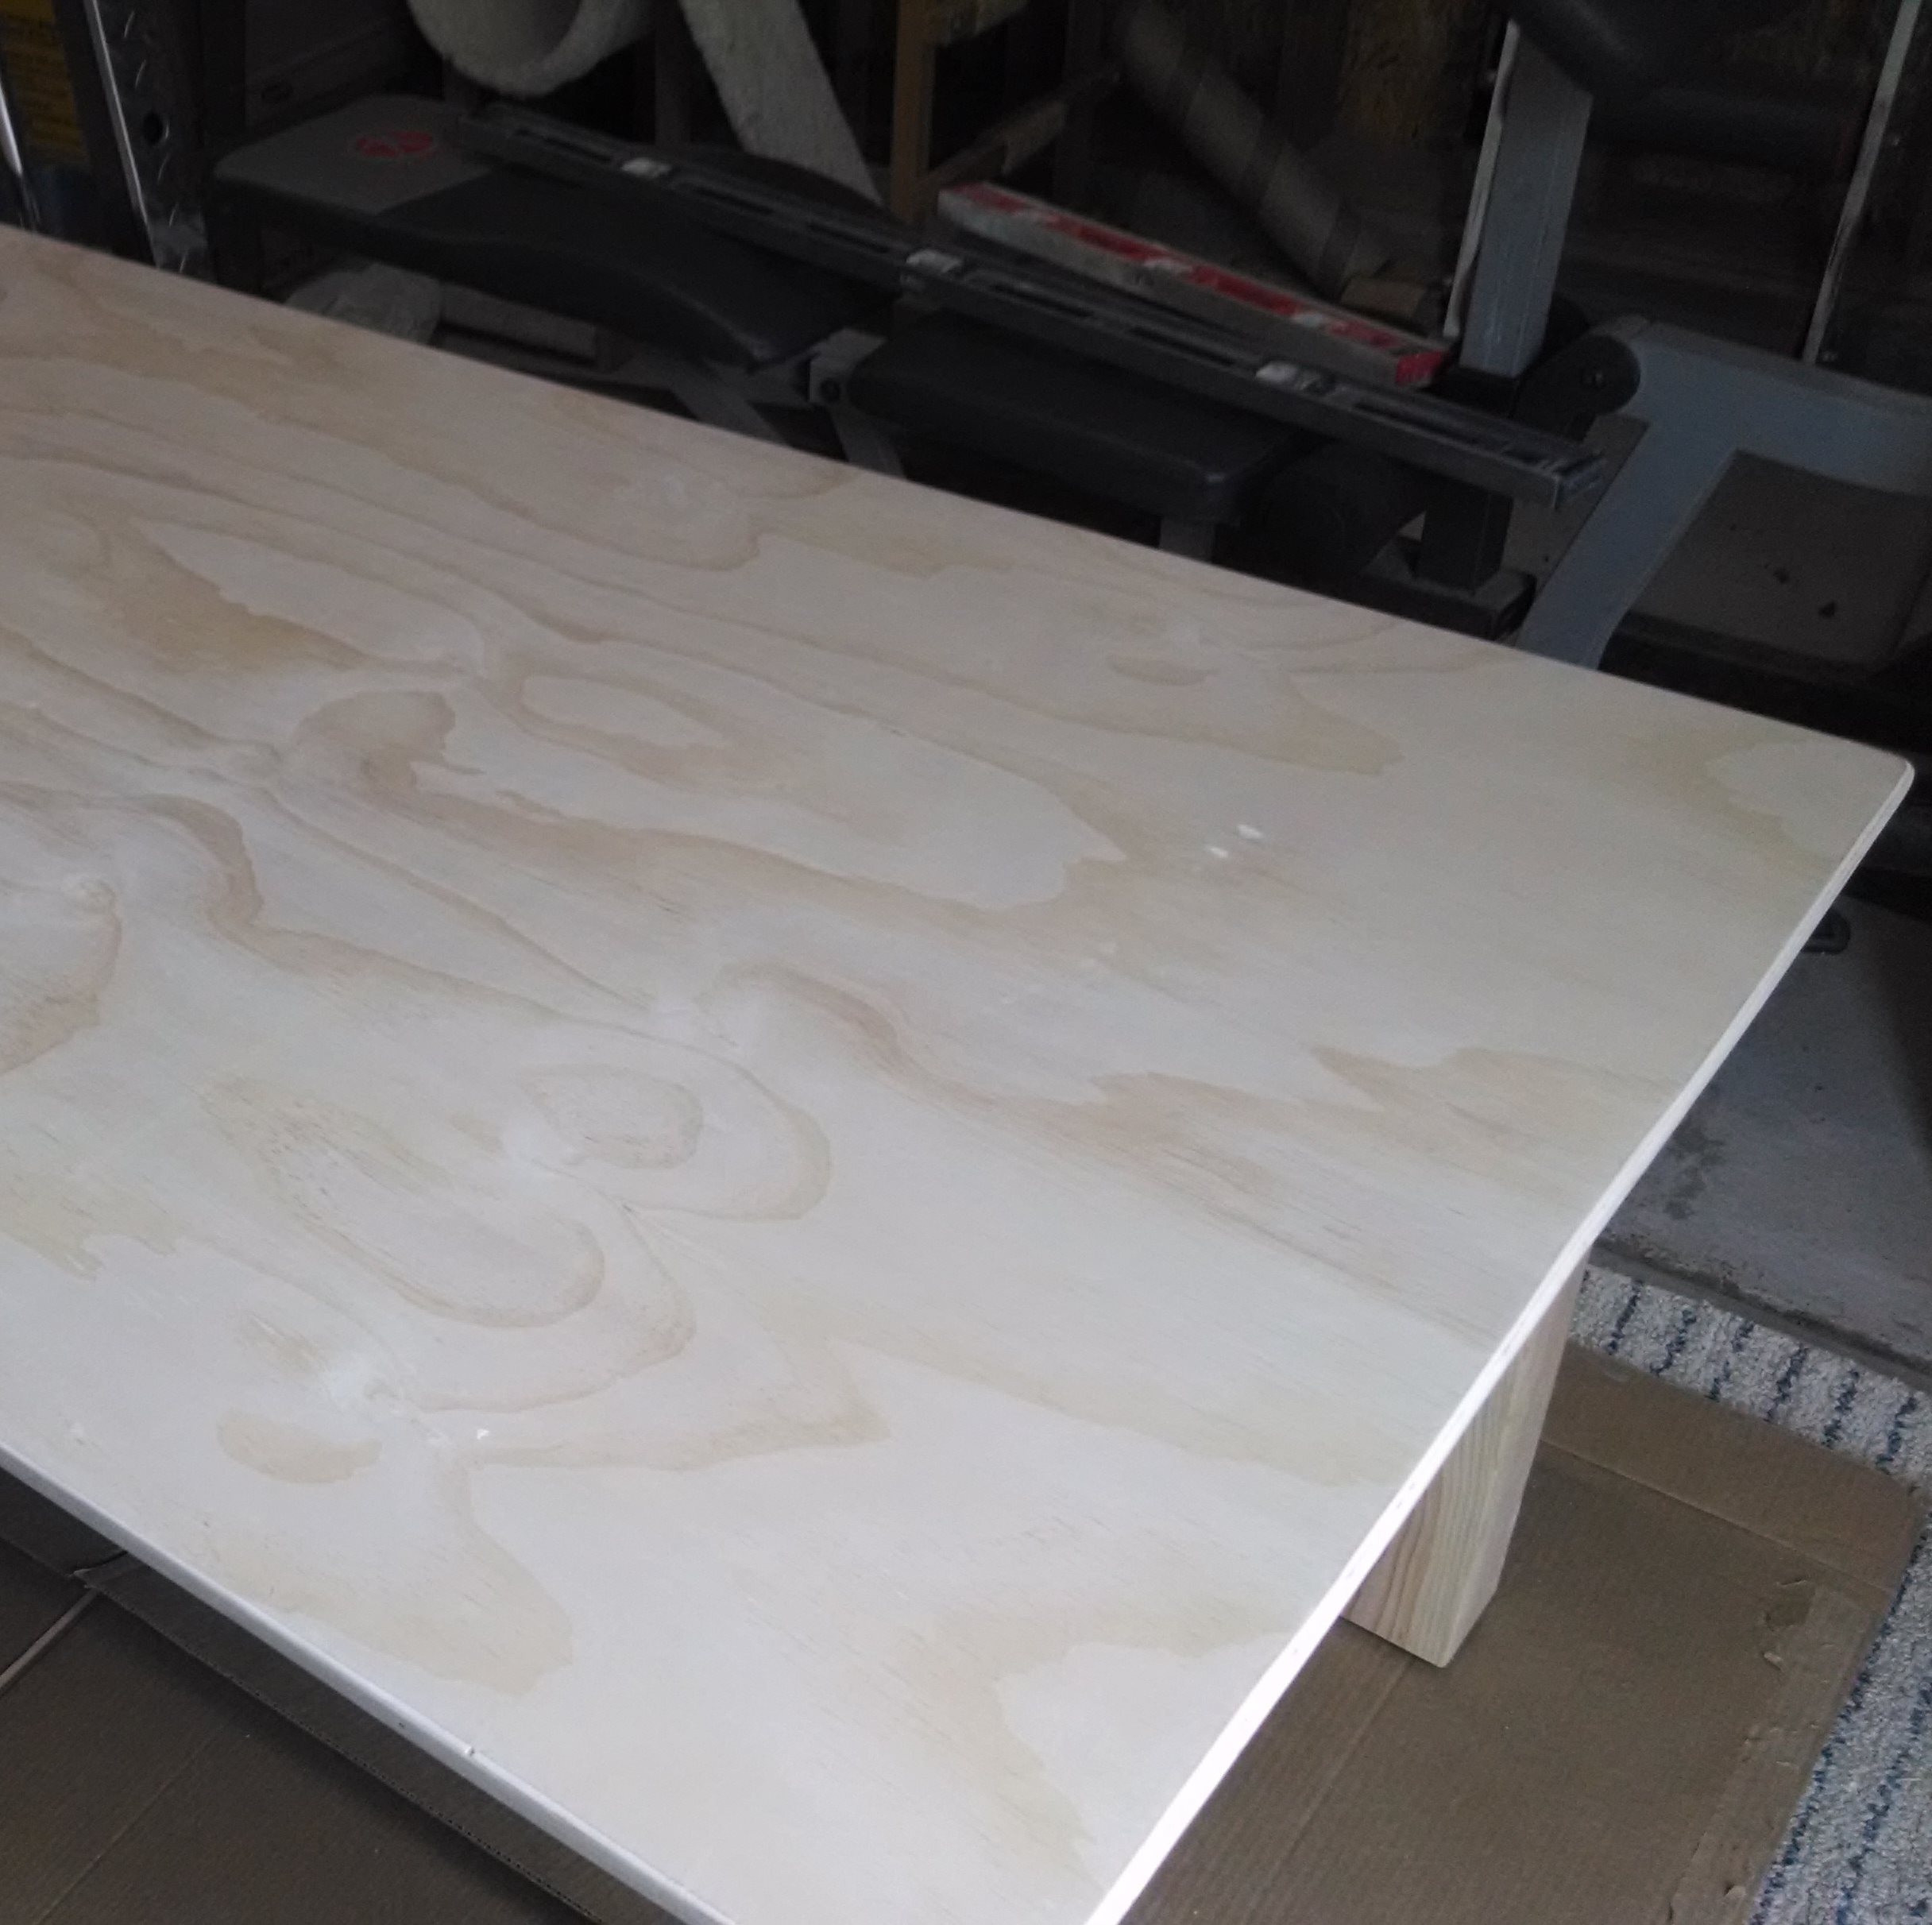
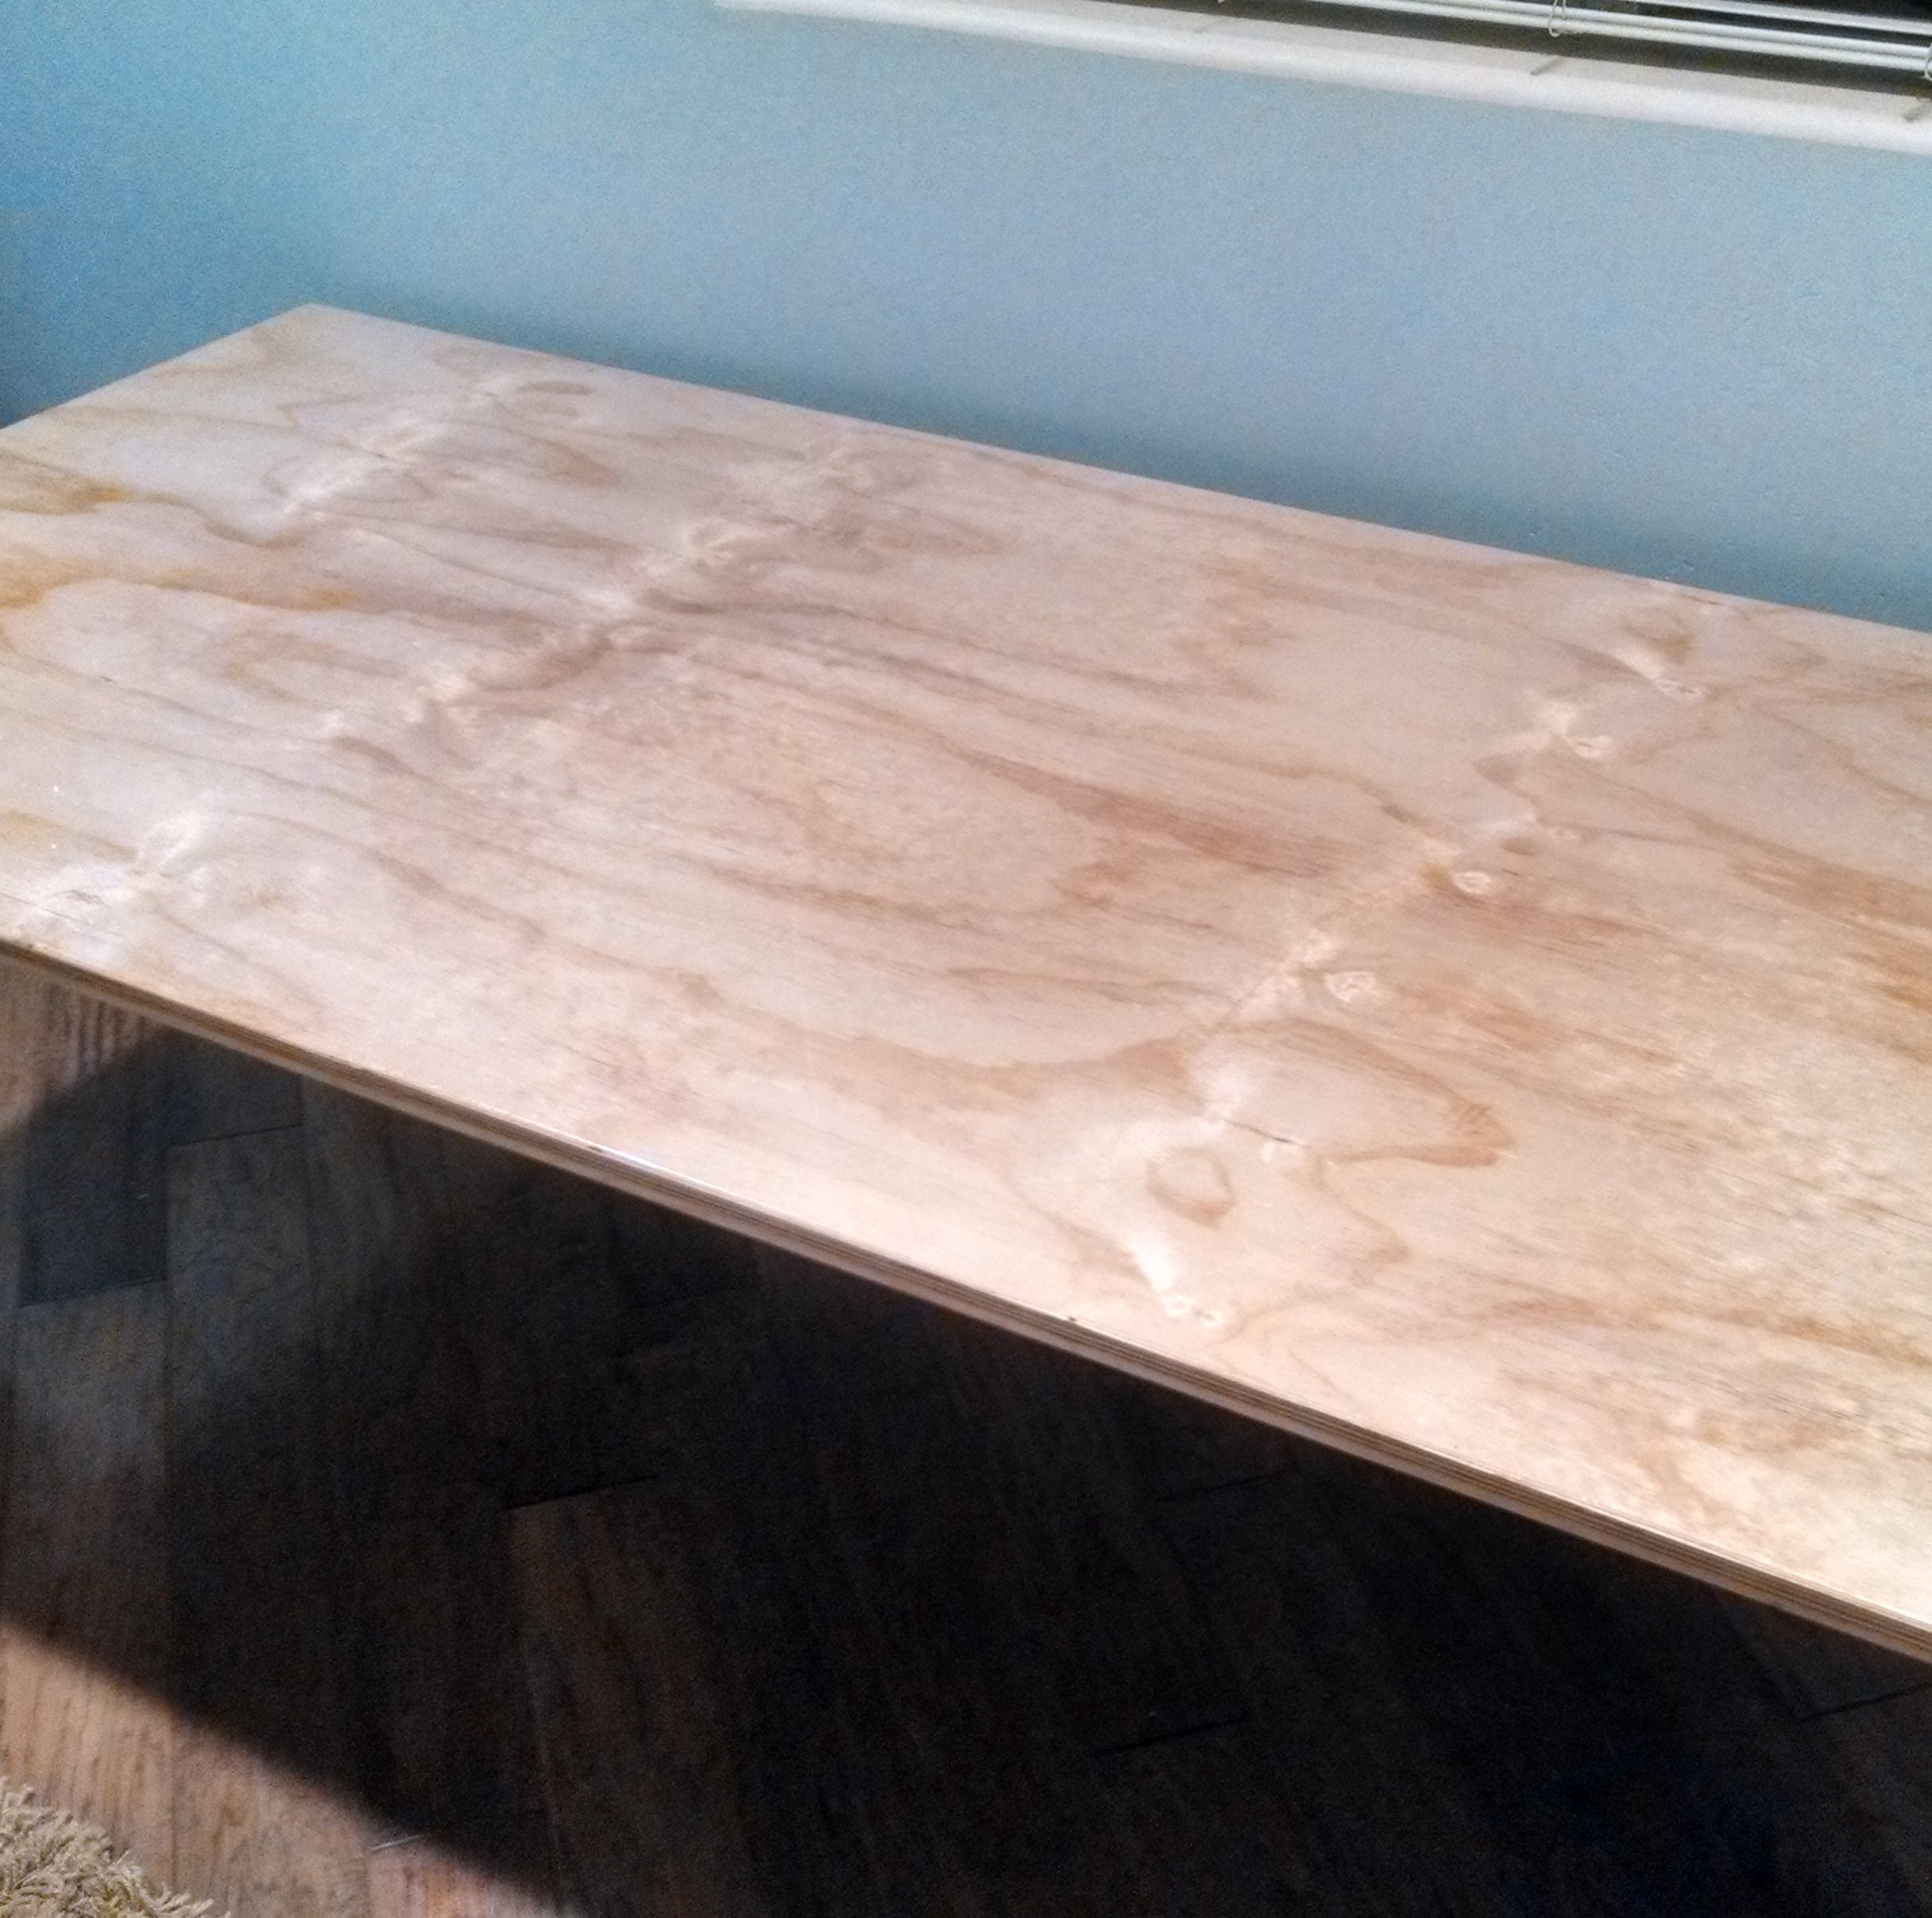
Top Prep
The top was sanded smooth with 600grit sandpaper to ensure a great finish. The pine toping to the plywood had some great natural markings that would really shine in the final product.
Pouring it on
I started spreading the resin over the top of the desk. I had limited time to work with it before it started to harden. About 45 minutes in the surface started to become tacky.
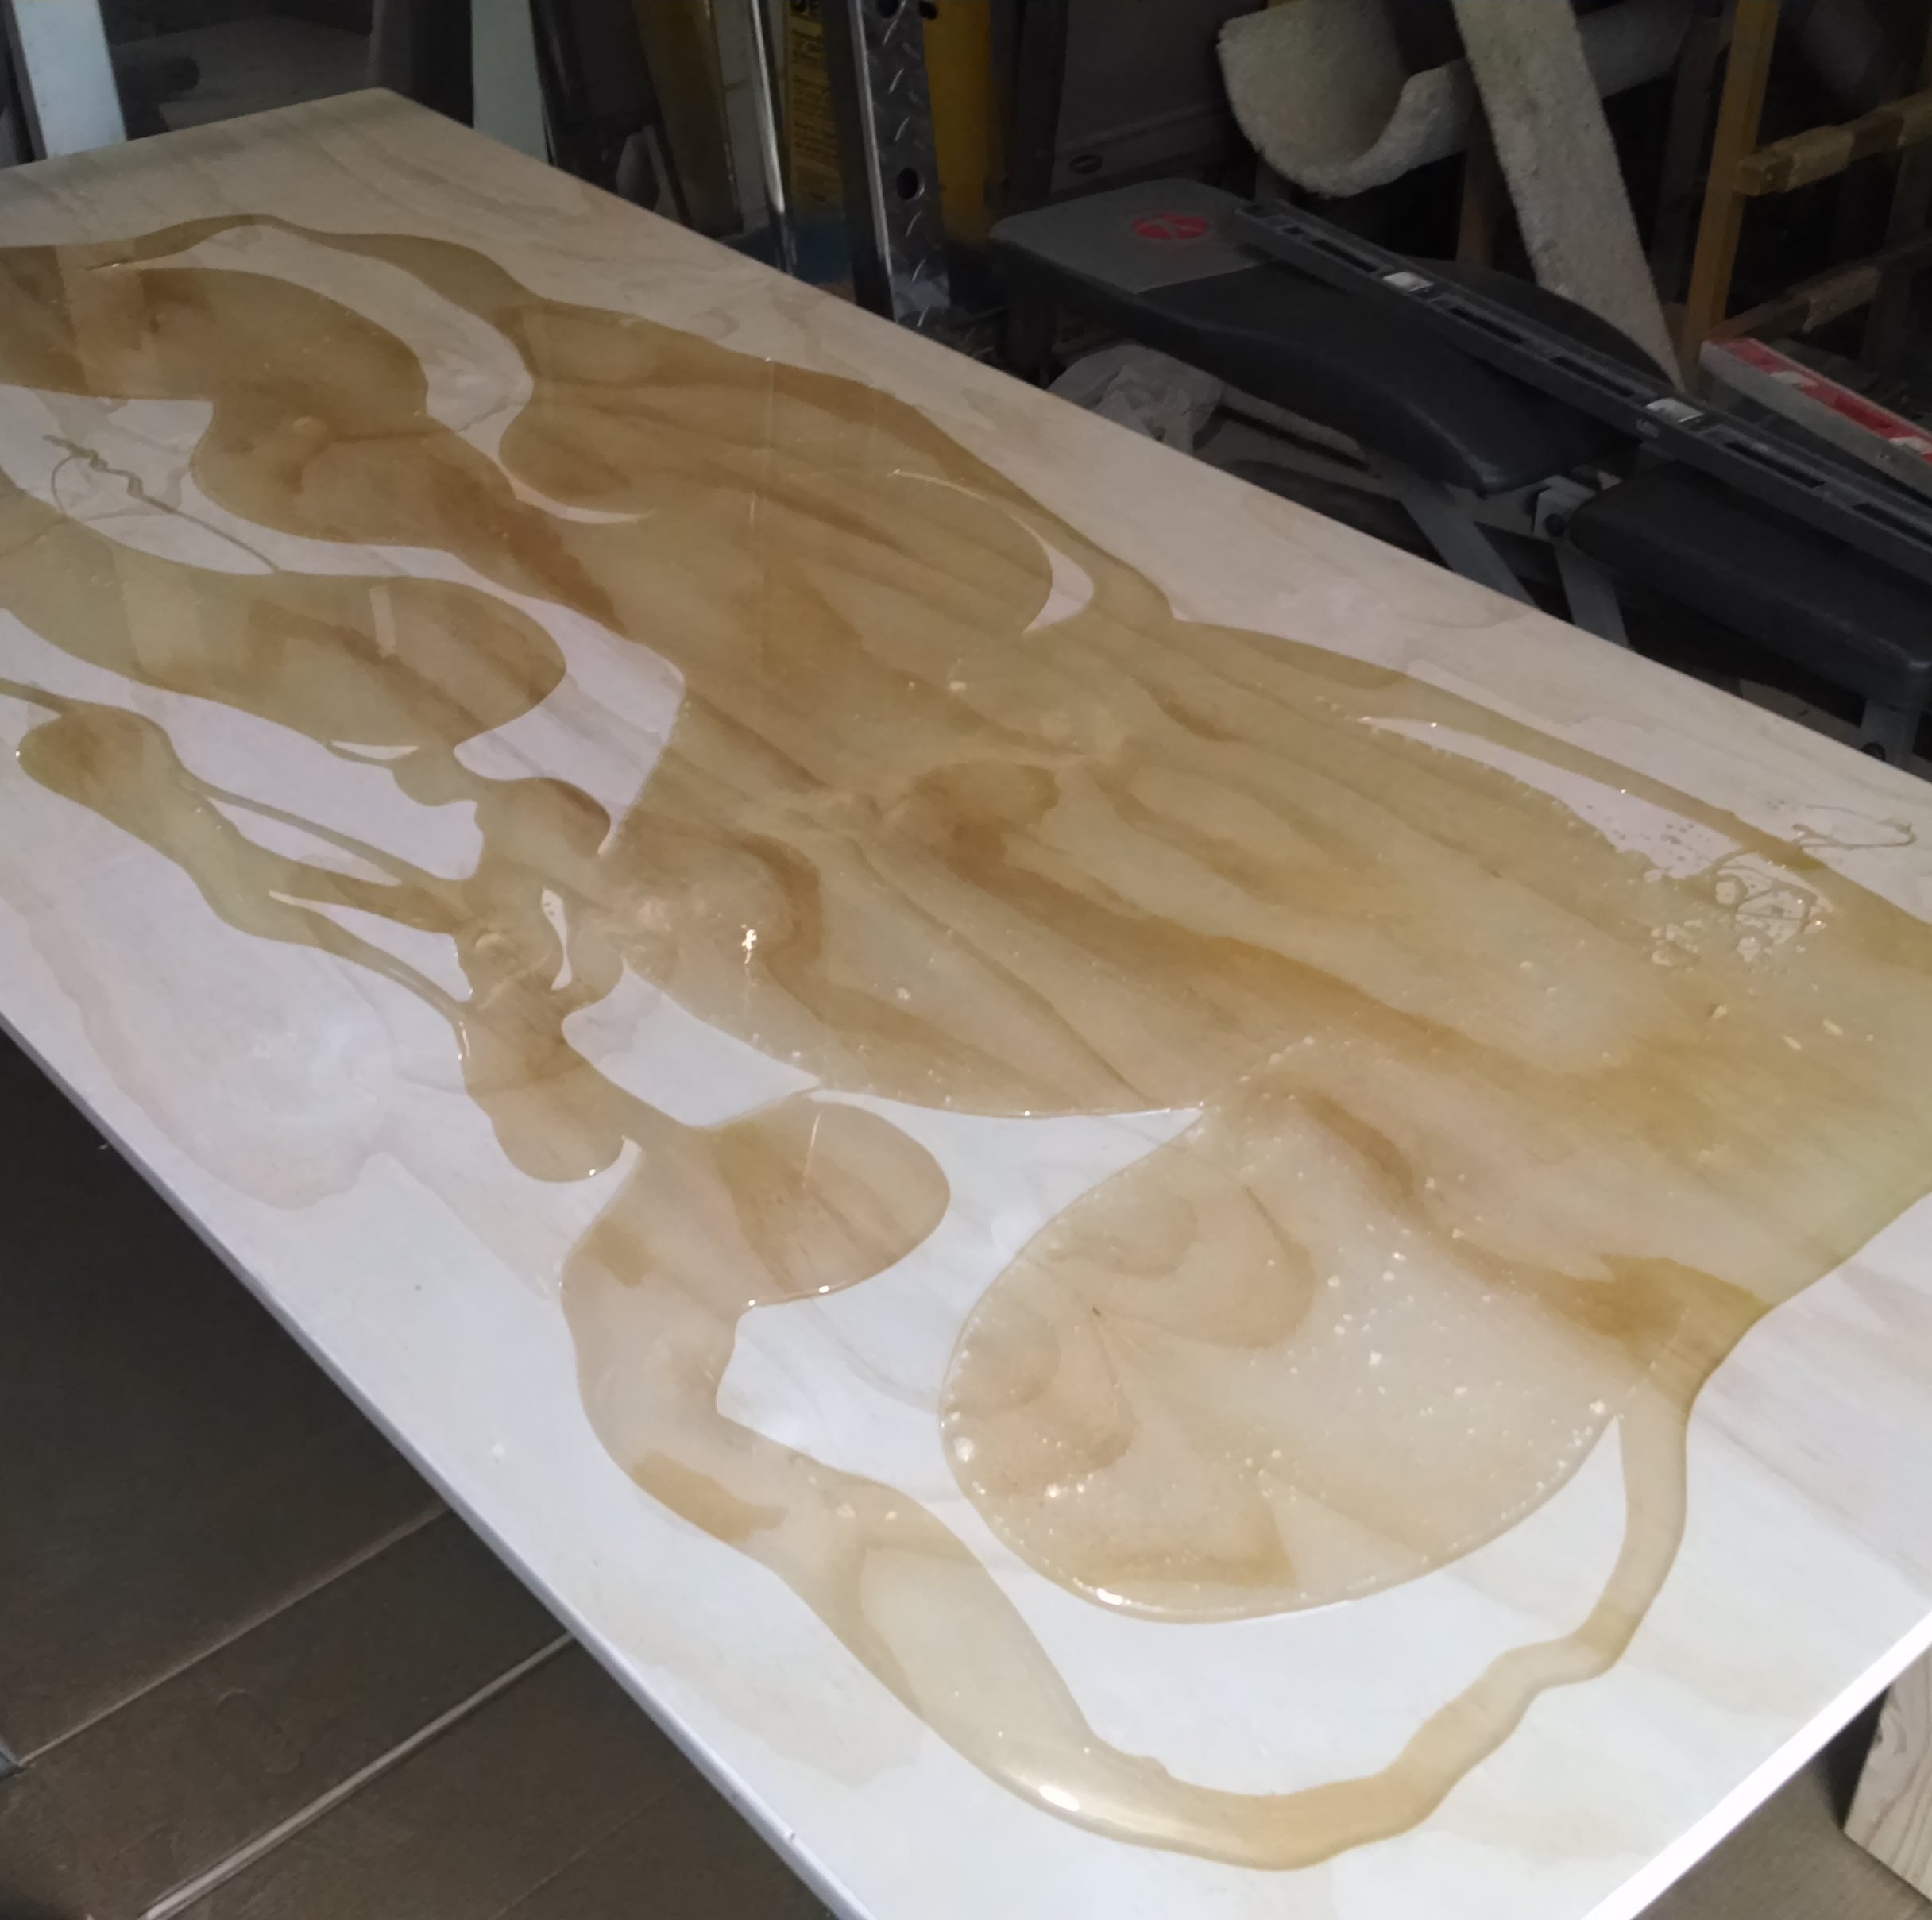
Smooth the Resin
I got a pretty even coating and then used a hot air gun to eliminate any bubbles in the resin. You run the gun along any air pockets which causes them to pop. Since the resin is self leveling, it will fill in the pockets by itself. You can’t stay in anyone place too long or it will start drying.
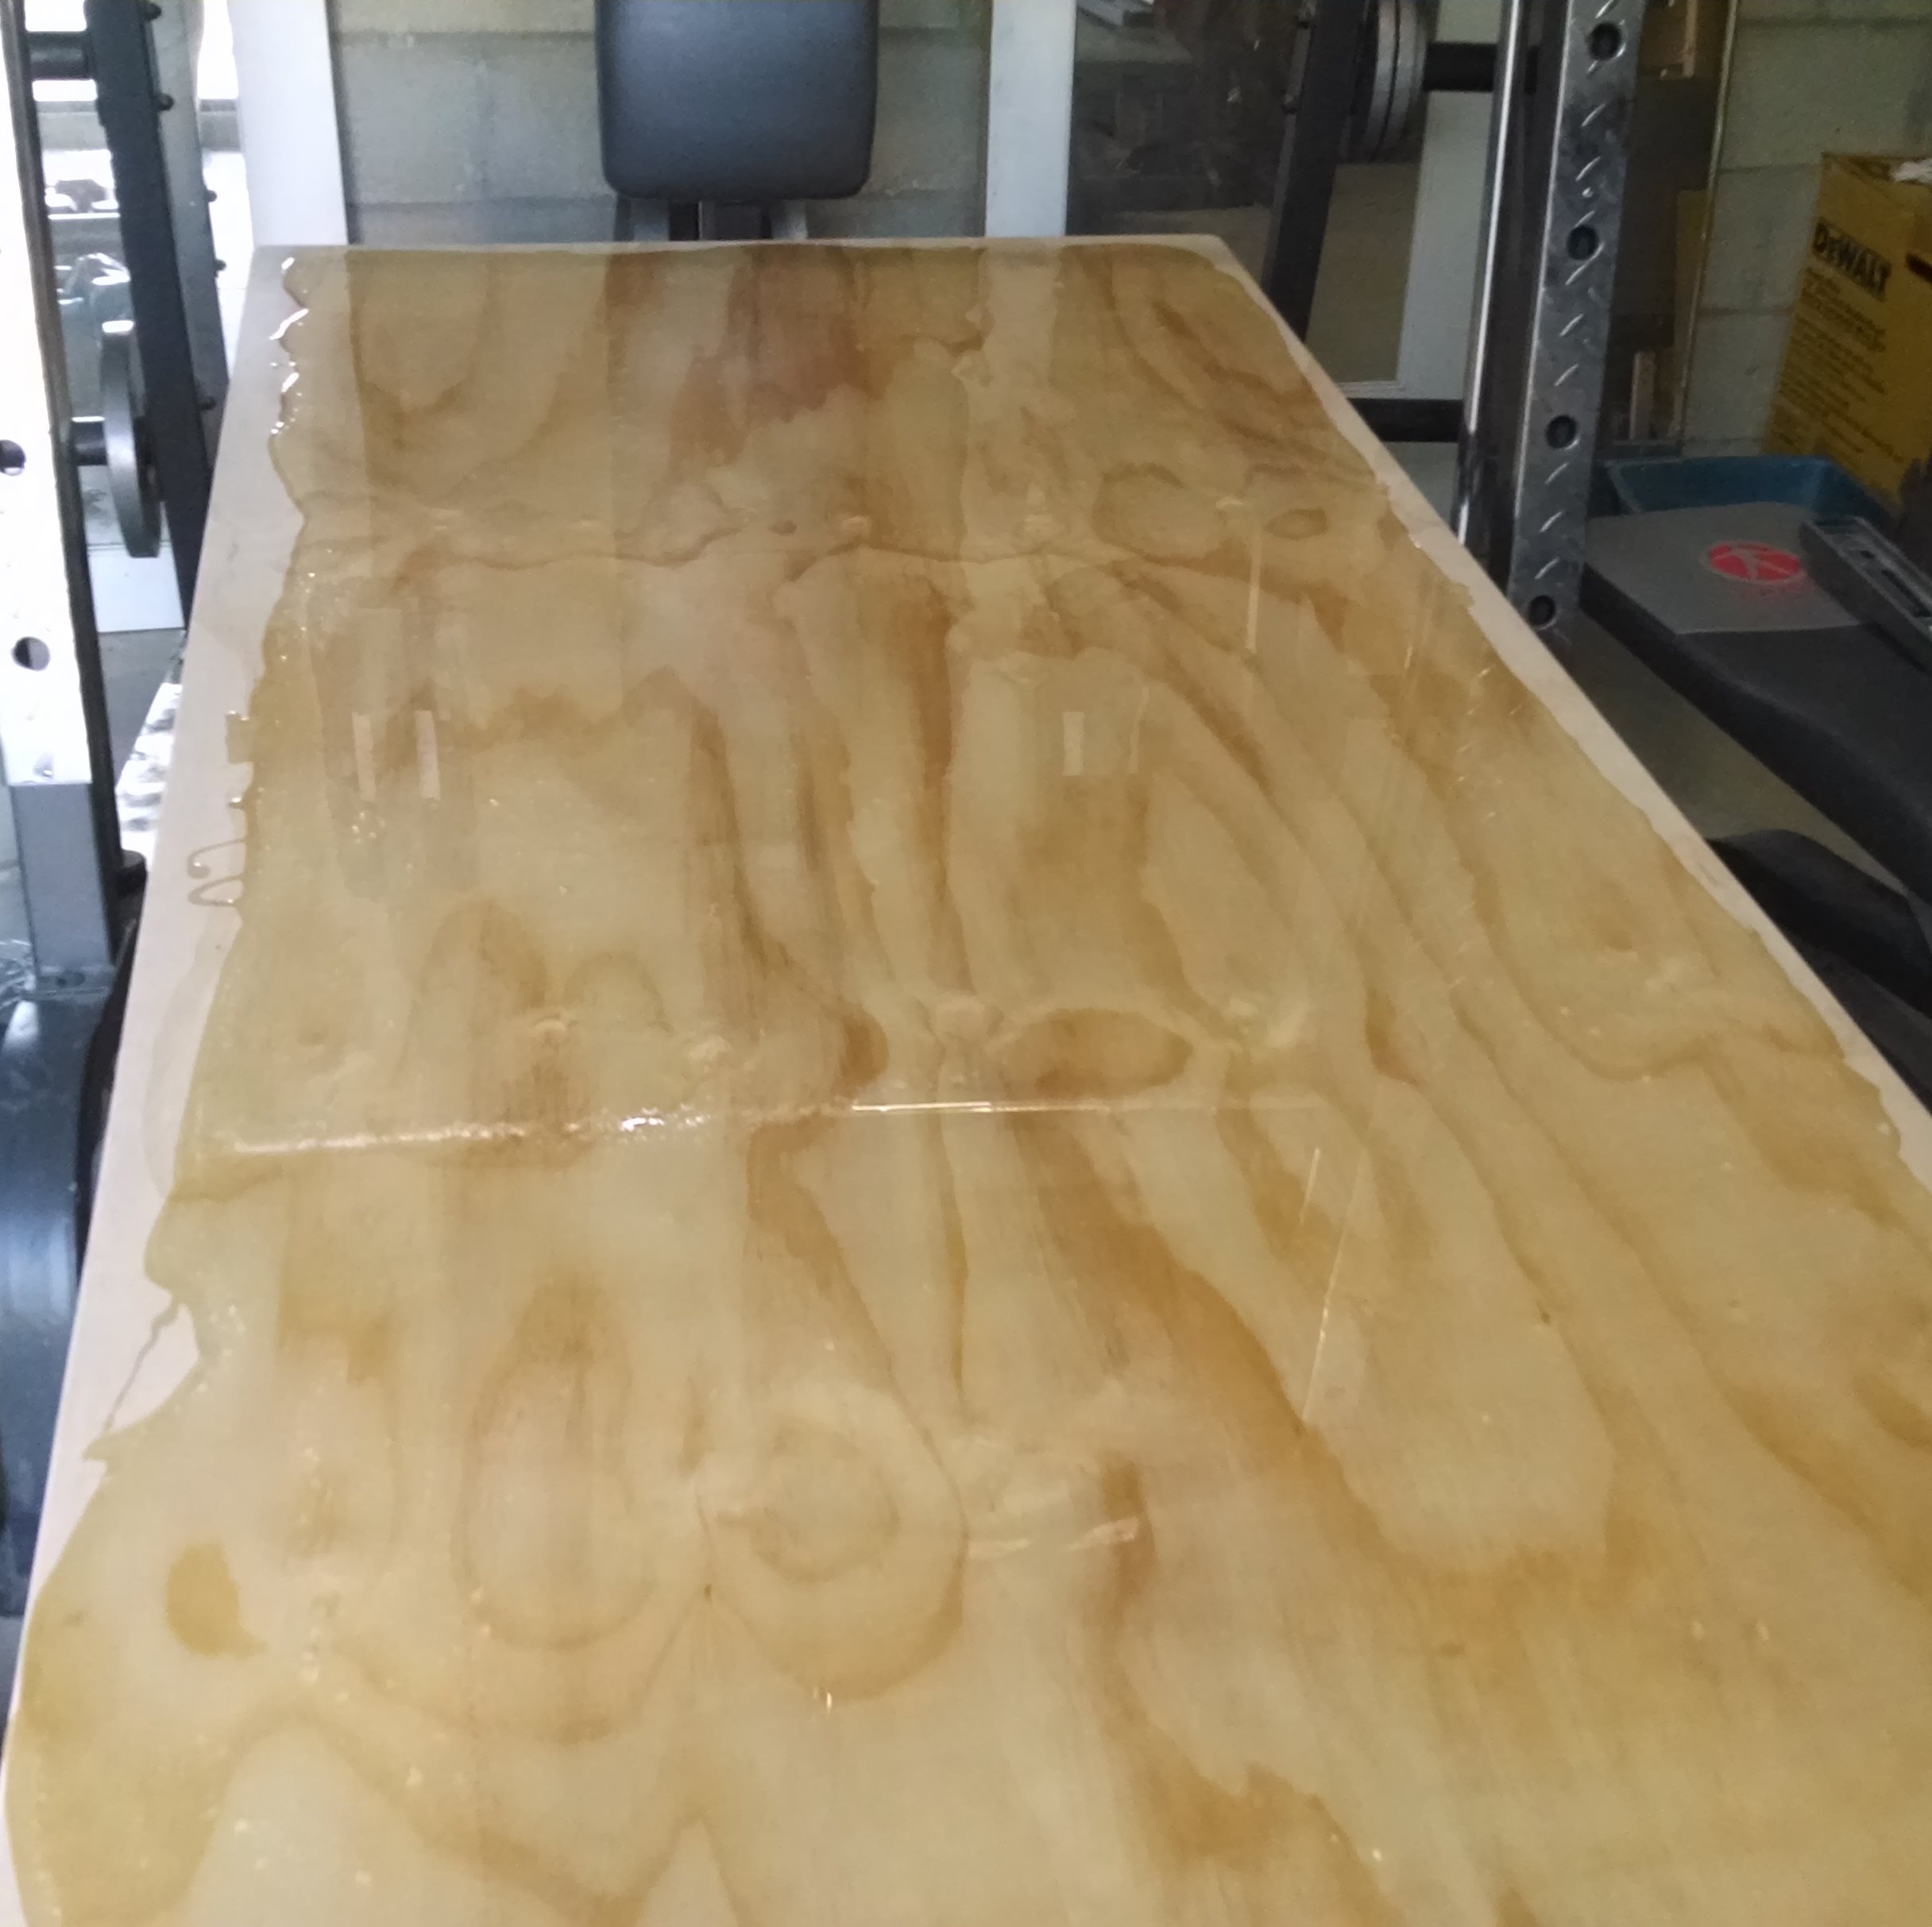
Let it Dry
Three days later I came to checkout how it turned out. It was beautiful. It was nicely finished, the air pockets were minimal, and the top looked great.
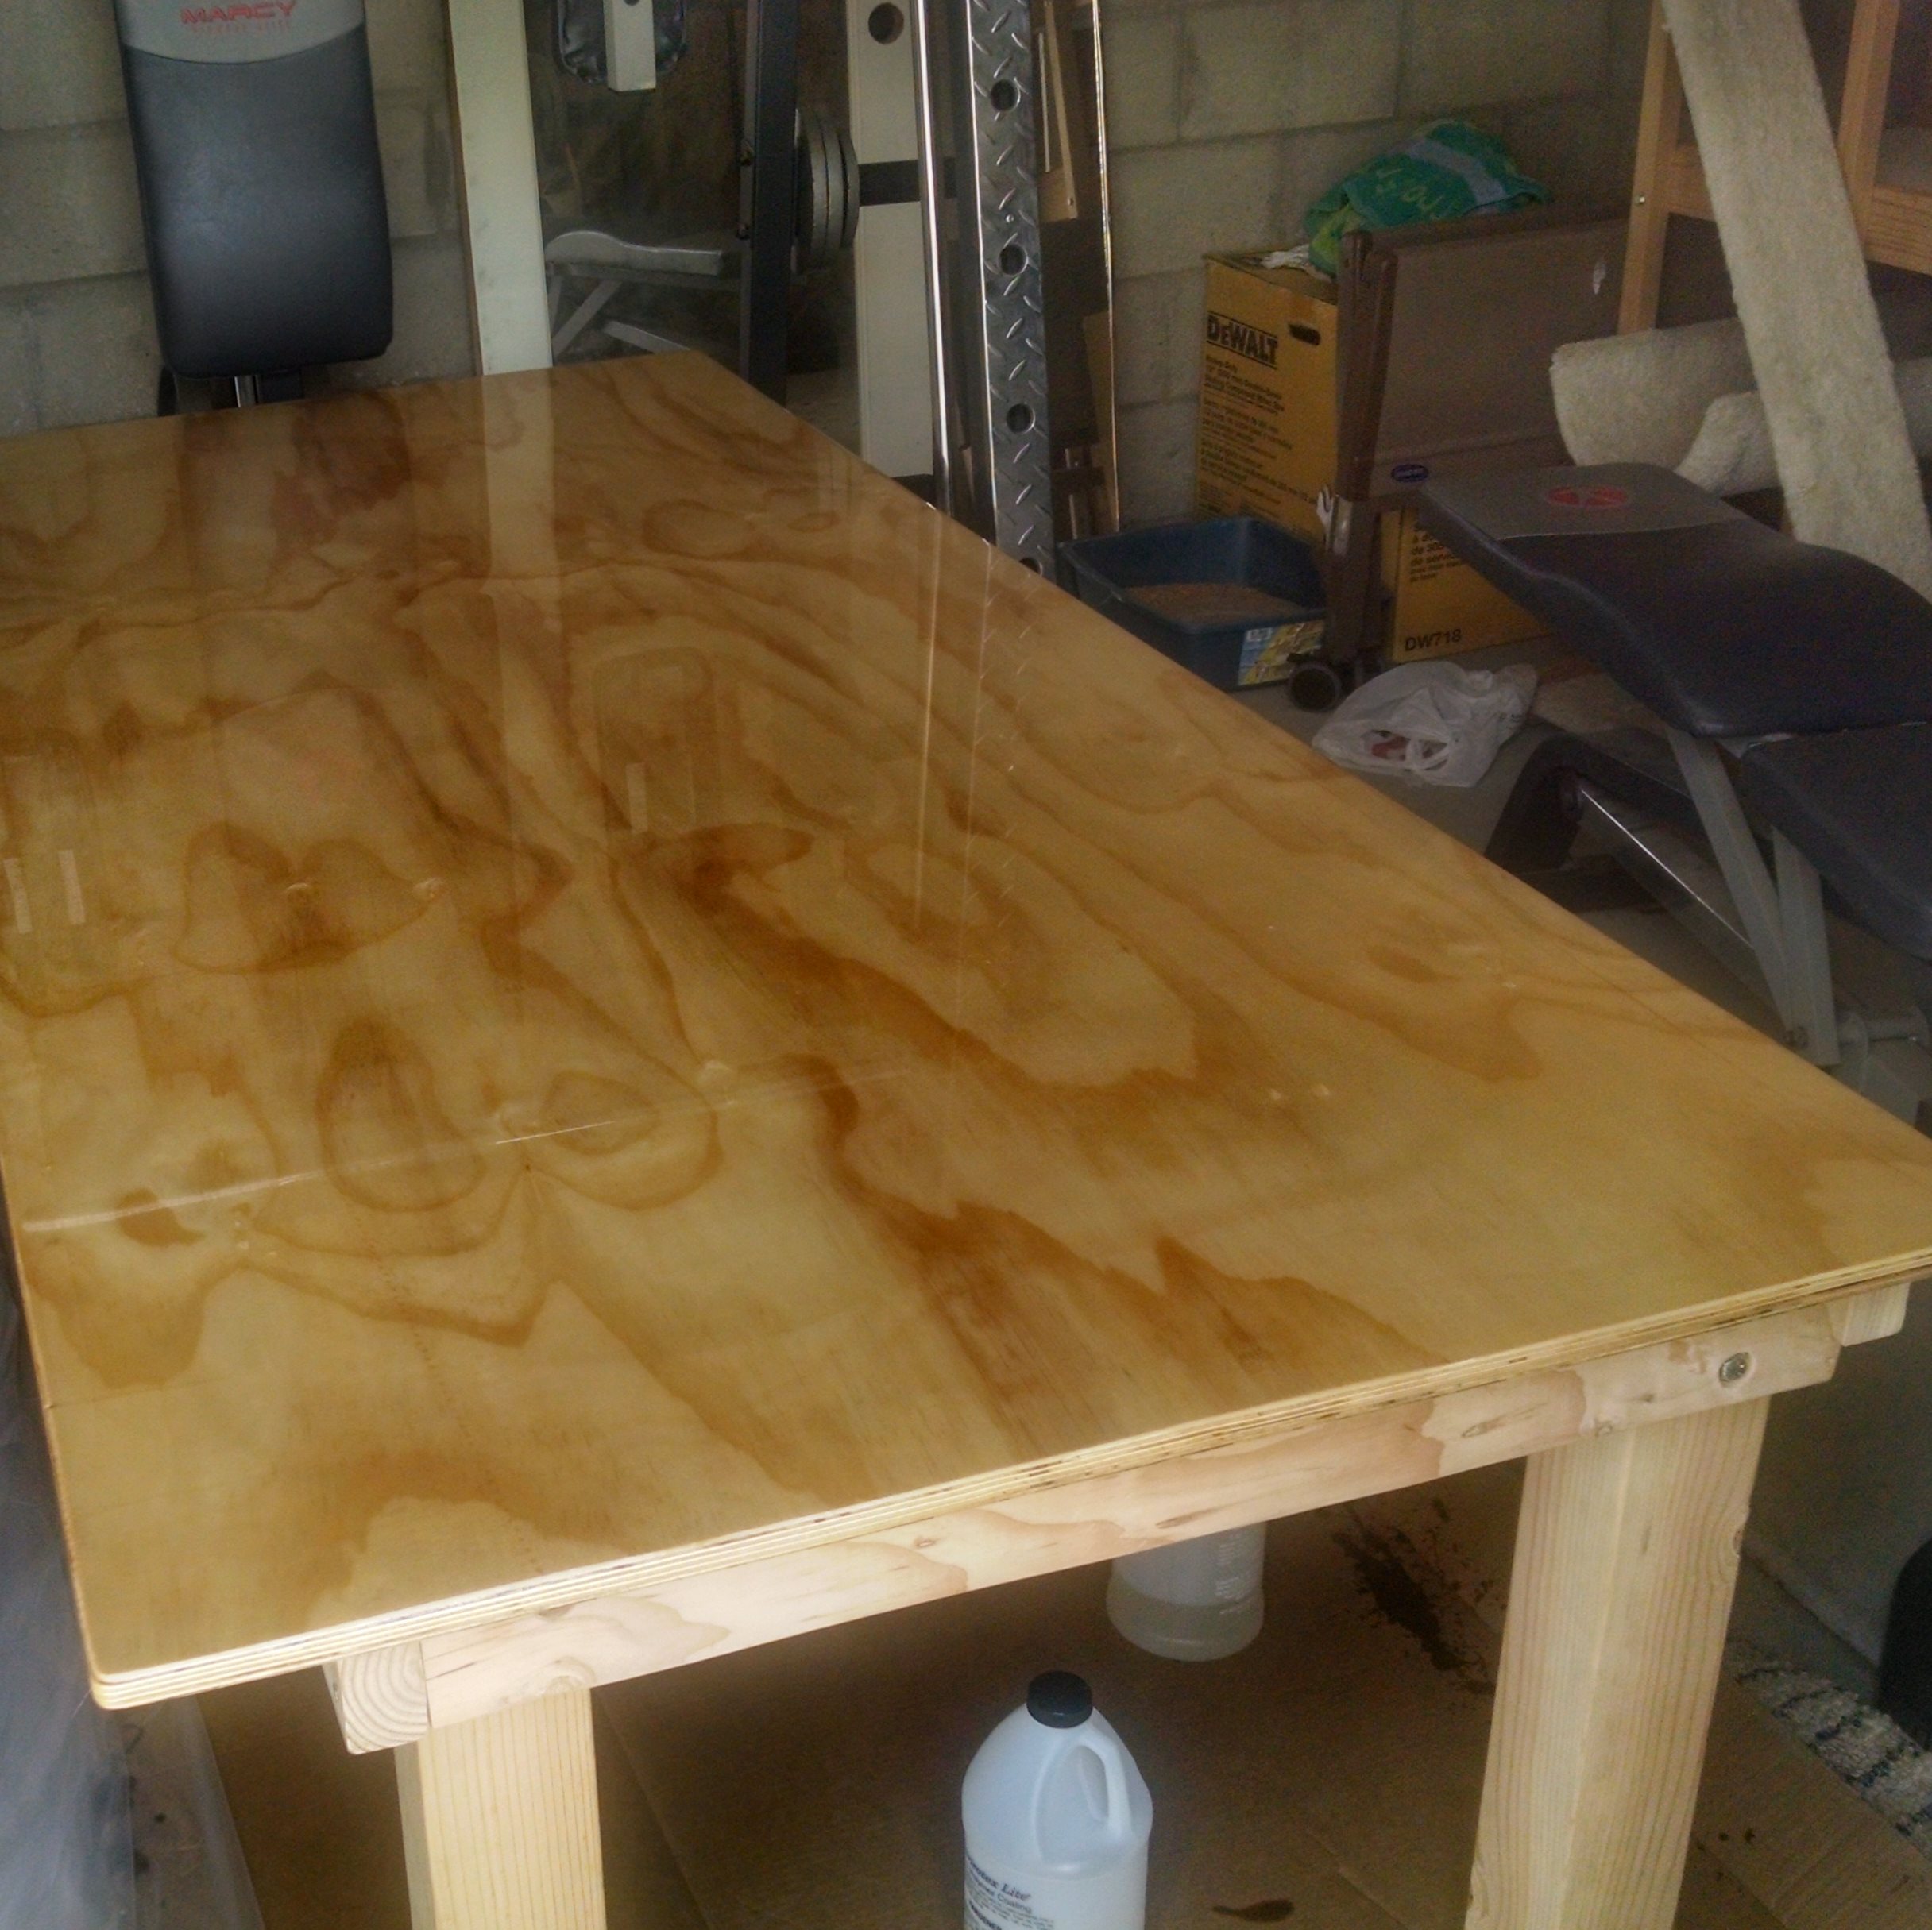

Shiny
It was hard to convey how miraculous the top looked, but this mirror like quality was really visible from this angle. I started to worry it would be too difficult to work on, but that didn’t need to be a concern.
Removing the Legs
I built the table with portability in mind. The legs are all removeable, so it can lay flat. The legs ended up being kind of a pain to reinstall, but it’s definitley doable.
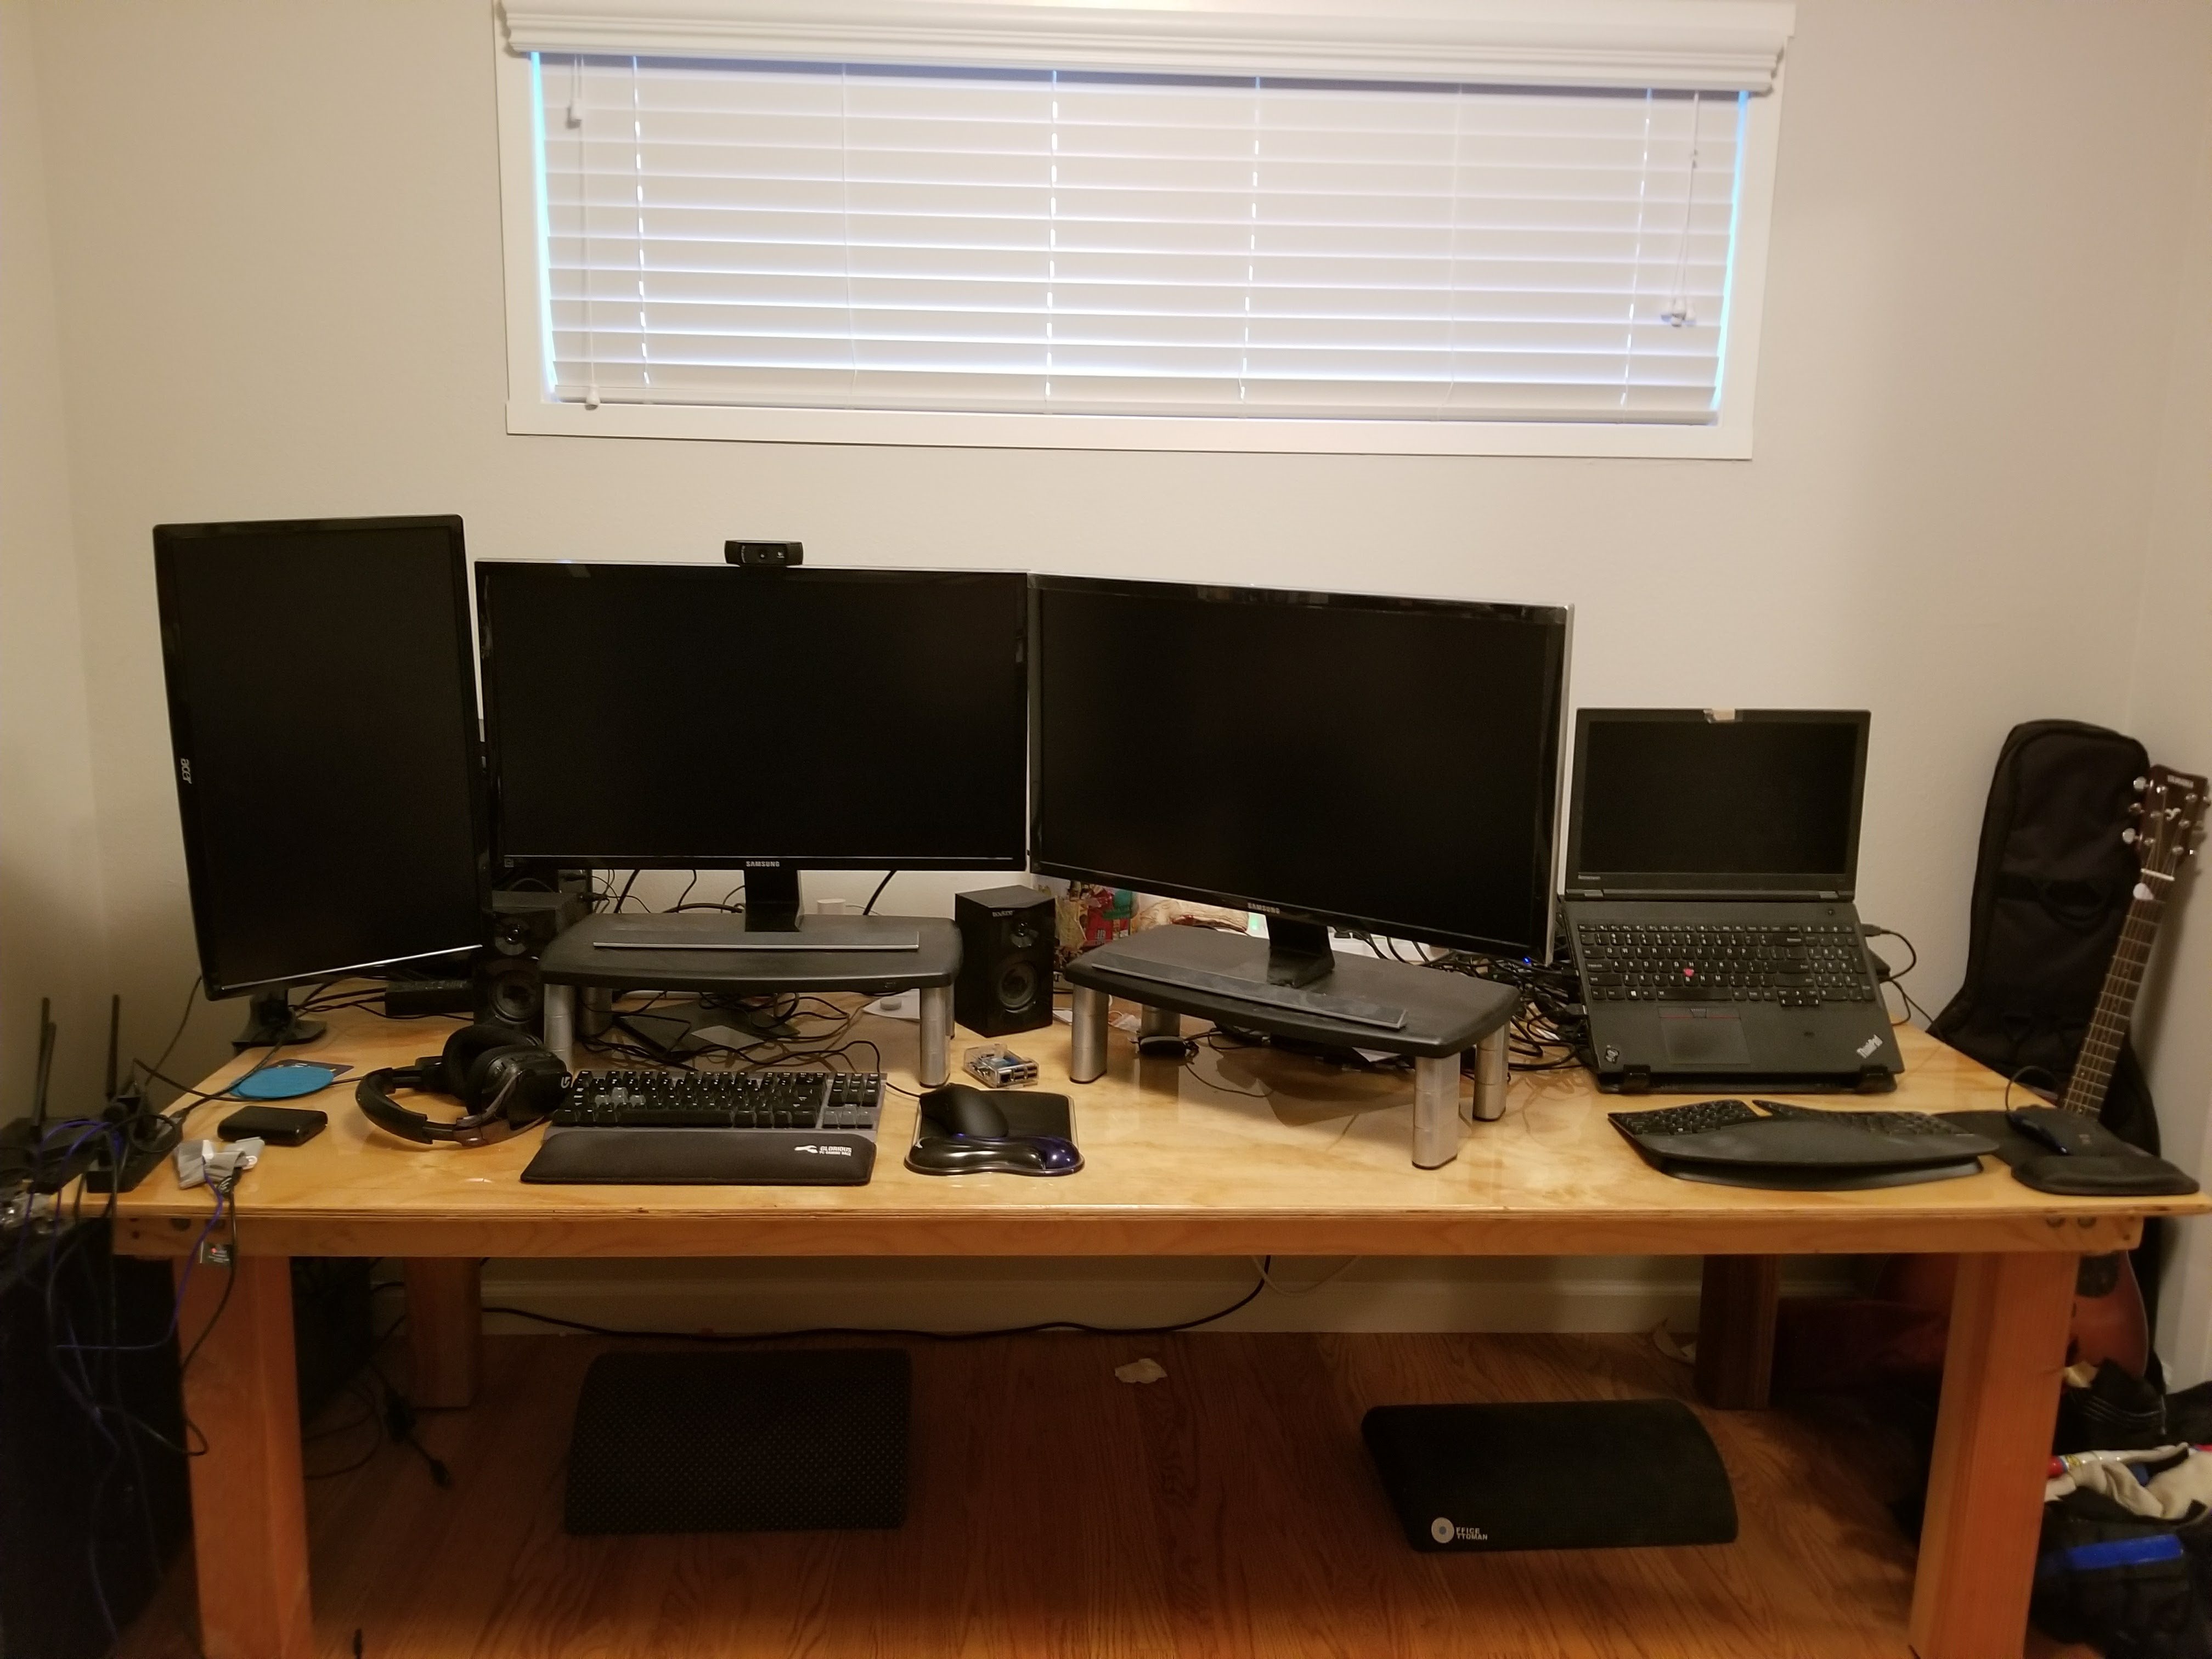
Inside
It looks pretty good setup inside. Definitely the cleanest it will ever be.
In Use
It works perfect for my needs. It’s low to the ground, I have monitor risers to bring them to the right hight, and it’s almost big enough for my needs. One of the projects on my list is a wrap around for papers that I want to work on. Not enough desk space…