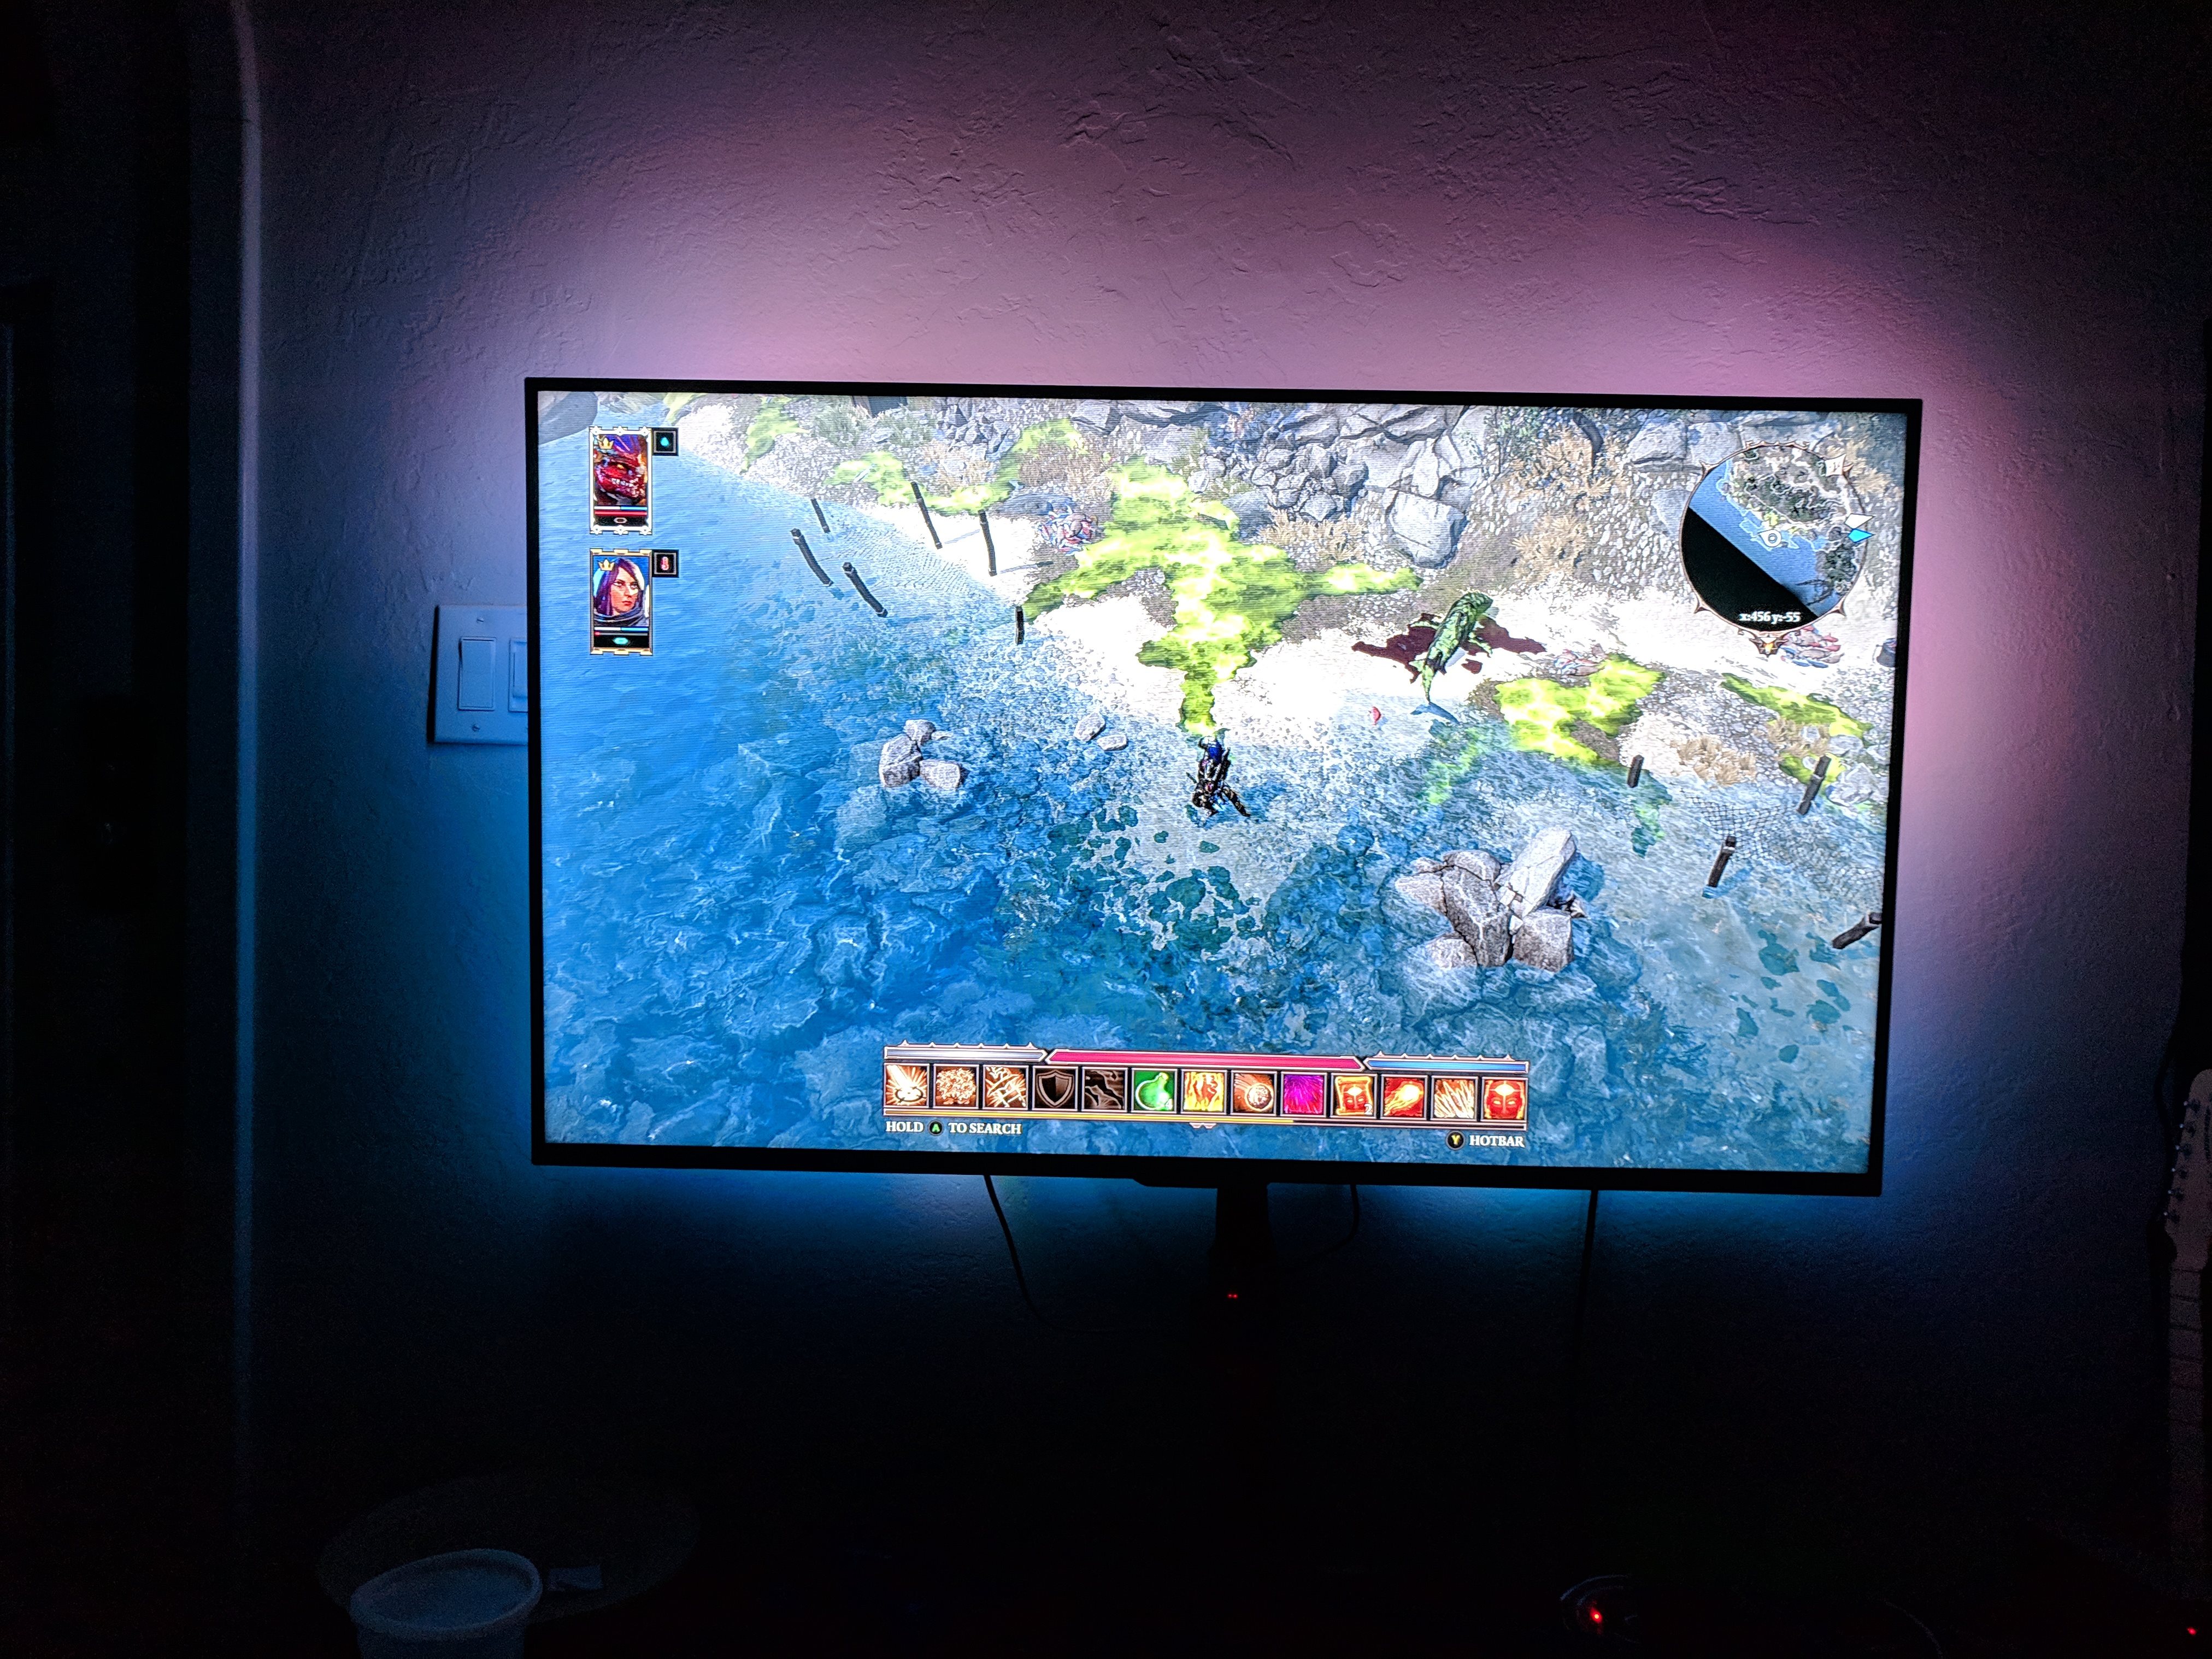
Ambilight
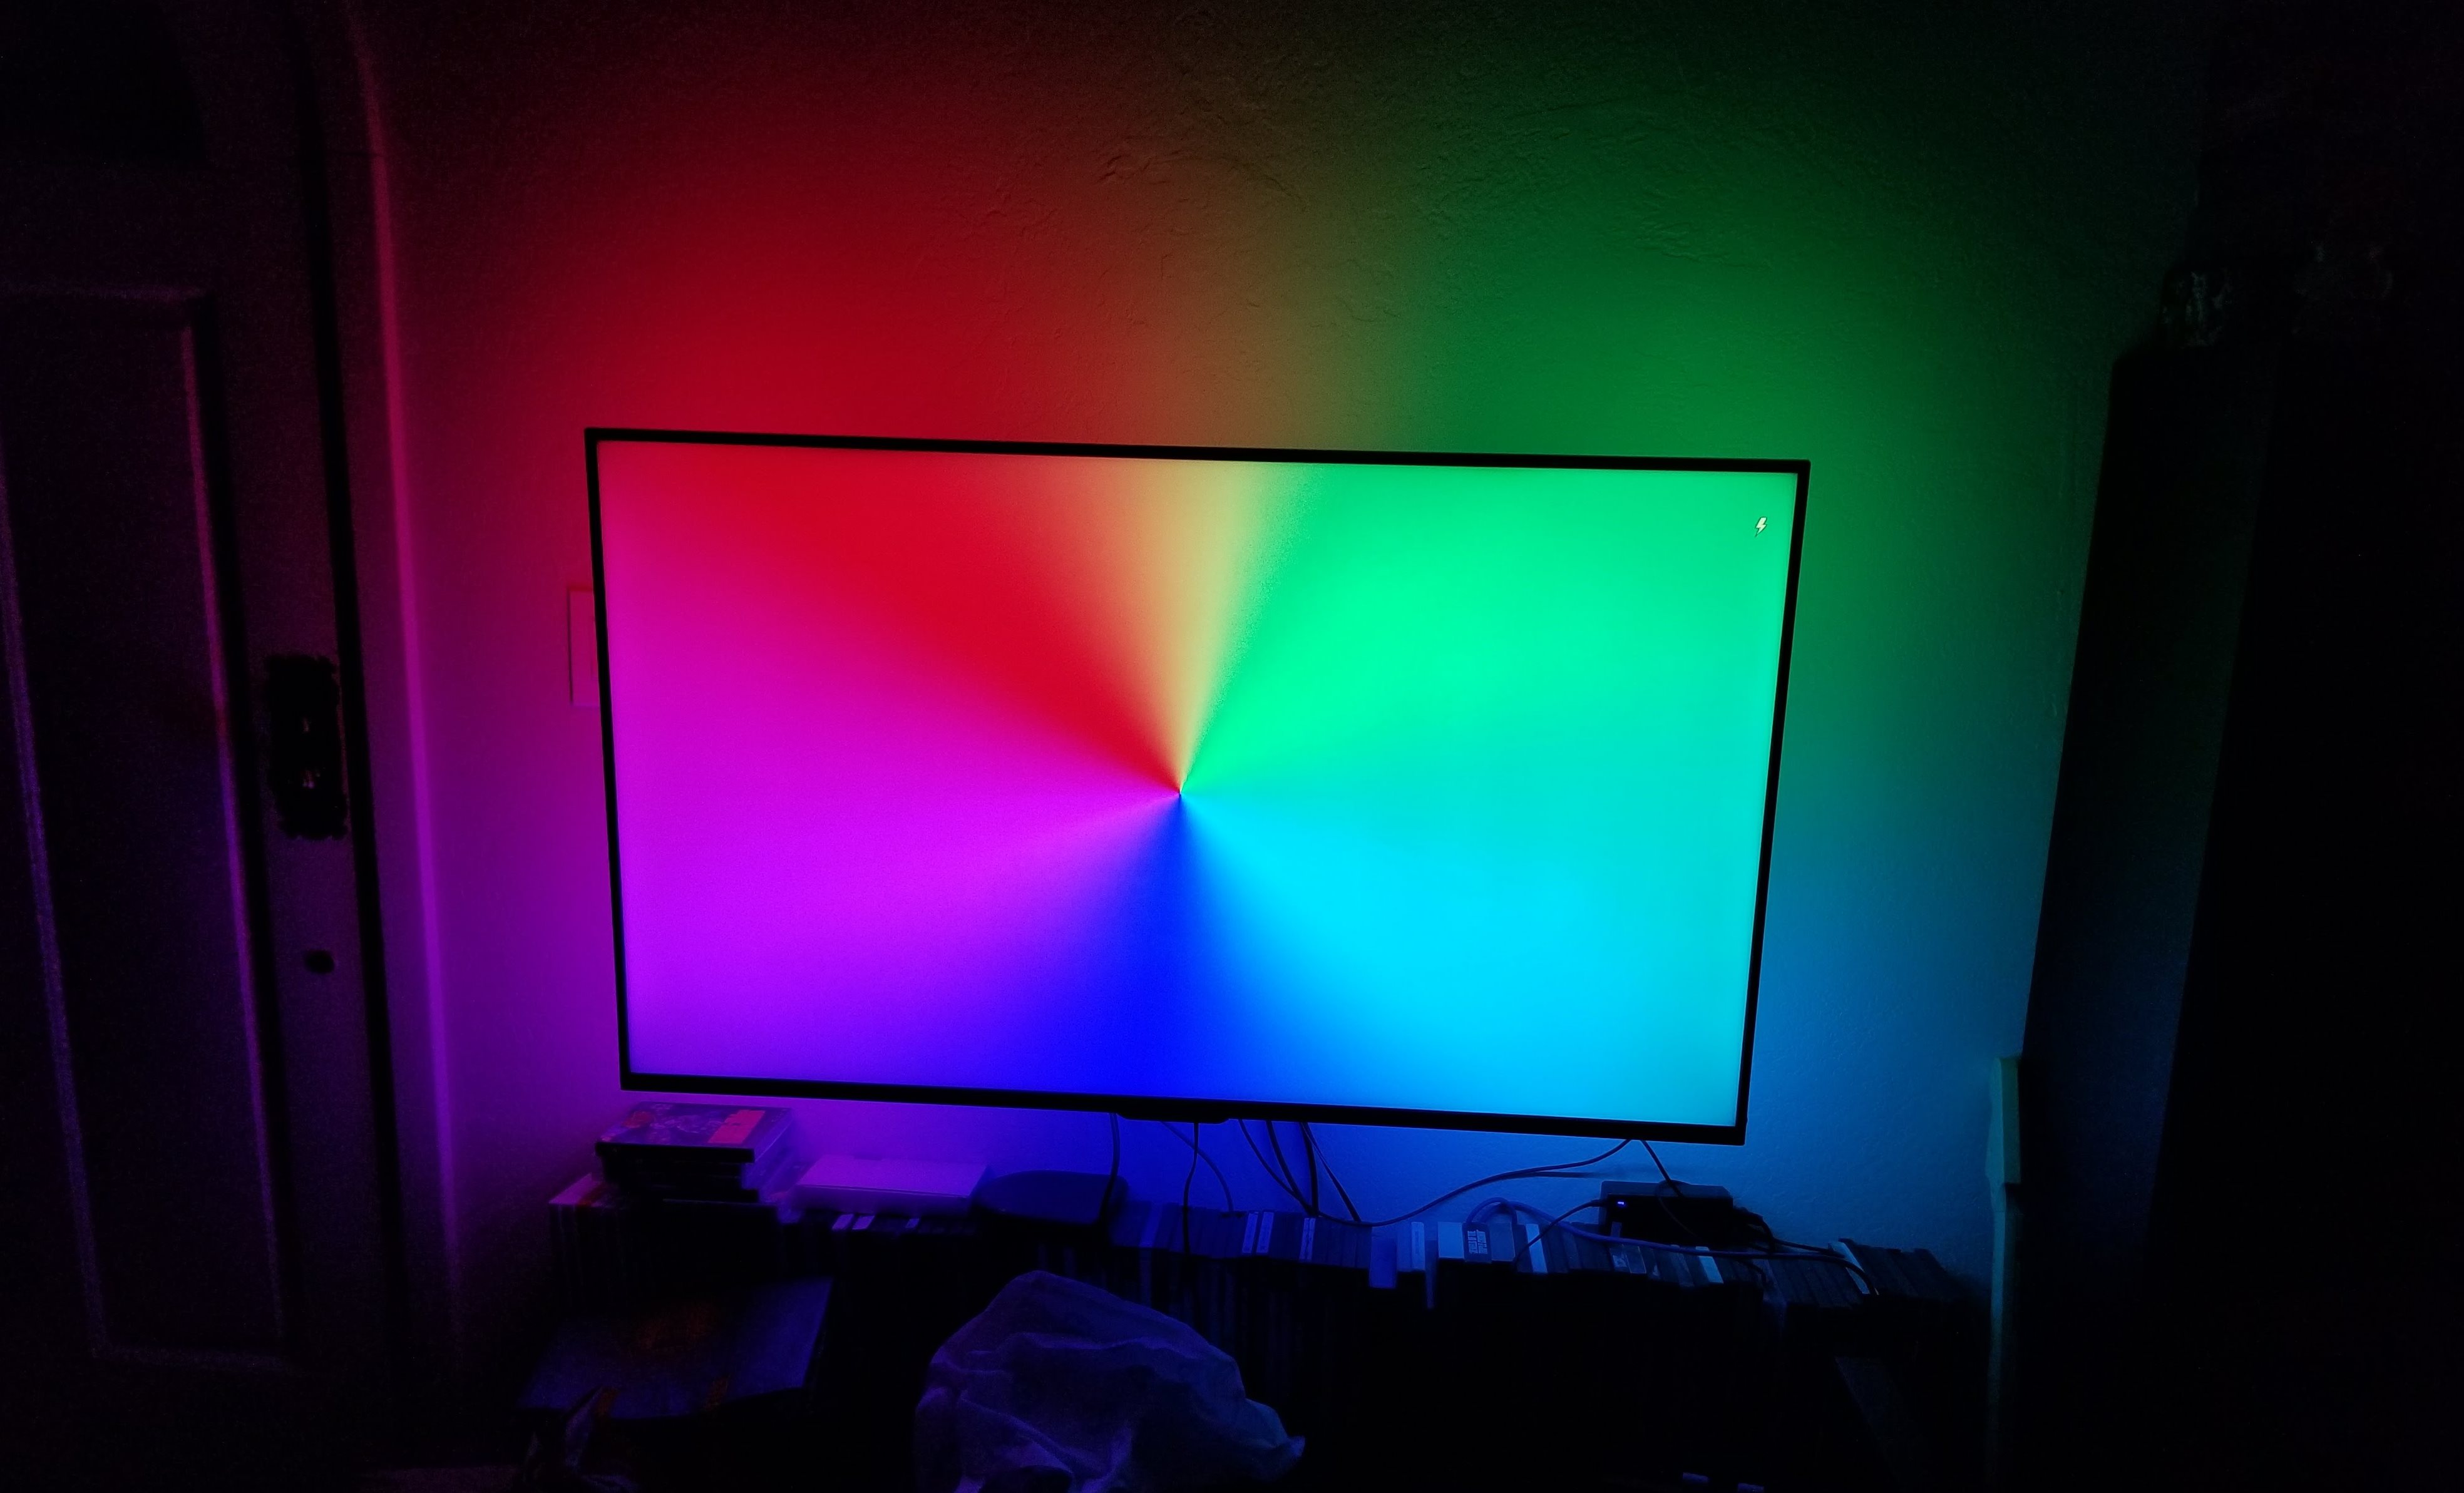
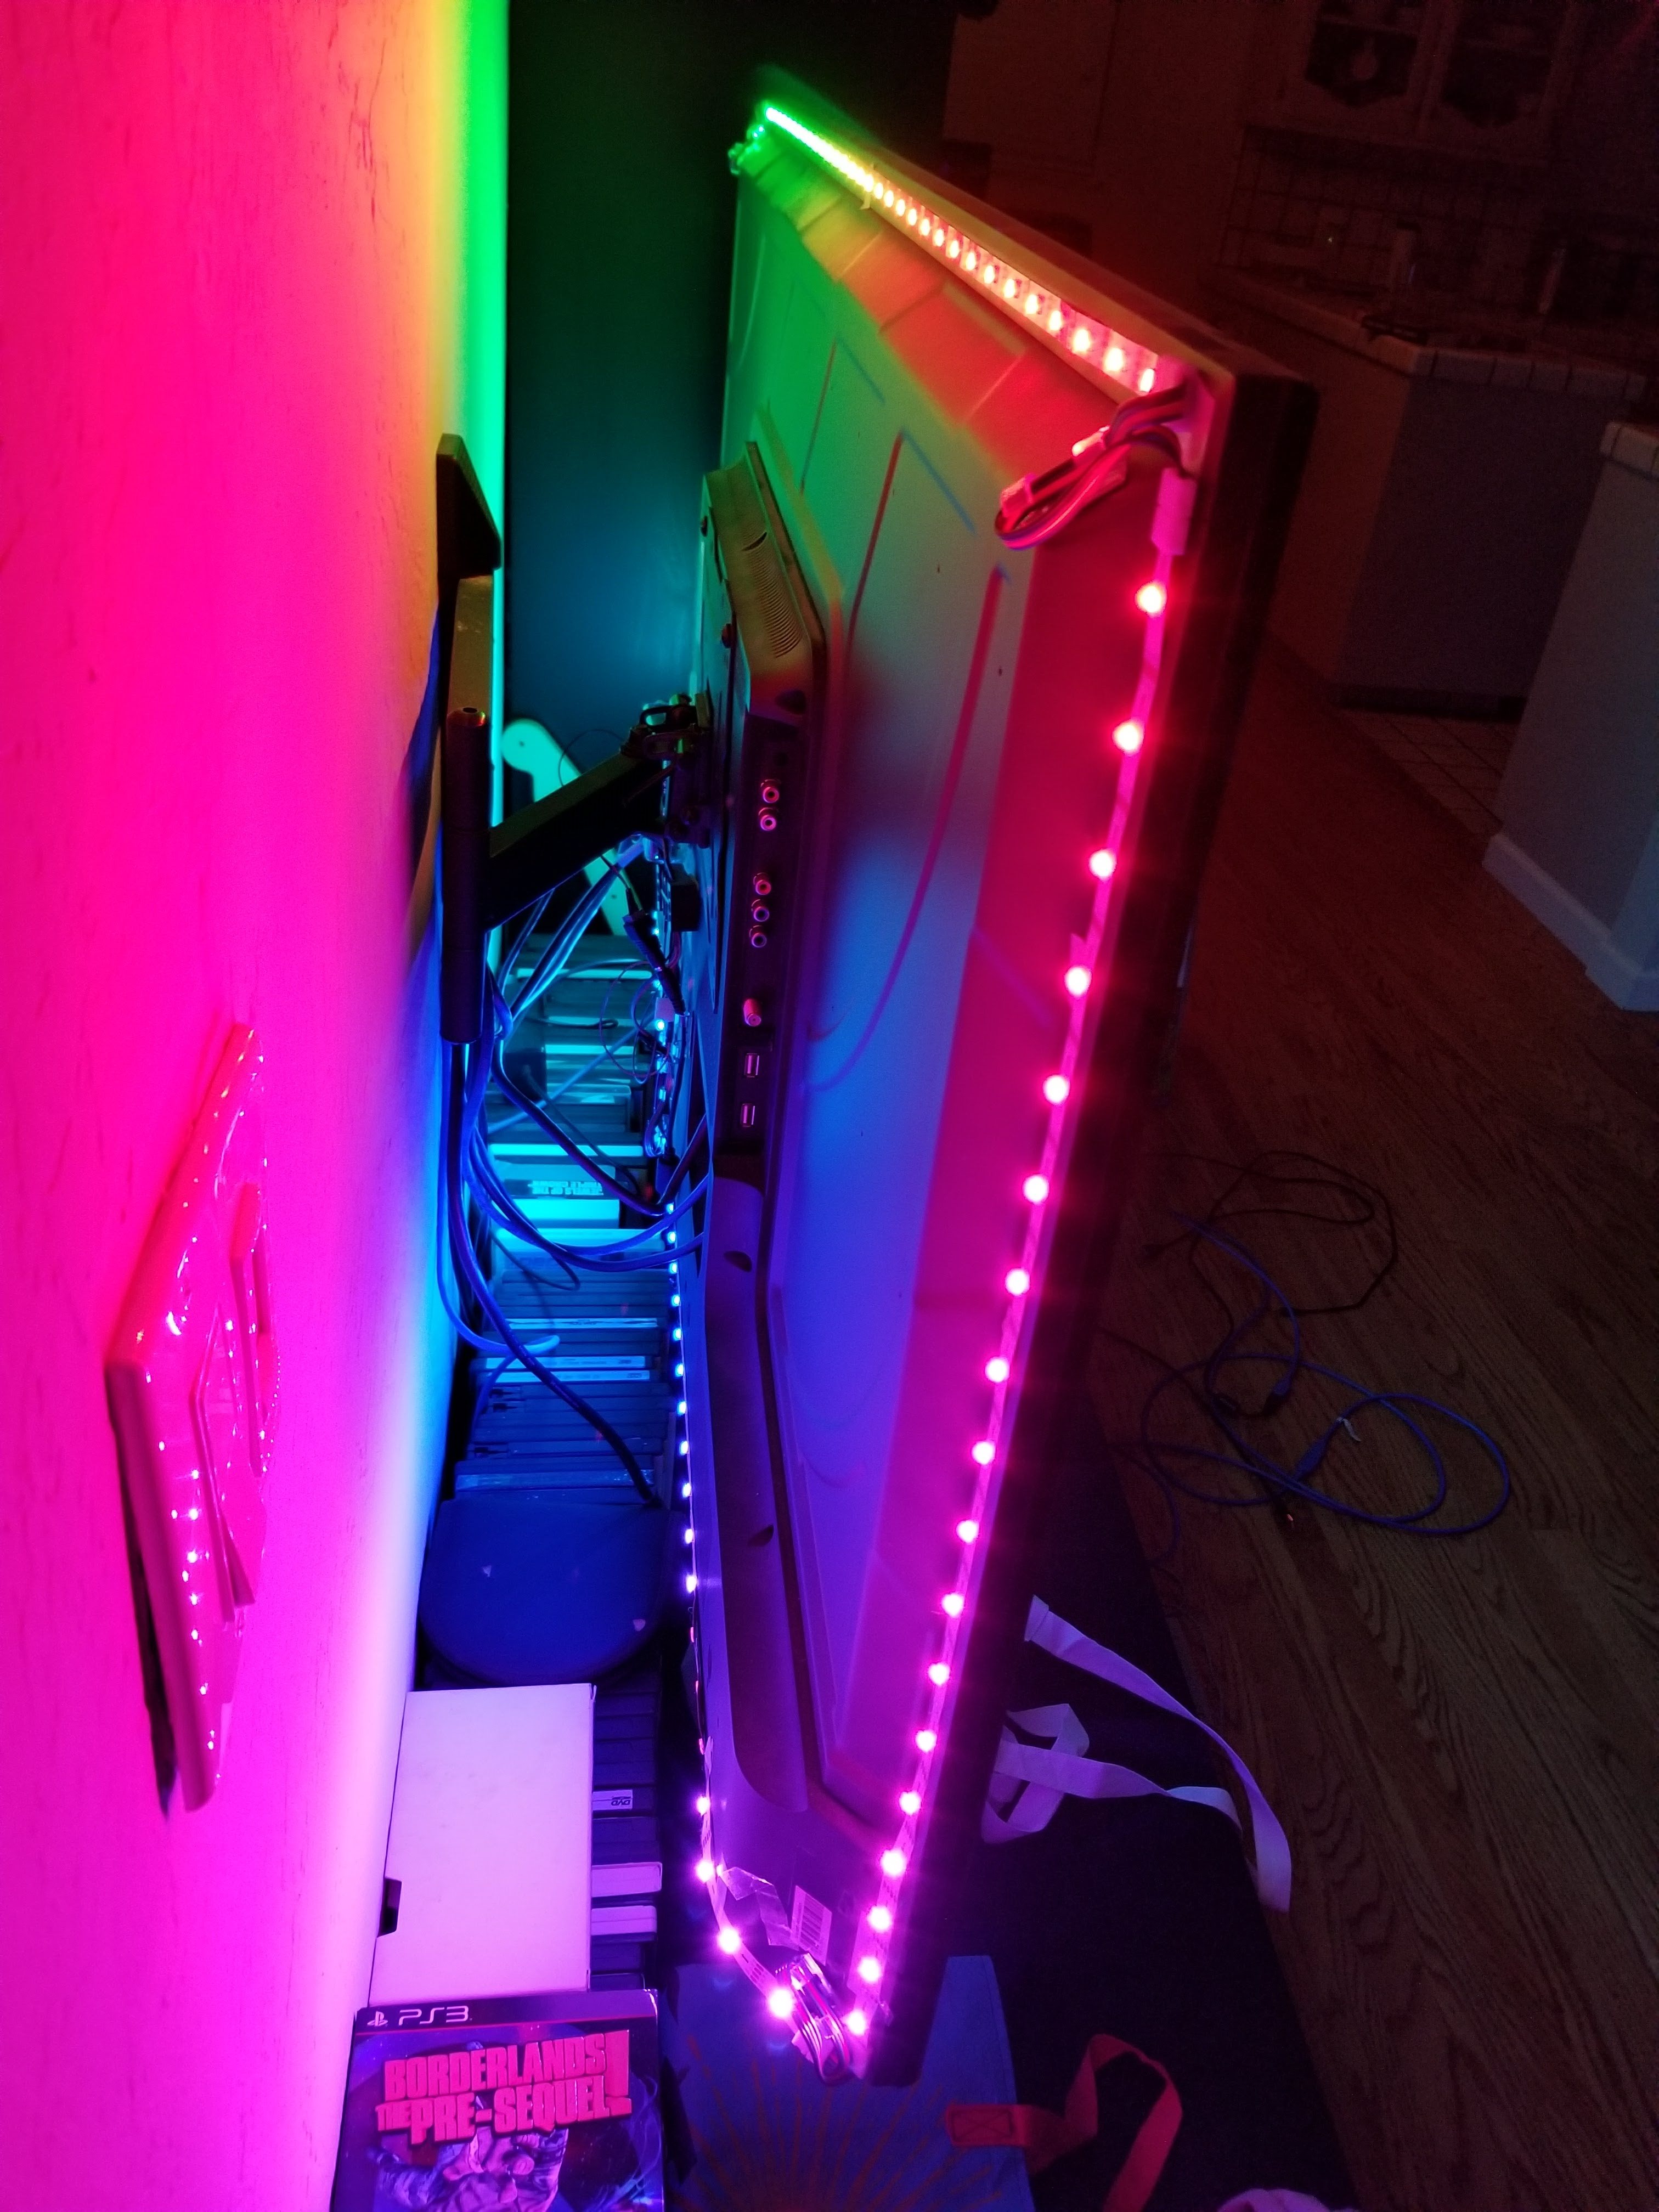
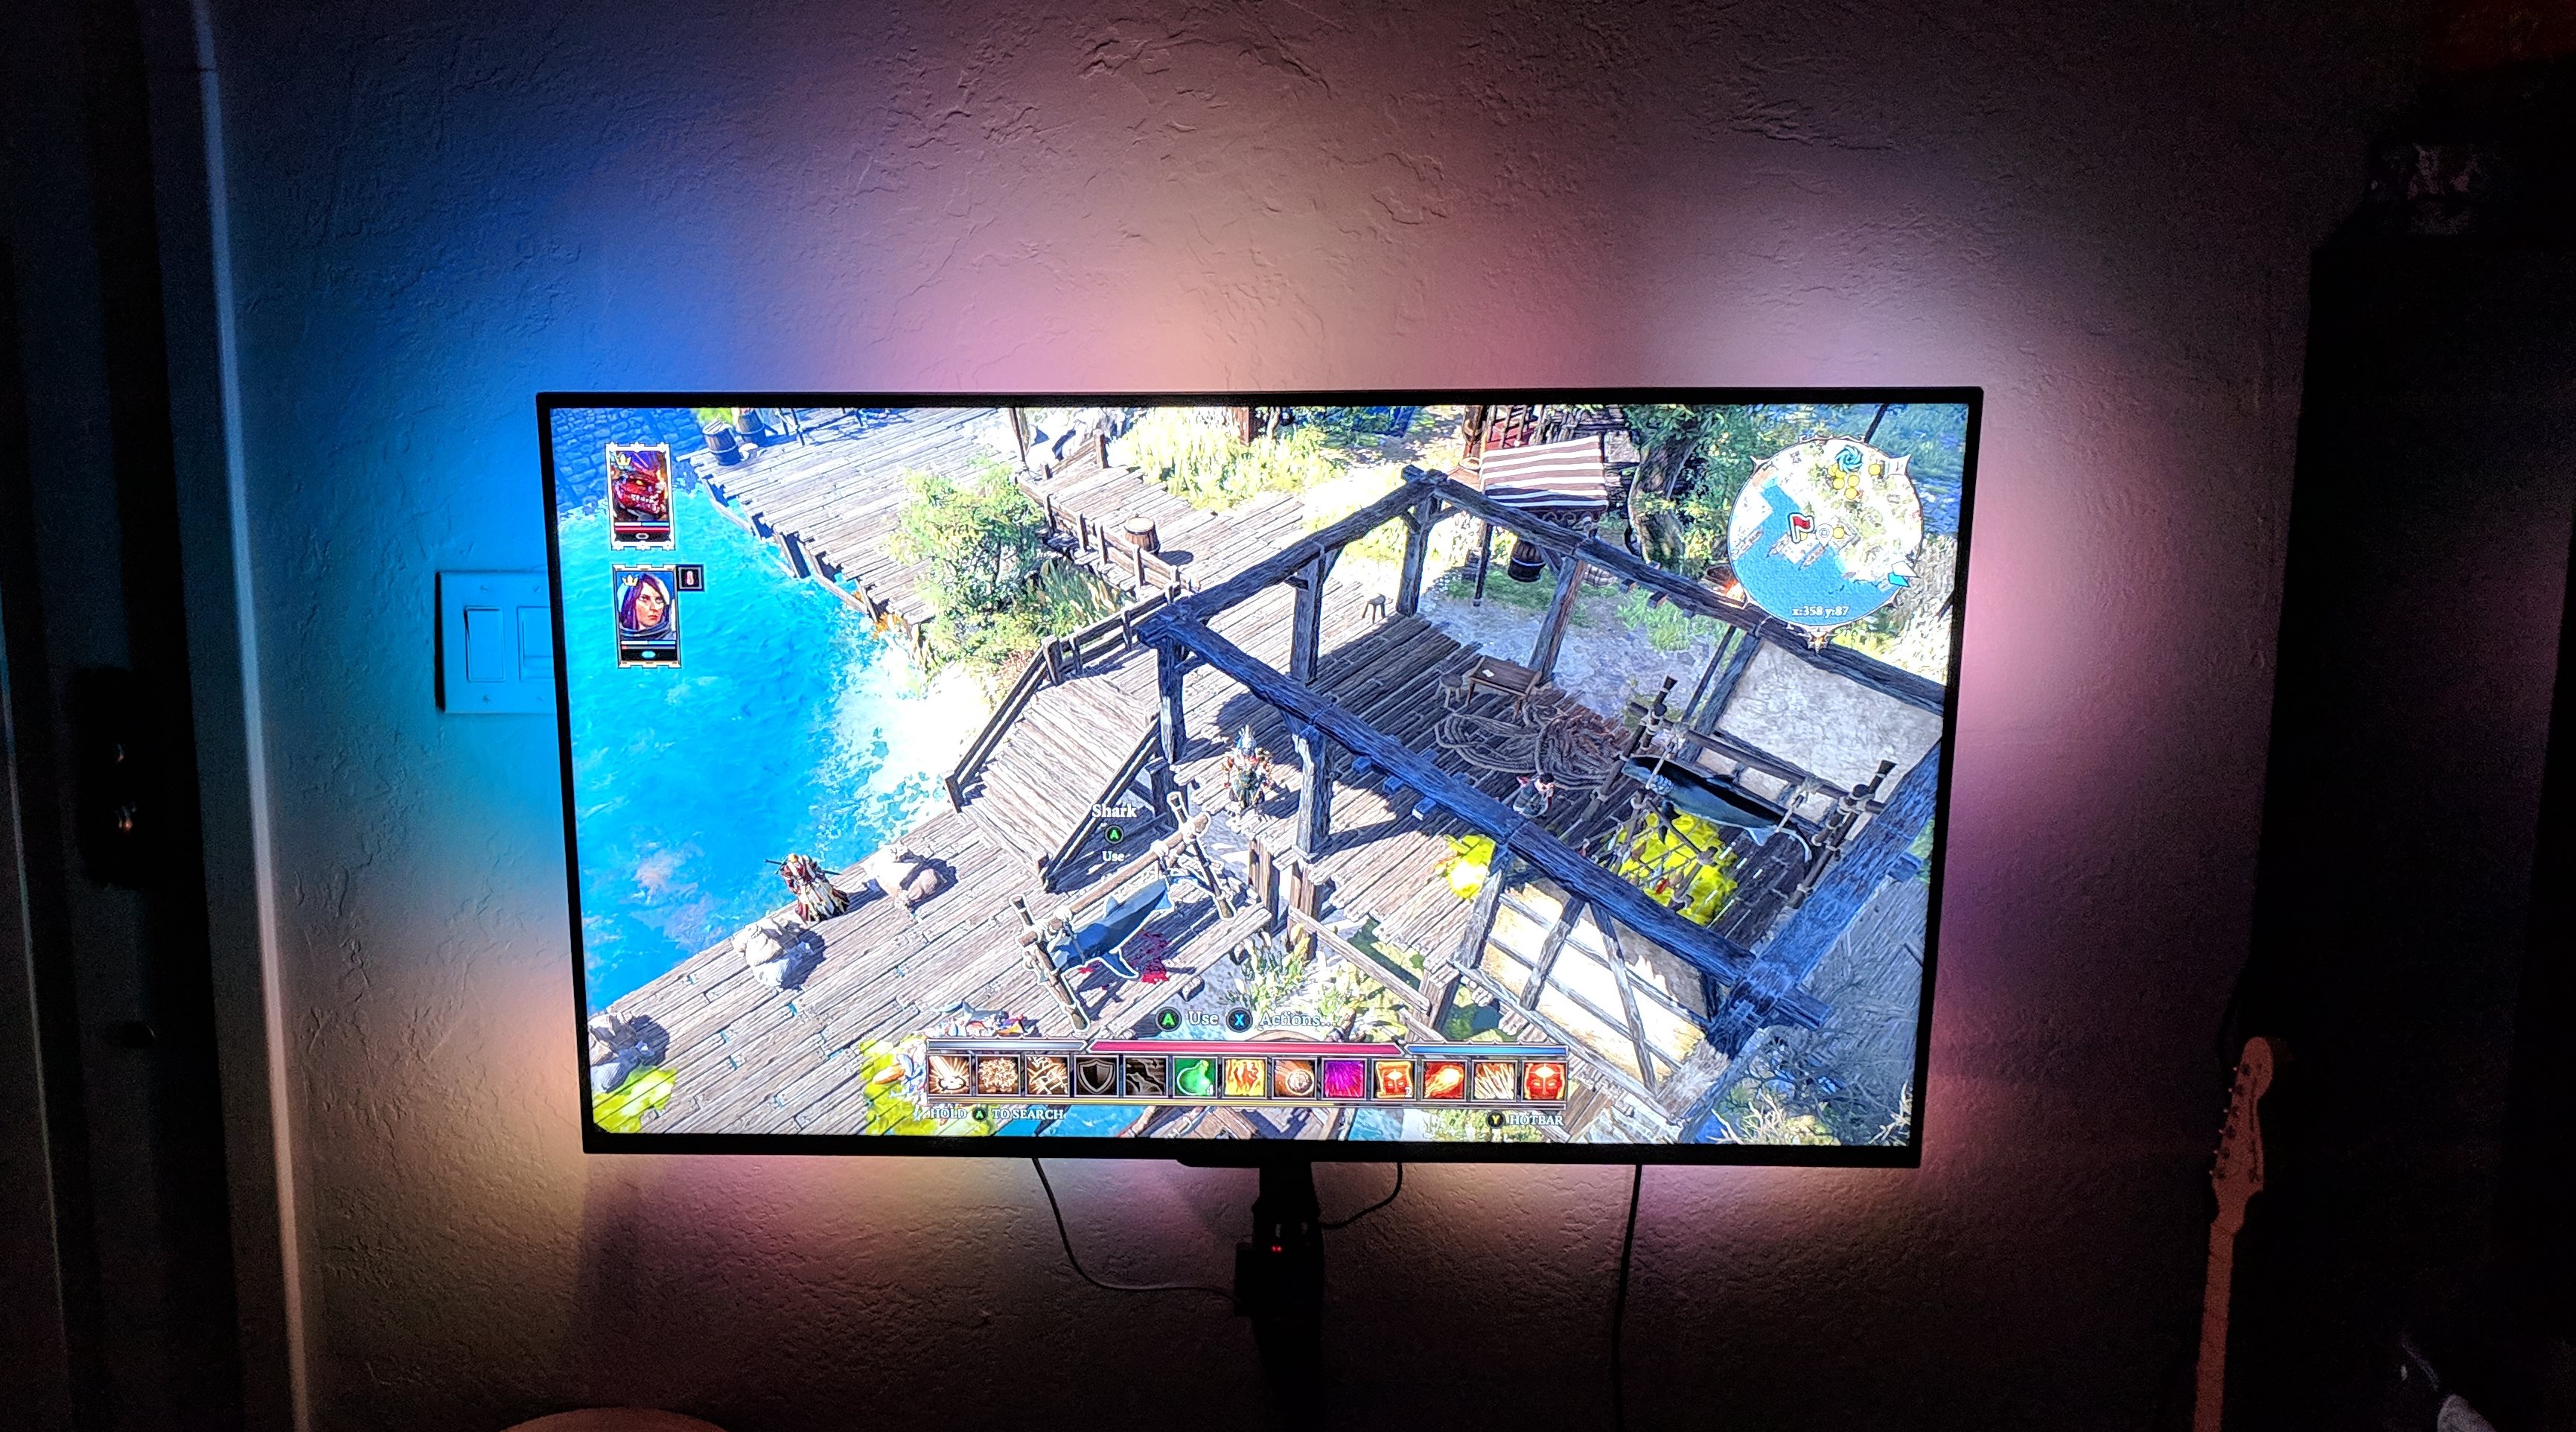
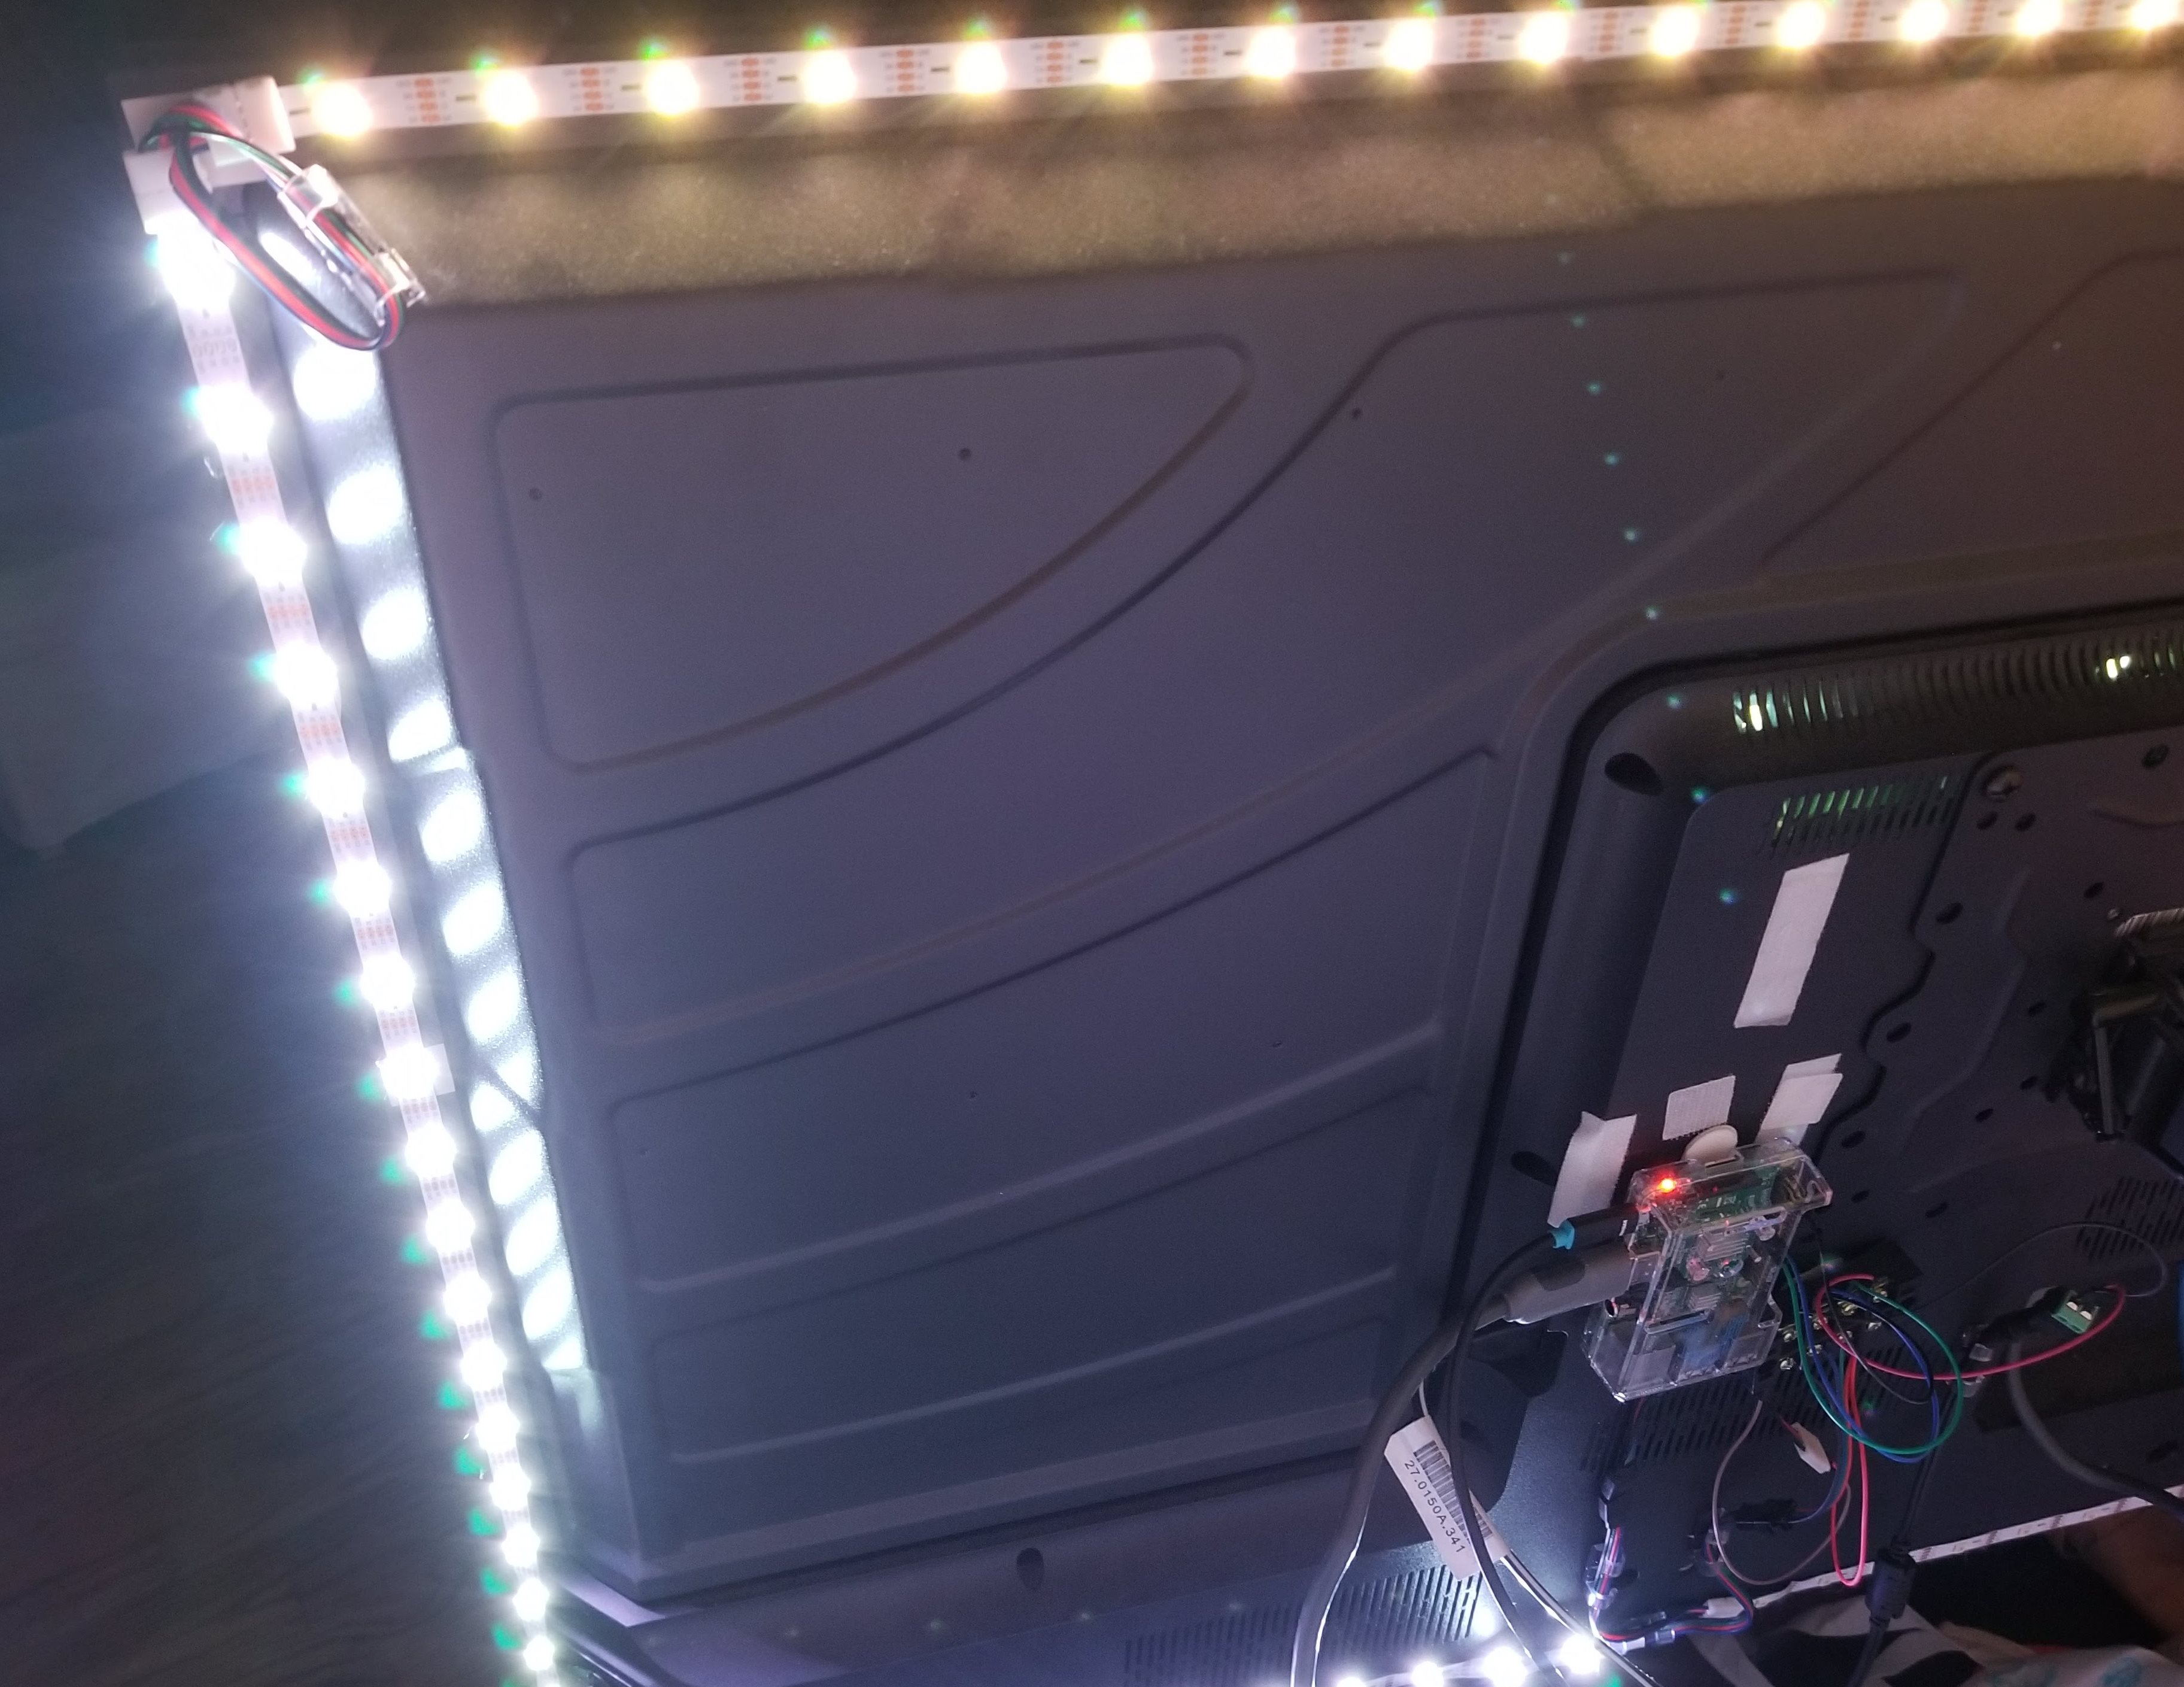
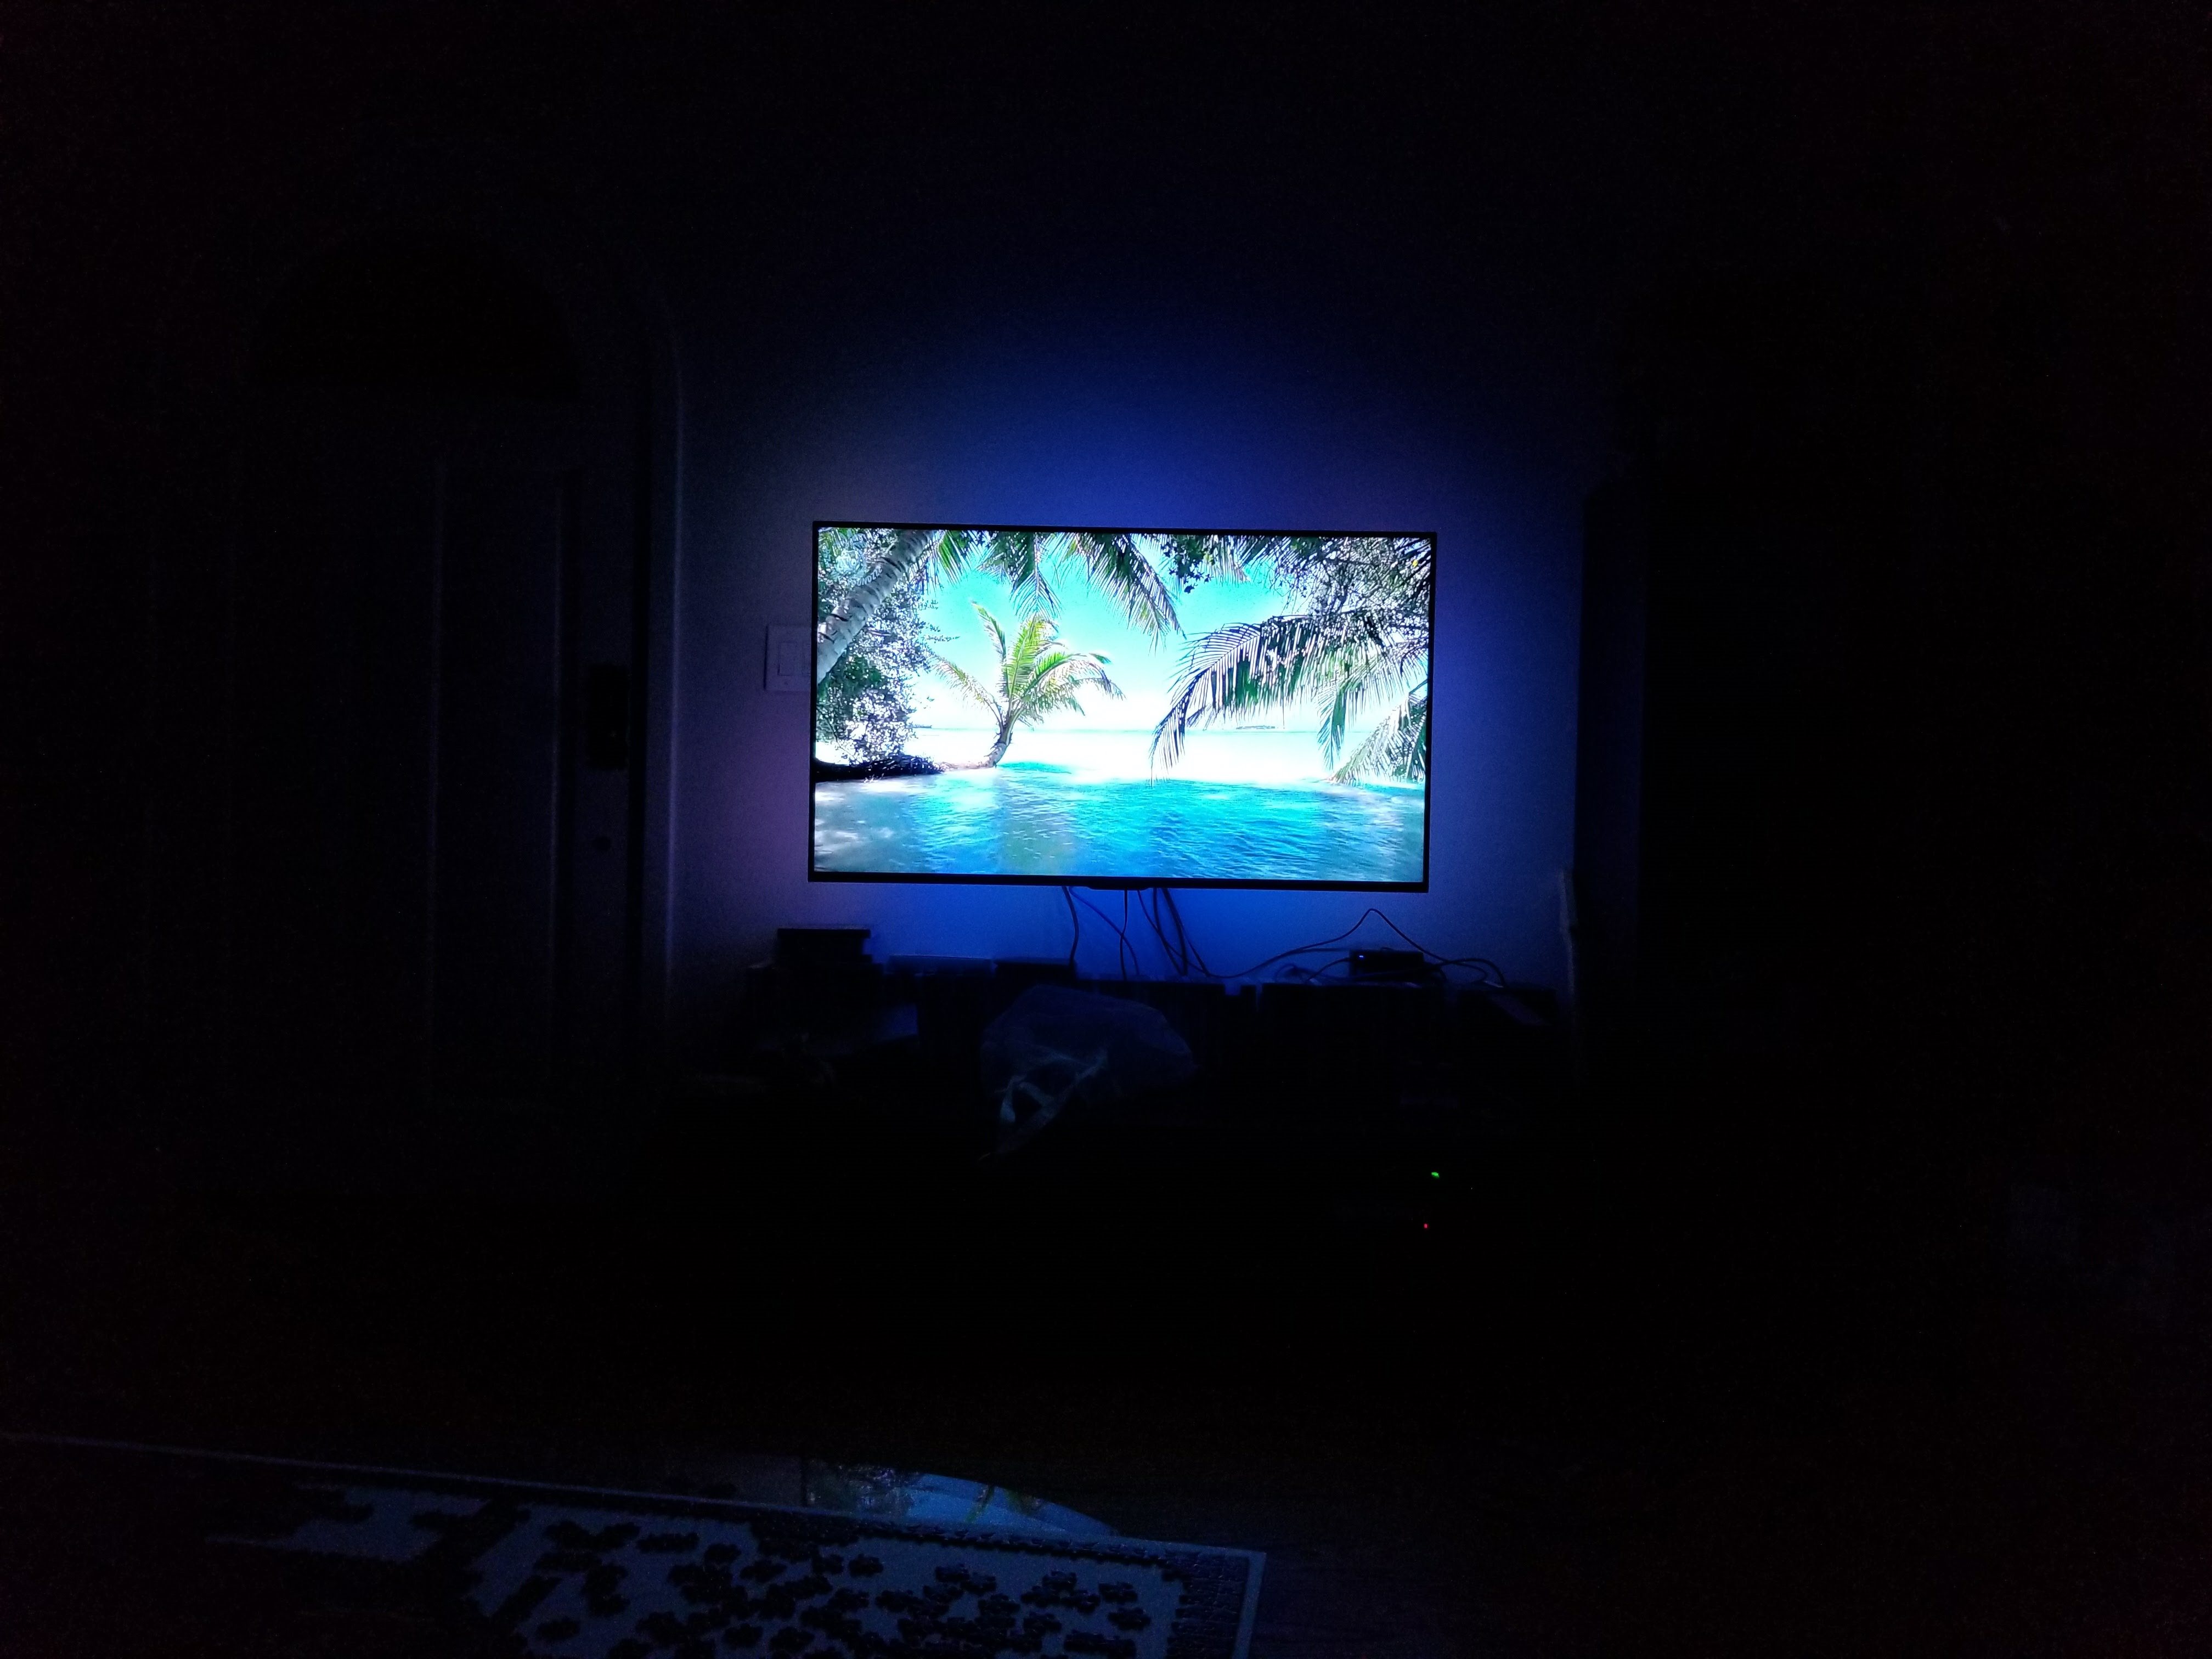
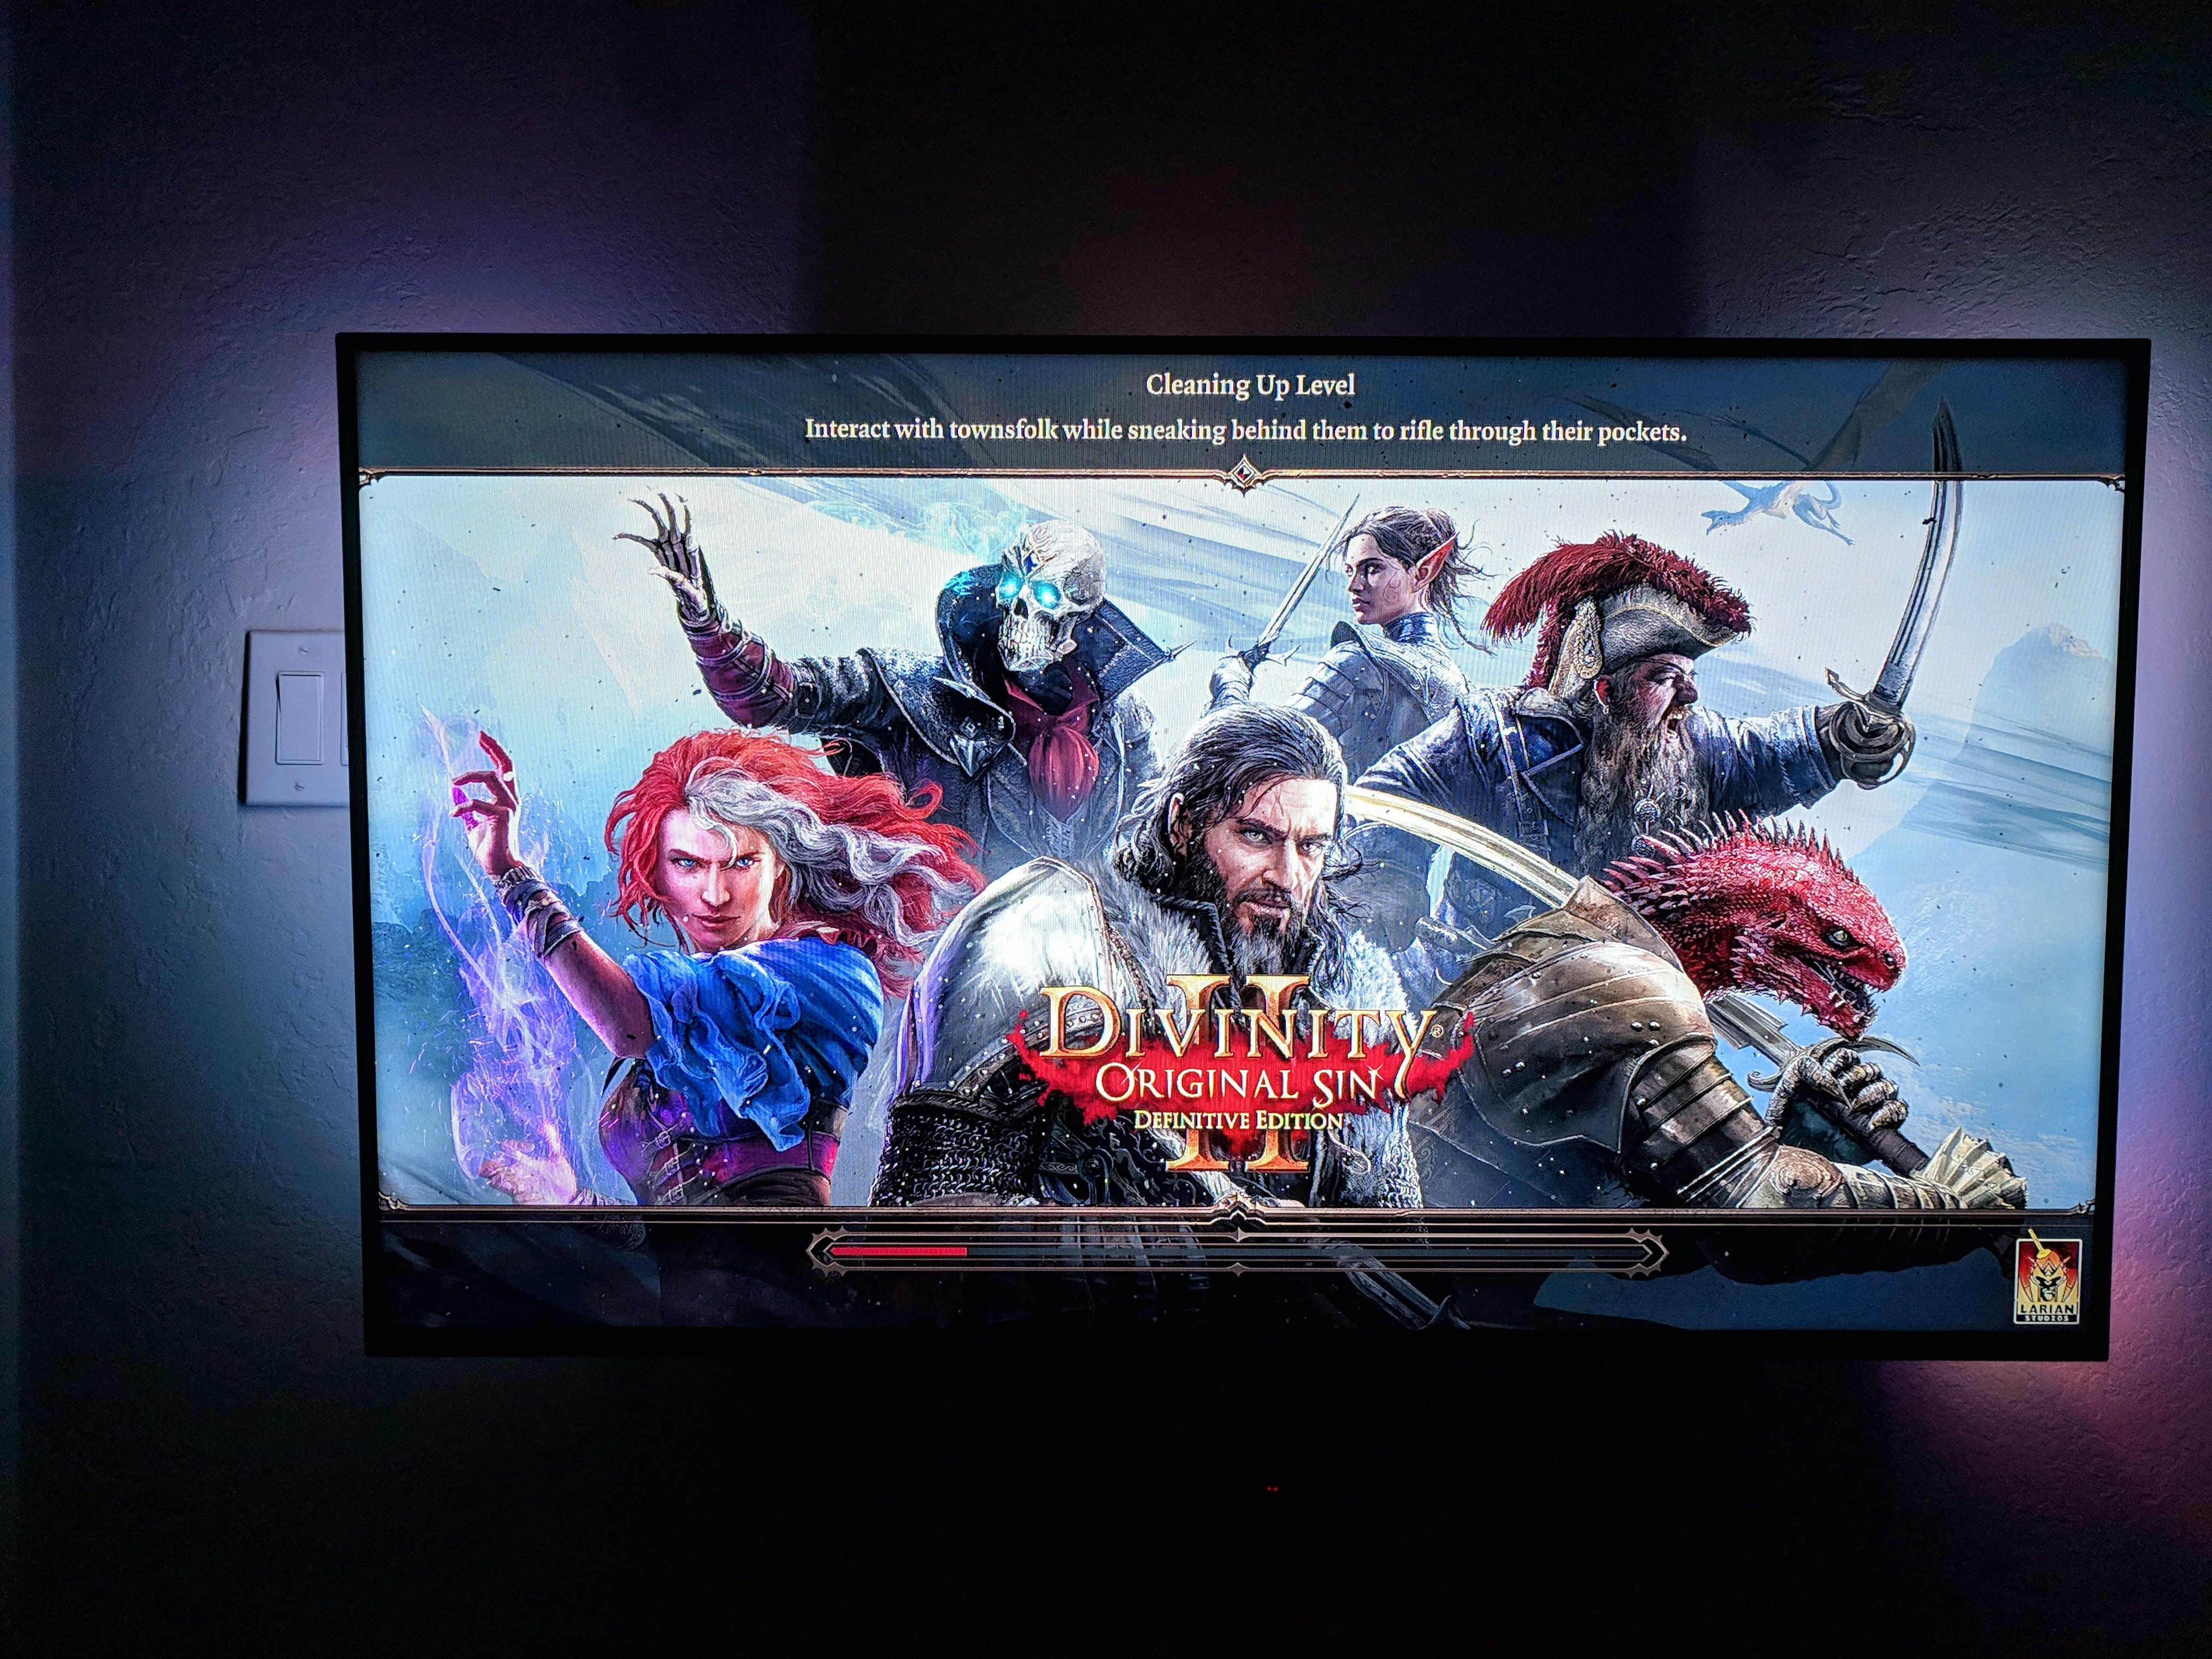
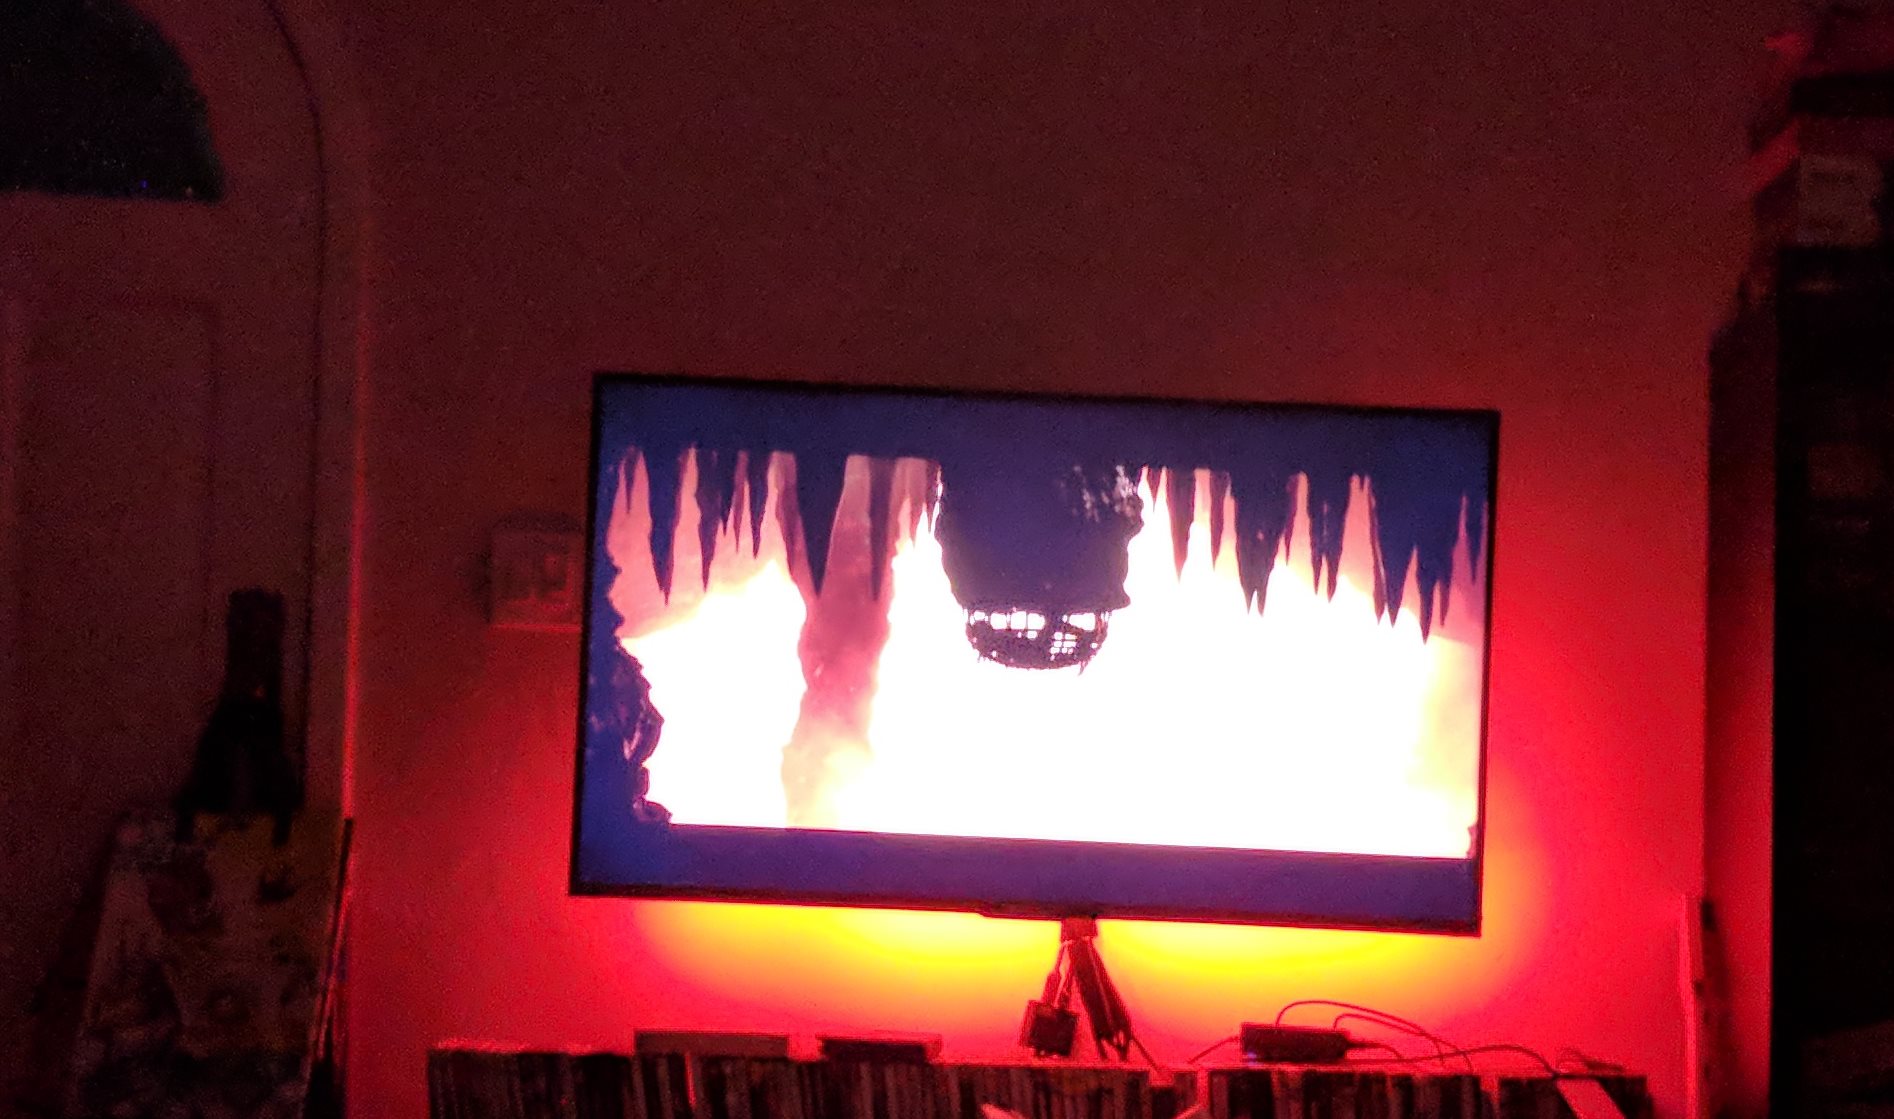
The ambilight project was based around the idea of the Philips Ambilight TV. There have been tons of user created versions using arduinos and raspberry pis. I built my own using a variety of guides as well as factoring my own background in user experience to try to improve upon the process. I’ll walk through which guides I used as bases. Unfortuntaley it works best when it is in a dark room, which my phone can’t capture super well. The colors ended up a little distorted in the video, but you get the idea.
Setting up SSH to talk with RPI
- http://awesomepi.com/connecting-via-ssh-to-your-raspberry-2-howto/
- This guide is a good walkthrough of getting SSH enabled on your RPI running omsc/Kodi
- https://www.instructables.com/id/Use-ssh-to-talk-with-your-Raspberry-Pi/
- This guide provides more details on getting Putty setup and commands to use and is system agnostic.
LED Guide
- https://andypi.co.uk/2014/12/27/raspberry-pi-controlled-ws2801-rgb-leds/
- This guide gave a decent run down of the LED with RPI controller. It also provides a light weight program to test and makesure your LEDs work, before you go to the trouble of setting up the entire system.
Software Guides
- https://hyperion-project.org/threads/raspberry-pi-3-mediacenter-hyperion-ambilight-no-soldering.77/
- The first guide I found that really layed out the whole plan. I also used the Hyperion software as the base for my color assignment.
- I ran into problems following their guide and couldn’t get it to work, which caused me to look into additional guides, listed below.
- https://osmc.tv/wiki/general/usernames-and-passwords/
- OSMC is the base I used on my RPI for my operating system. This concise set of instructions helps you unlock the root user.
Building an Ambilight System
- https://christianmoser.me/how-to-build-your-own-tv-ambilight-with-raspberry-pi-and-xbmc/
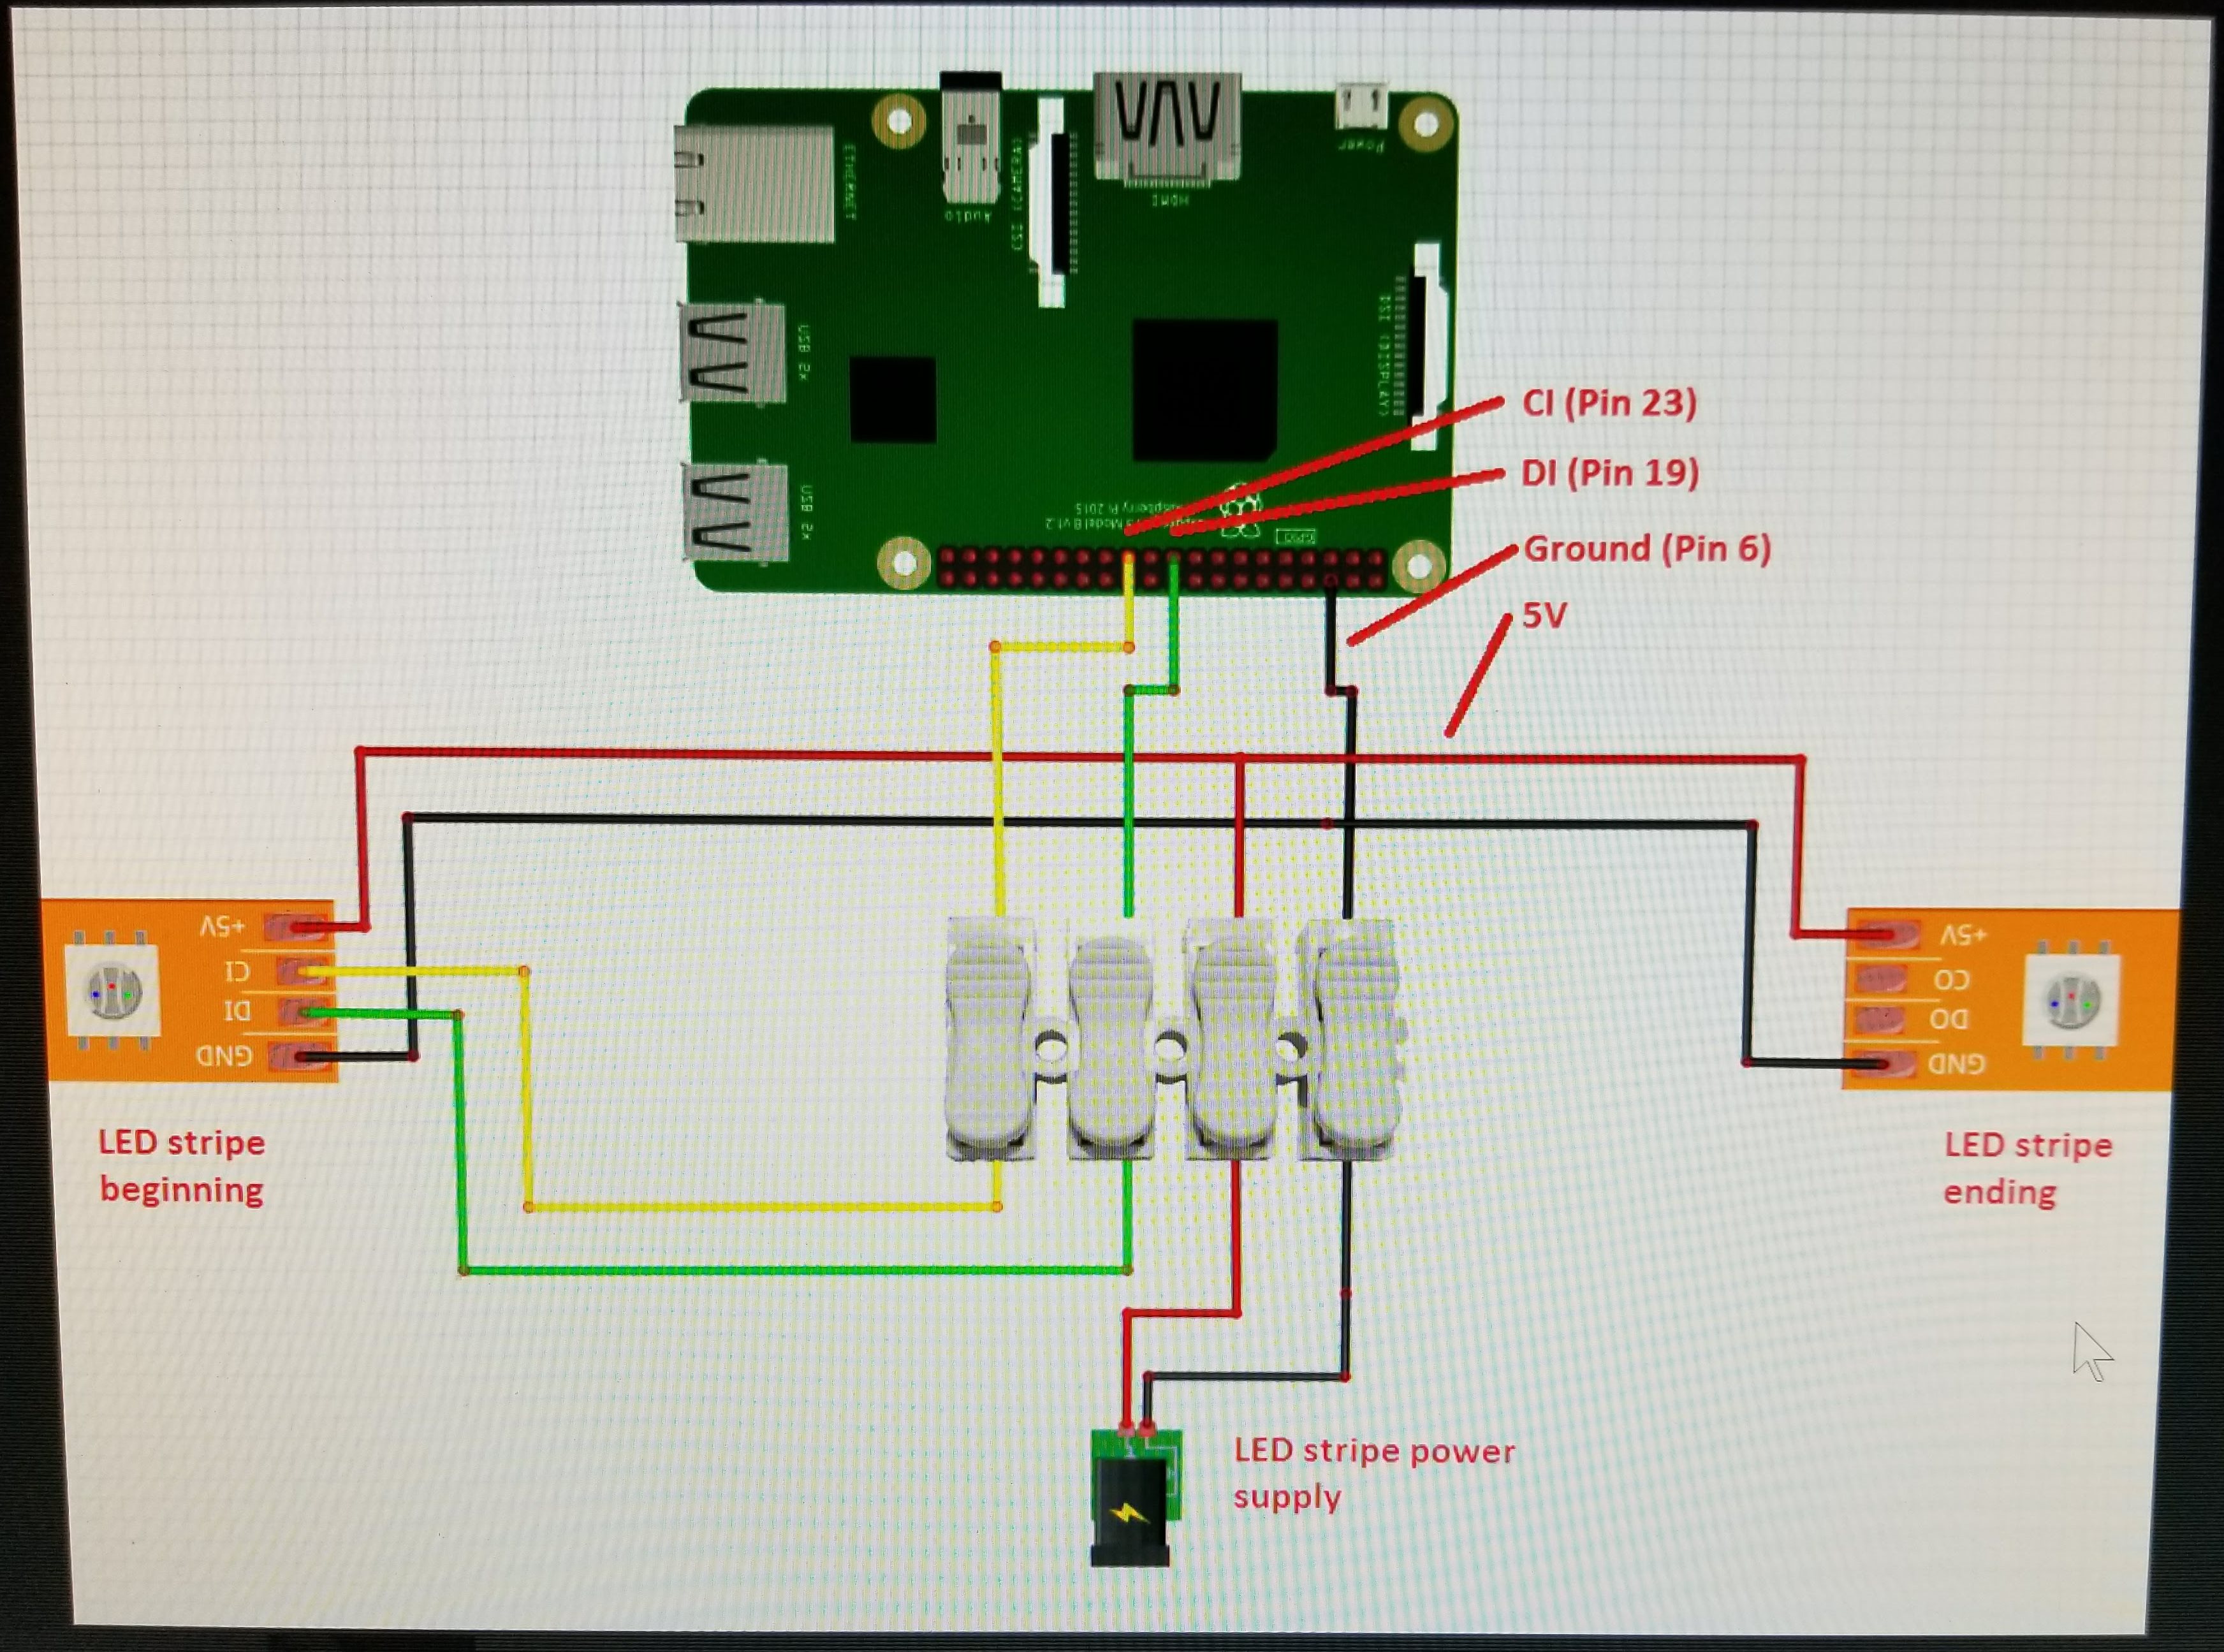
- Chris does a great job with the base walkthrough, including a really helpful wiring diagram.
- His guide was a little dated and didn’t match Hyperion setup exactly, but was close enough it was very doable.
- I do not recommend Boblight, which is one of the options he provides.
- http://awesomepi.com/diy-breath-taking-ambilight-for-your-own-tv-raspberry-pi-2-tutorial-part-1/
- This guide was also very detailed. When I was stuck with Chris’ guide, often this one would help me troubleshoot.
- https://waldobronchart.com/note/ambient-light-tv-with-a-raspberry-pi-part1
- This is the original system I was looking at building. It has a neat setup with a webcam that analyzes the picture to determine the color output.
- I couldn’t figure out a good place to put the camera and stumbled upon the Hyperion setup. I decided to go that route instead.
- https://www.instructables.com/id/TV-Dynamic-Ambient-Lighting/
- This was another option I was looking into, but it only allowed playback from the computer, which I didn’t want. Netflix is difficult to get on the RPI and my Playstation was already all setup and ready to go. Plus, games.
Building an Ambilight System for every HDMI Input
- https://christianmoser.me/how-to-ambilight-for-every-hdmi-source/
- Christian did a great job detailing out the instructions. His guide was a little dated, so it doesn’t match up exactly with the Hyperion install and setup, but it’s close enough you can figure it out.
- He also details the essential piece, how to get the HDMI input to work rather than running straight from the RPI.
- http://awesomepi.com/part-3-using-ambilight-for-every-hdmi-device-an-ultimate-step-by-step-tutorial/
- There’s a little detail that this guide mentions: the Fushicai chipset.
- This chipset for the usb grabber is essential to get it working. I ended up having to buy three different ones before I found one that worked correctly.
- They also have a very clean guide on how to setup all the different components.
- https://www.instructables.com/id/Ambilight-System-for-Every-Input-Connected-to-Your/
- This guide adds an Arduino to capture which HDMI source is coming in due to his design of hiding everything. Very clean implementation, but too much work in my opinion.
- https://www.reddit.com/r/raspberry_pi/comments/650fw6/diy_ambilight_dreamscreen_clone_using_raspberry/
- This conversation had some good suggestions on getting some things setup.
Brendan's Final Suggestions/Thoughts
- If you have more than one HDMI input to connect, pick up a HDMI switch. This is different than the splitter. The splitter sends the signal to both the TV and the RPI, but the switch determines which HDMI signal to send. Works great if you have more than one HDMI source you use frequently, like a game console and Apple TV. This one works great for me. If it doesn’t automatically detect which signal you want, just hit the black button.
- Make sure you make a RPI image of your setup. For whatever reason, my operating system became corrupted twice. The first time it took me forever to troubleshoot what the issue was. Second time it was much faster, but I didn’t have an image handy. I now have an image saved incase it ever happens again.
- The connectors I used do not have nearly as good of a connection as when I soldered it the first time. I would recommend if possible, to follow one of the guides that solders it. If the connectors do seem to not be working, try wiggling them or pinching them together. Occasionally half the lights will stop working, and I need to get up and pinch one of the connectors. This has been happening more frequently, so I will probably solder them in the near future.
- https://www.linuxtv.org/wiki/index.php/Easycap
- I can’t stress enough how key the right usb grabber is. Here’s additional information to make sure you know you’ve gotten the right one. The one that worked fro me is the EasyCAP UT007=Fushicai.

